The post Geometric Garlands appeared first on The Home Scene.
]]>They were simple and easy to do and I love how they have turned out. I’ve put together a template print out and a quick ‘how-to’ so you can recreate your own geometric garlands.
What you will need:
- A4 Paper/Craft Paper
- Glue Stick
- Scissors
- String
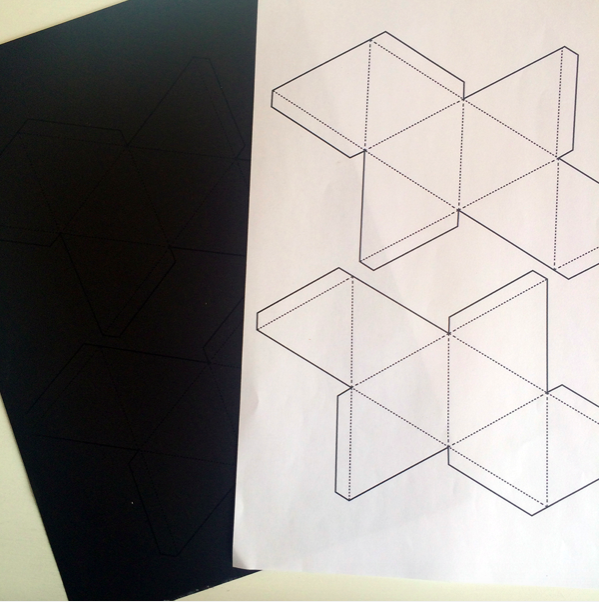
Download the large or small template and get creating.
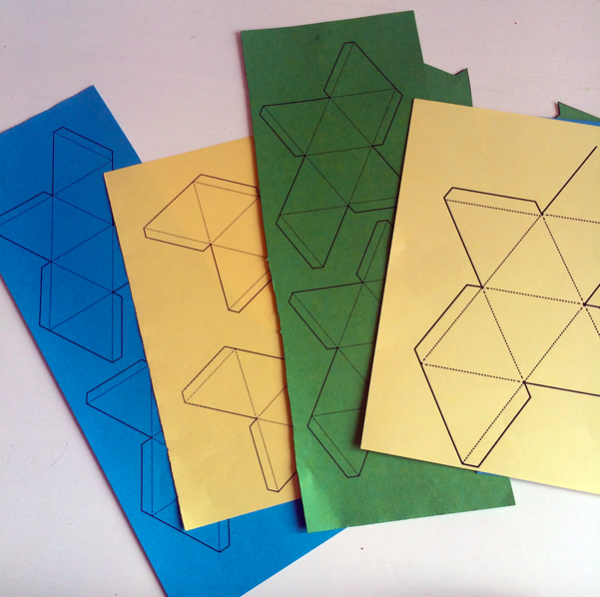
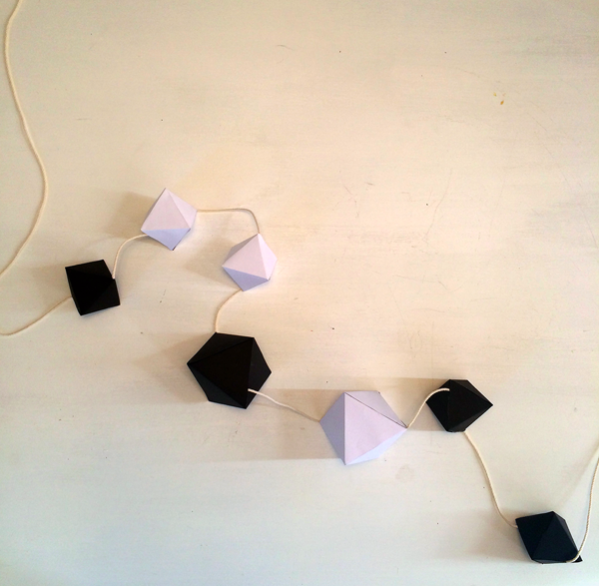
Choose your own colours or go for a classic monochrome look in good old black and white. I couldn’t choose between the two so I made both. I used craft paper as a bit of thickness over your standard A4 paper makes it easier for them to hold their shape once glued together.
The black card does show up the print out lines (just not clearly in this photo)
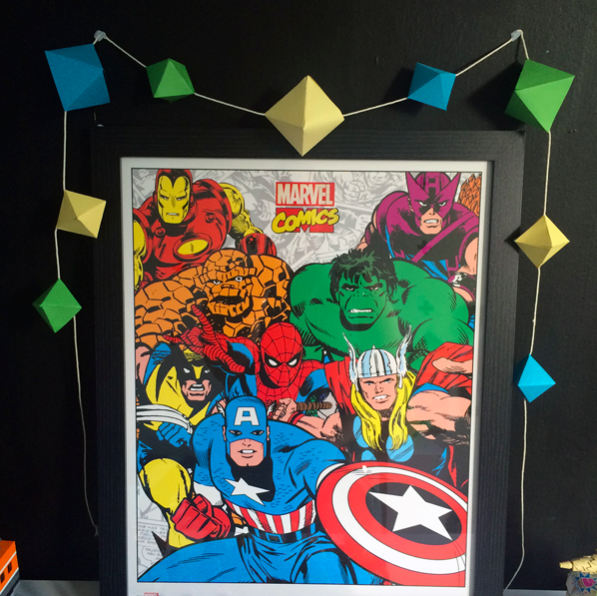
Choose any colours that suit your space you’ll be placing them in. Works in a monochrome style room as well for a pop of colour (as I’ve done for Jimmy – 5yrs room)
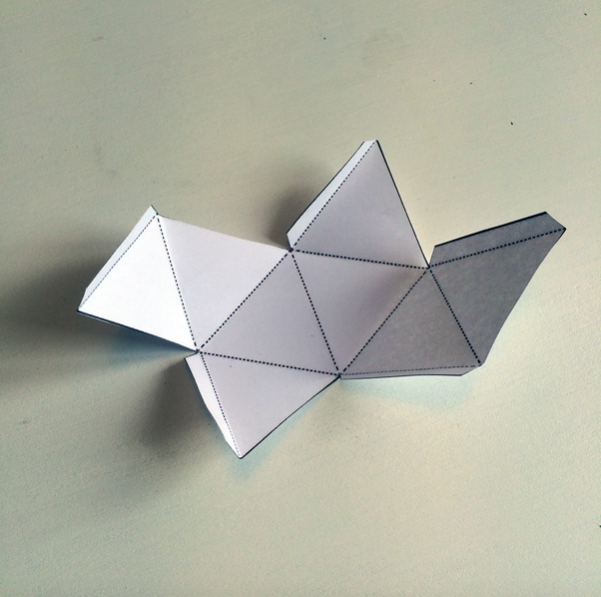
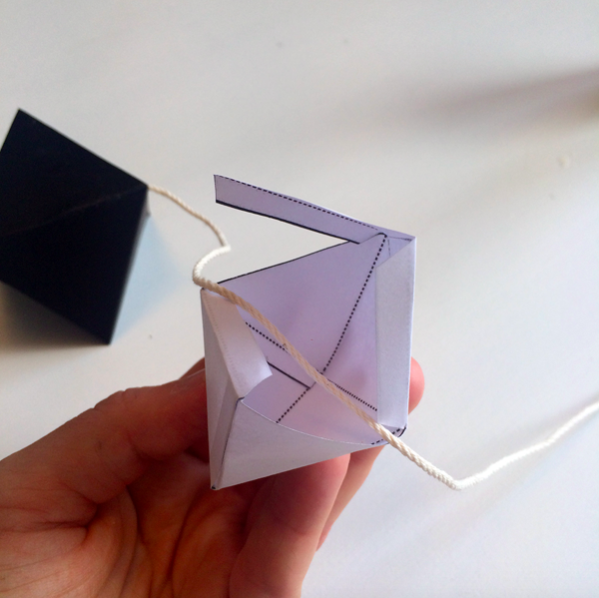
Cut the shapes out and fold along each of the dotted lines
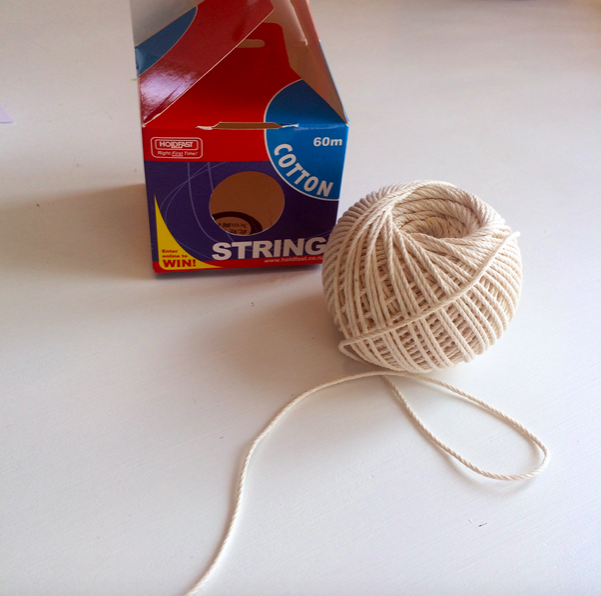
I like to use string as opposed to yarn to avoid the small bits of yarn that always fall off and get stuck to your hands while glueing (e.g.: hot mess) and it look untidy on the garland when hung
Depending how you like the shape to sit along the string when hung, I placed the string through from point to point so the diamond was more obvious when hung on display
Place a combination of large and small in any order that you would like. With my black and white I kept it random but with my coloured garland I kept the colours in sequence, throwing in a large one amongst it
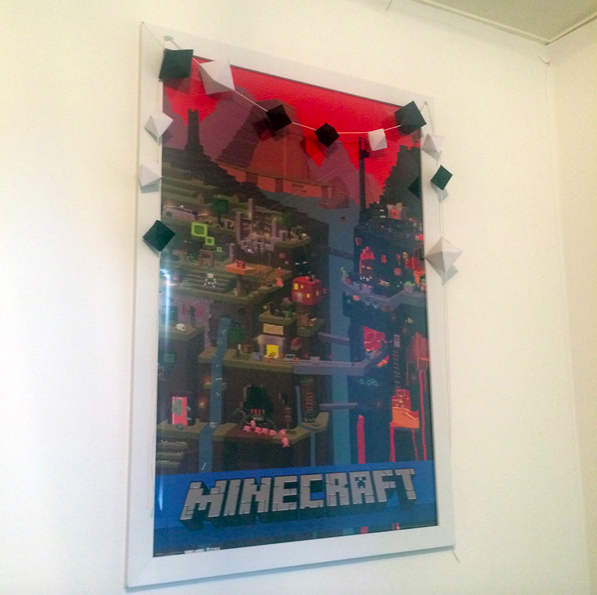
Here’s the finished looks in Jimmy (5) and Dylan’s (11) rooms. I’ll add more to Jimmy’s coloured garland so it reaches down further but you can add as many or little as you like to suit your space.
If you give this easy DIY a go, I’d love to see how you put the finished look together – feel free to share them on social or let me know how you go.
Kelly
The post Geometric Garlands appeared first on The Home Scene.
]]>