The post DIY Recessed bedhead appeared first on The Home Scene.
]]>Although Jimmy’s room had been made over, our older son Dylan had been a work in progress while I was still searching for a few key pieces to finish the look of the space. His bed had always looked unfinished and I wanted to find a bedhead that suited his room.
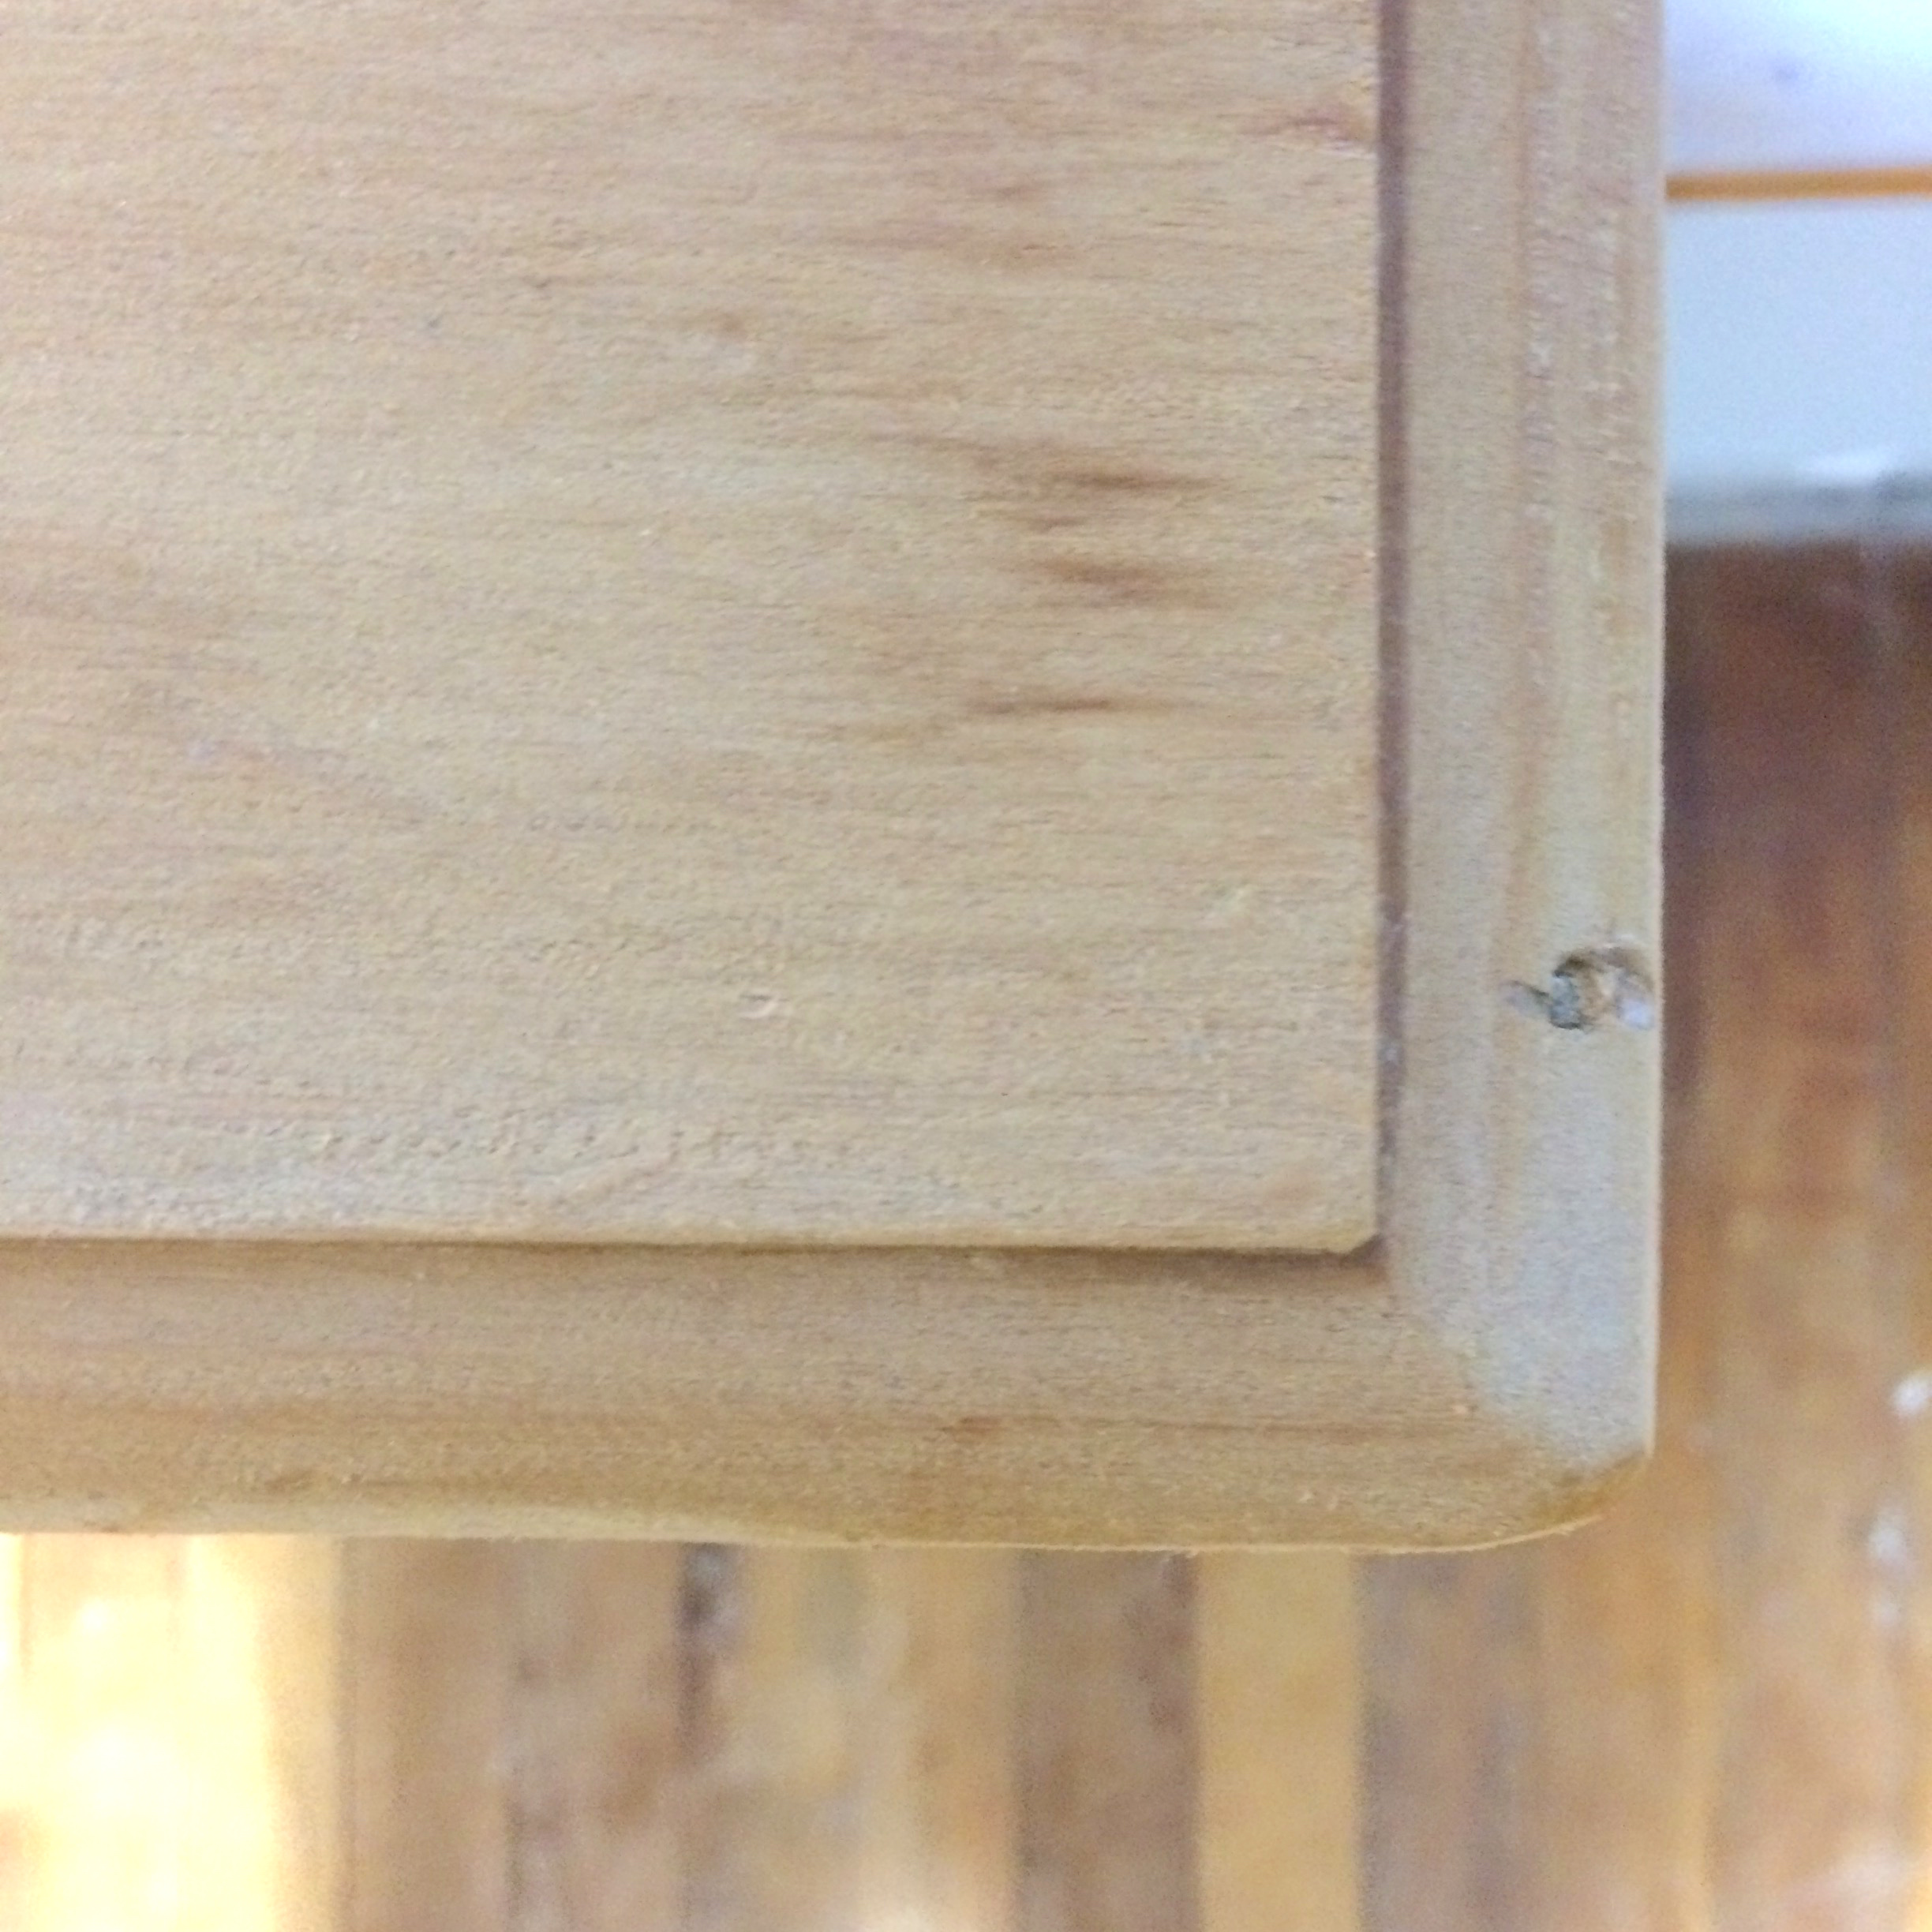
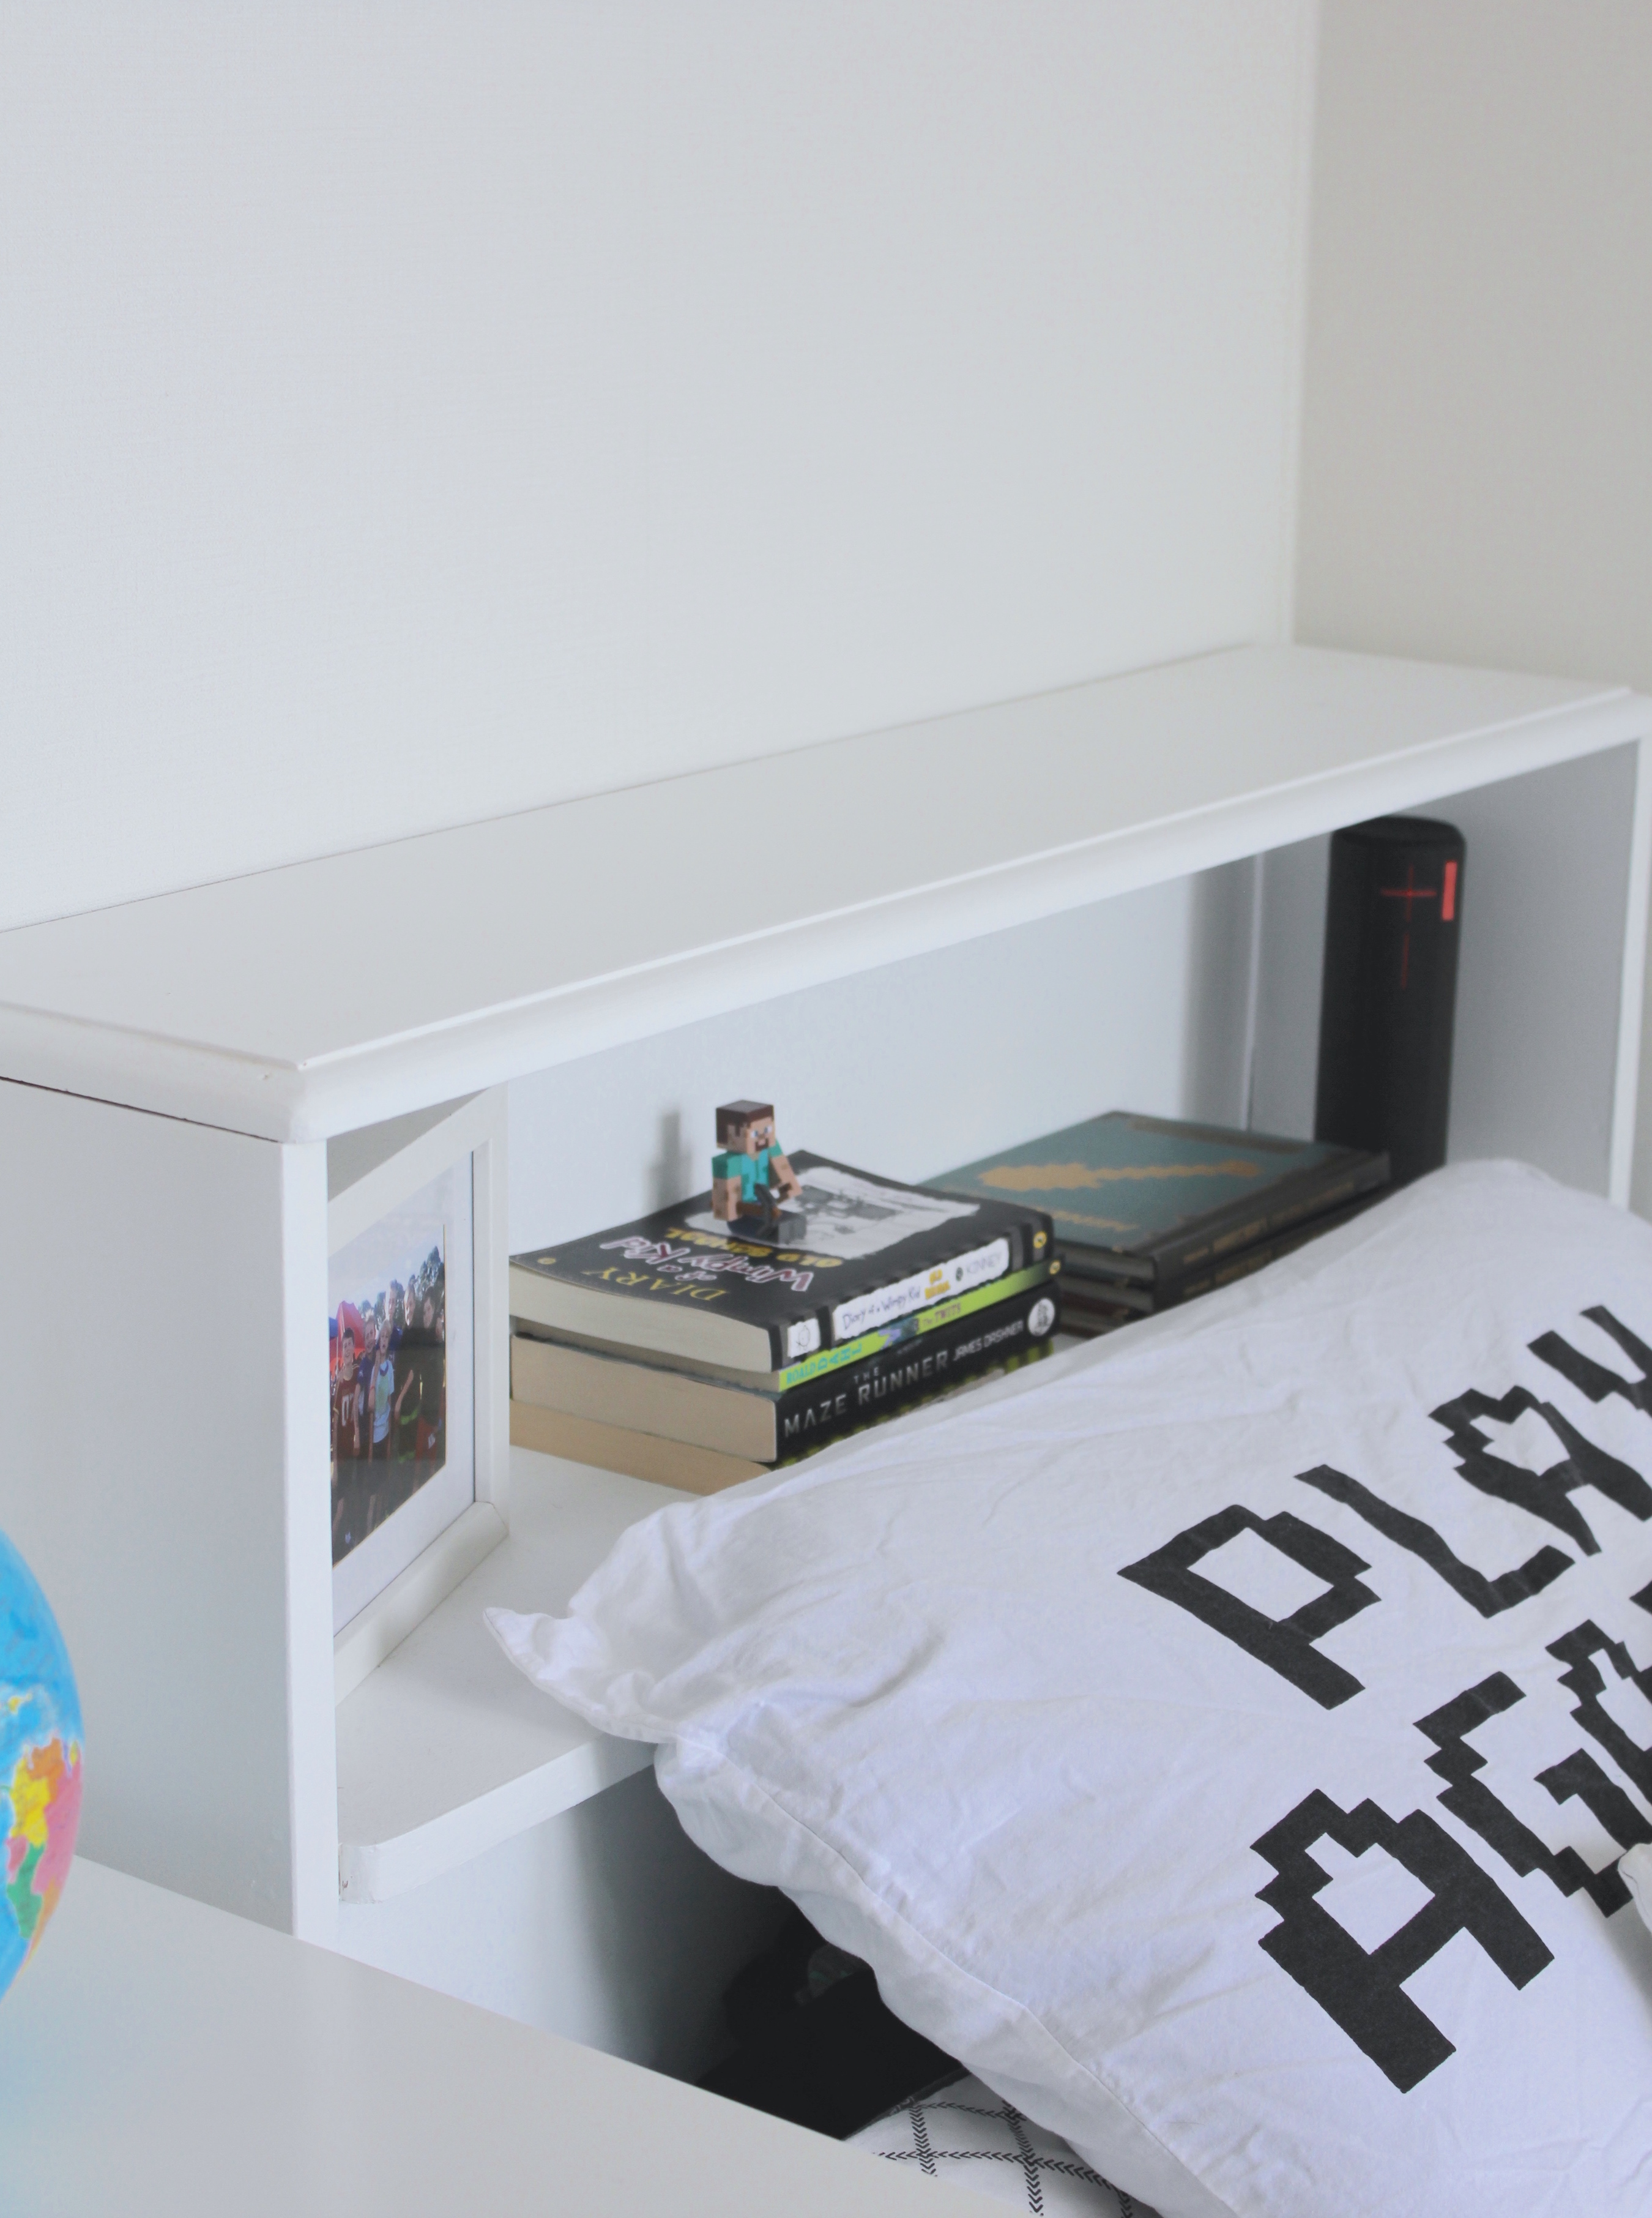
While searching through our local Red Cross, I stumbled across an old timber bedhead with a recessed shelf. The bedhead was the perfect size, and didn’t have any structural damage to it. It was simply in need of a good sanding to remove the yellow tinged varnish and smooth out some of the rough finishes to the timber.

Better yet it was only $5 and if Dylan didn’t like the finished product, we could return it to Red Cross or sell it. Plus a fun weekend project to get stuck in to with the boys and a good excuse to get out the power tools and paint.
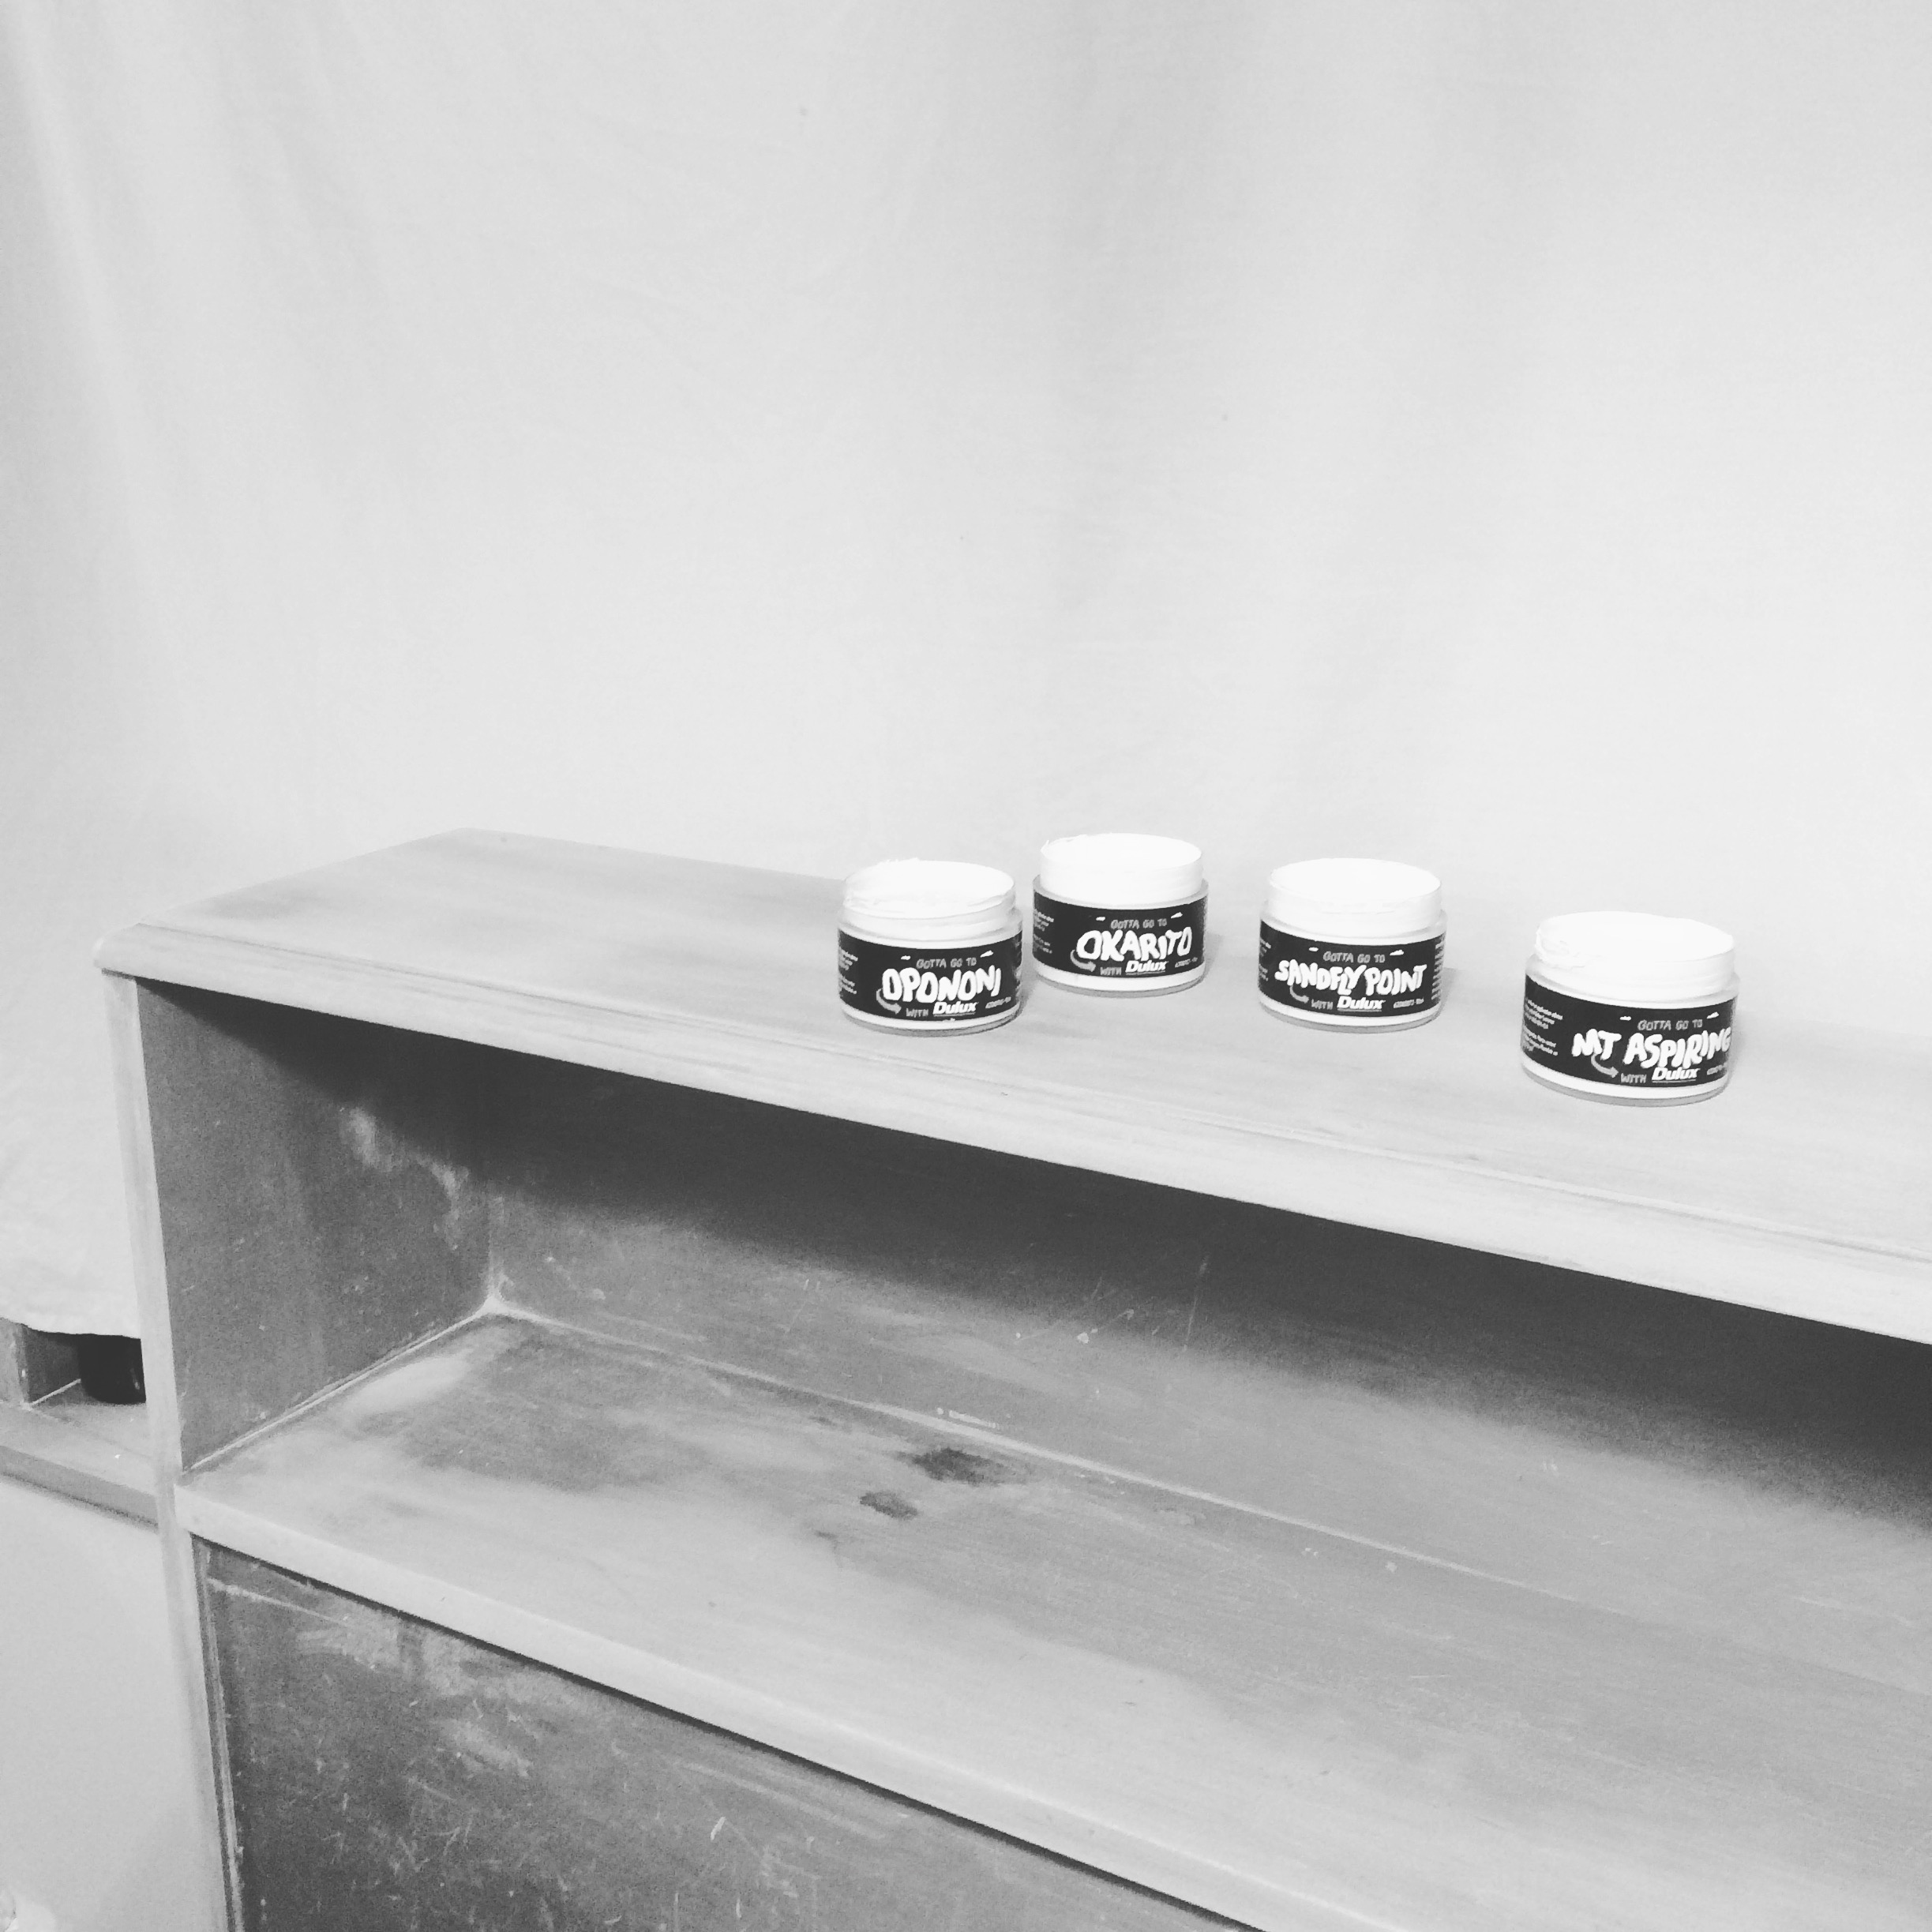
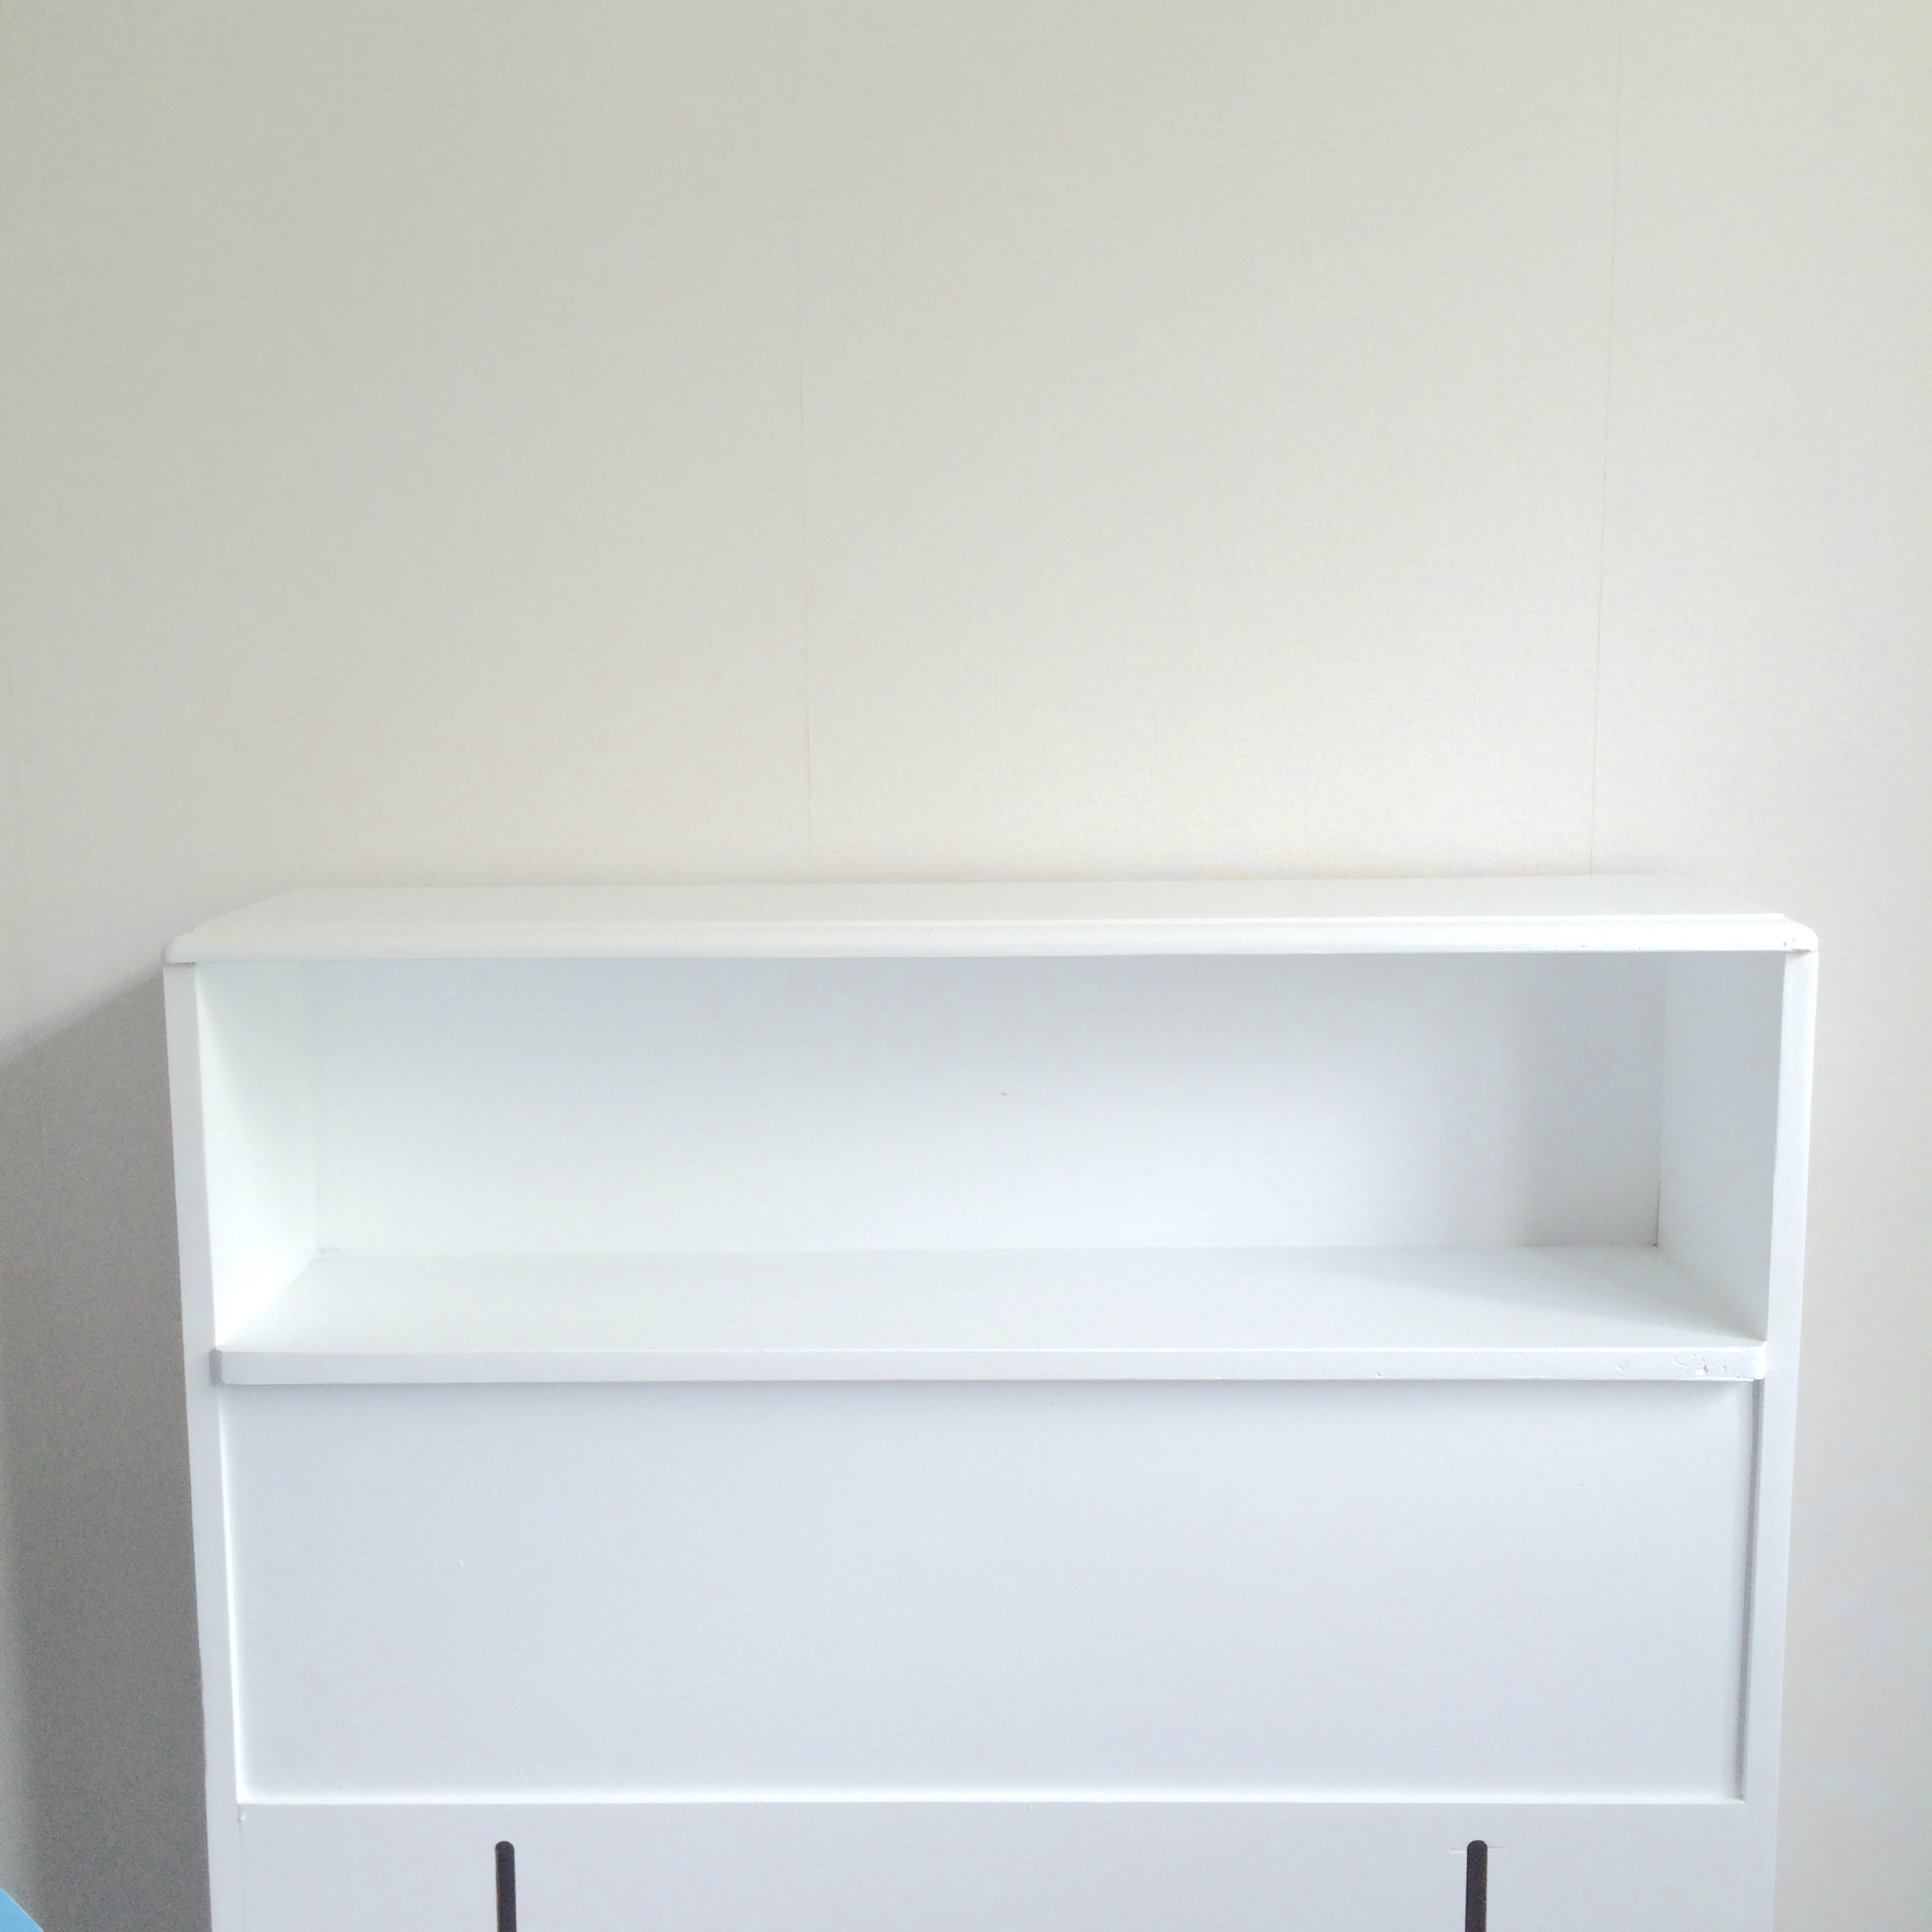
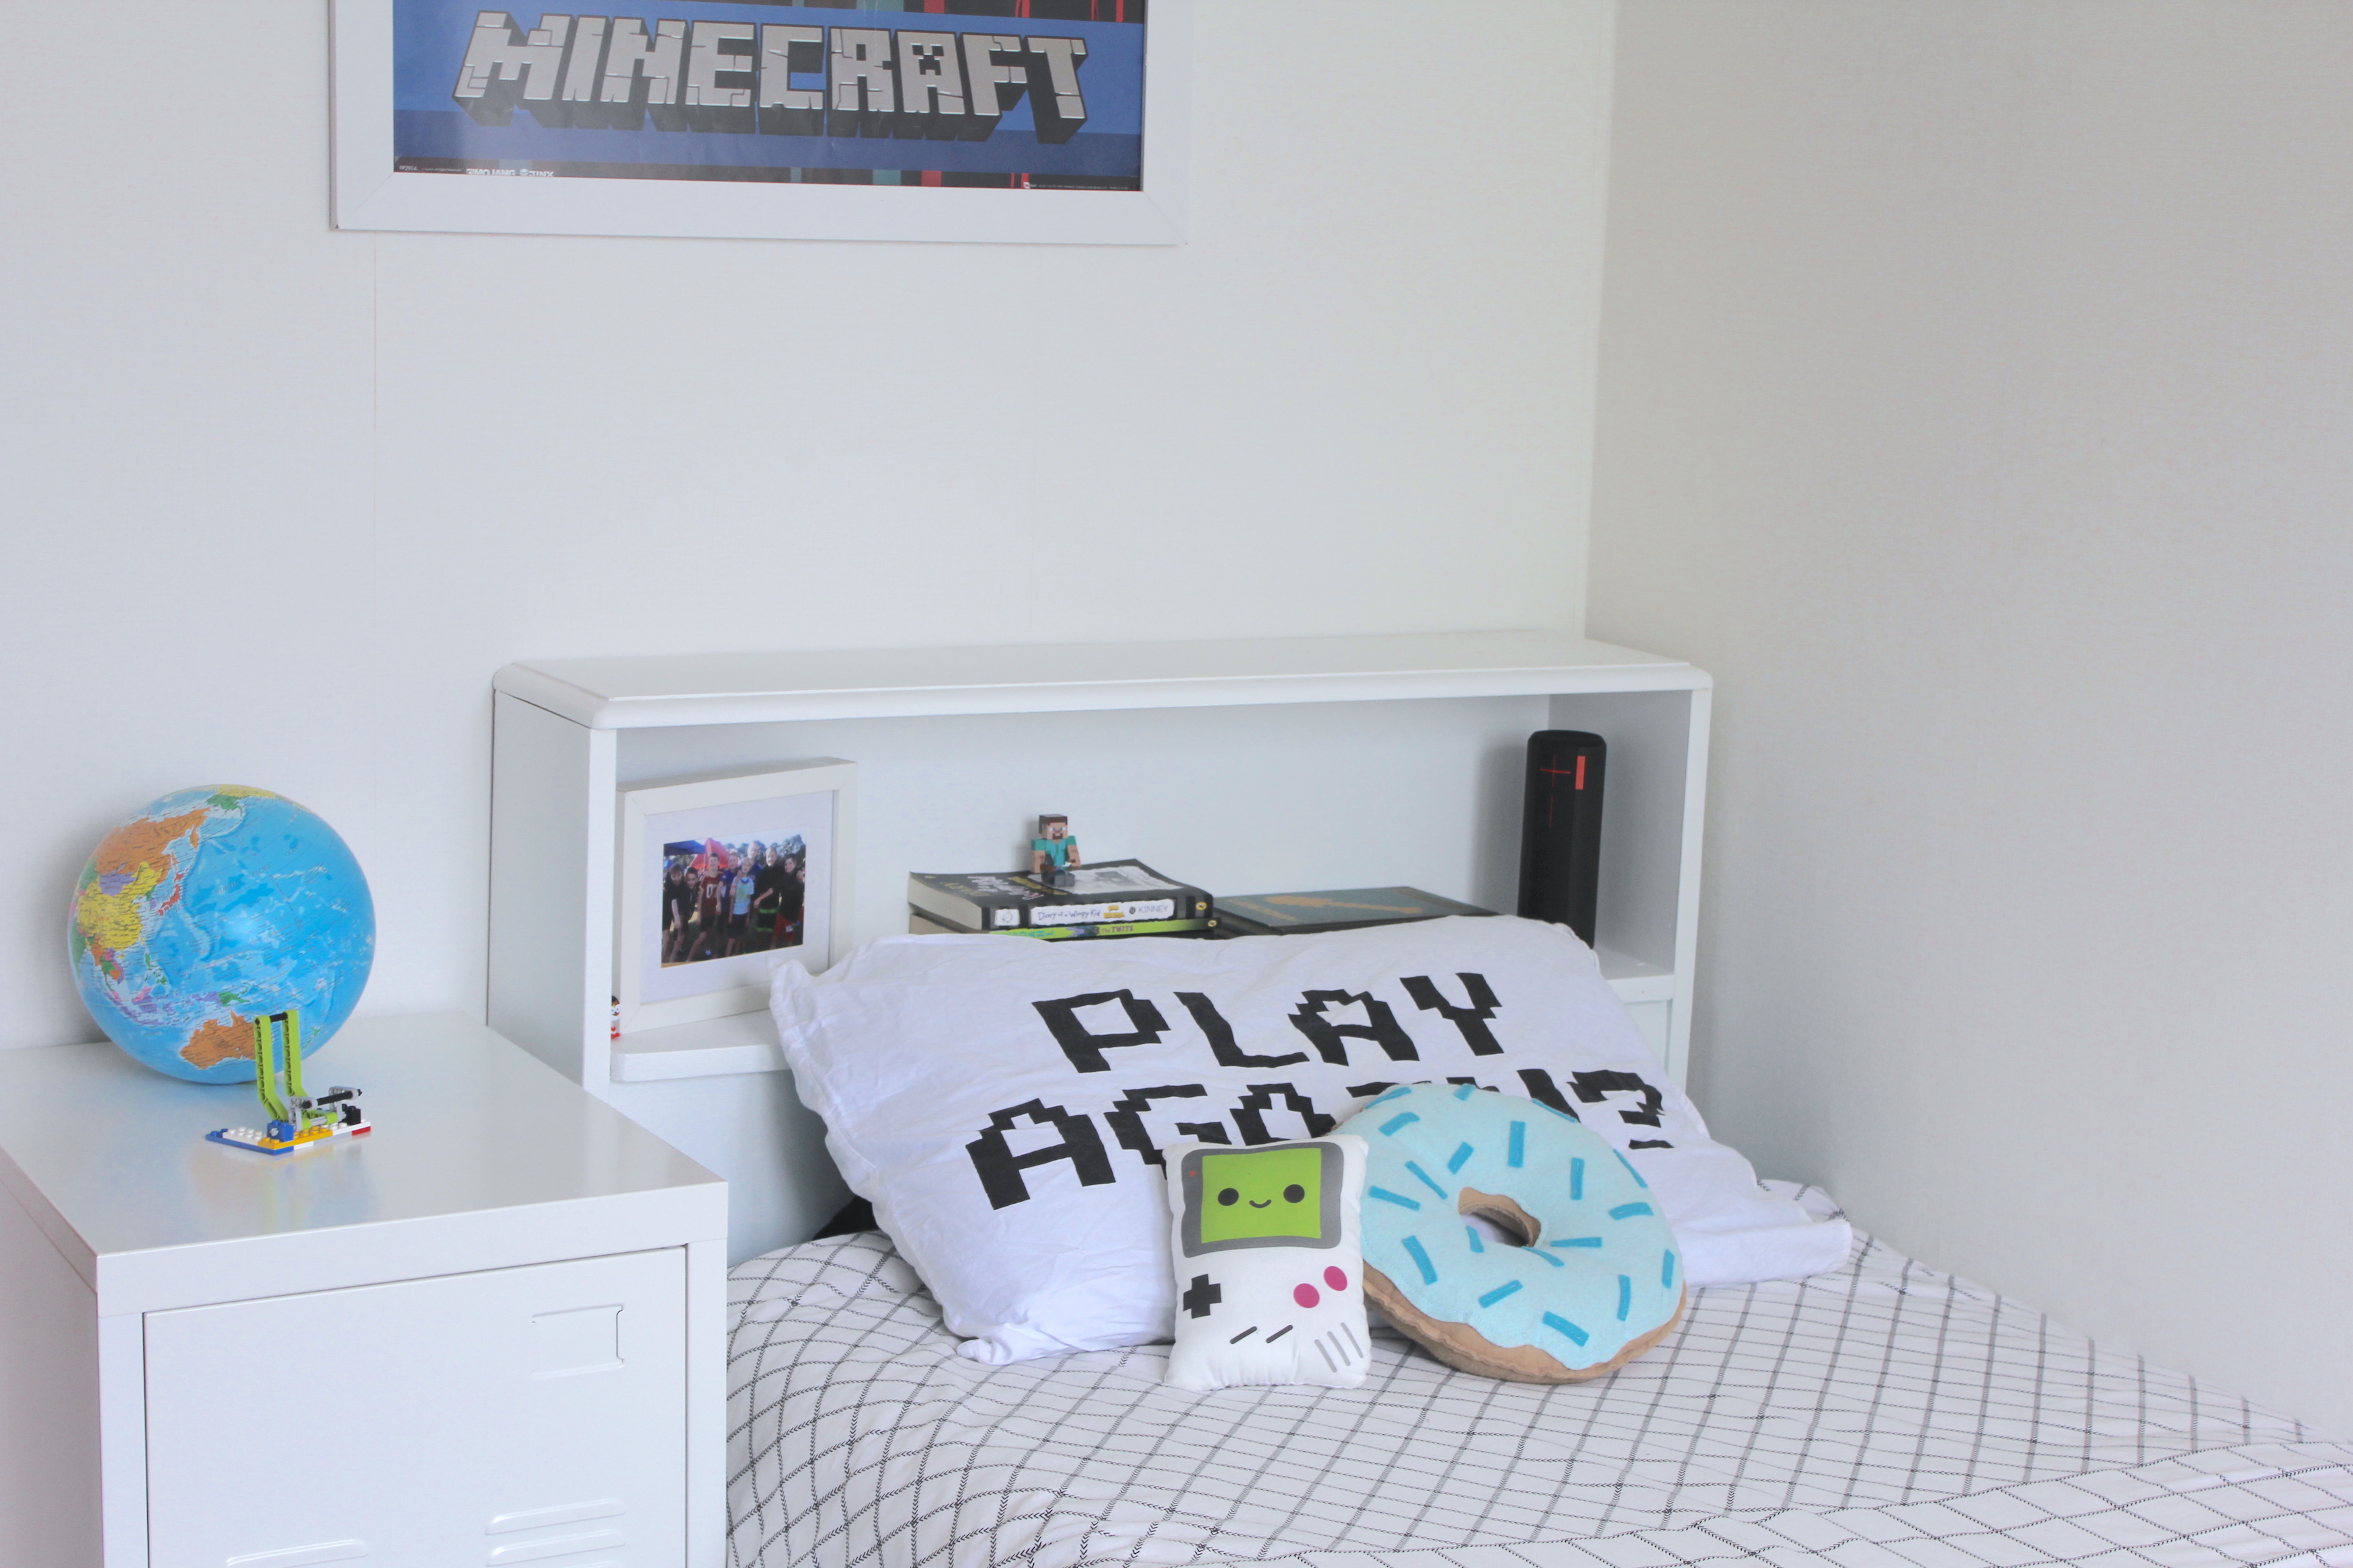
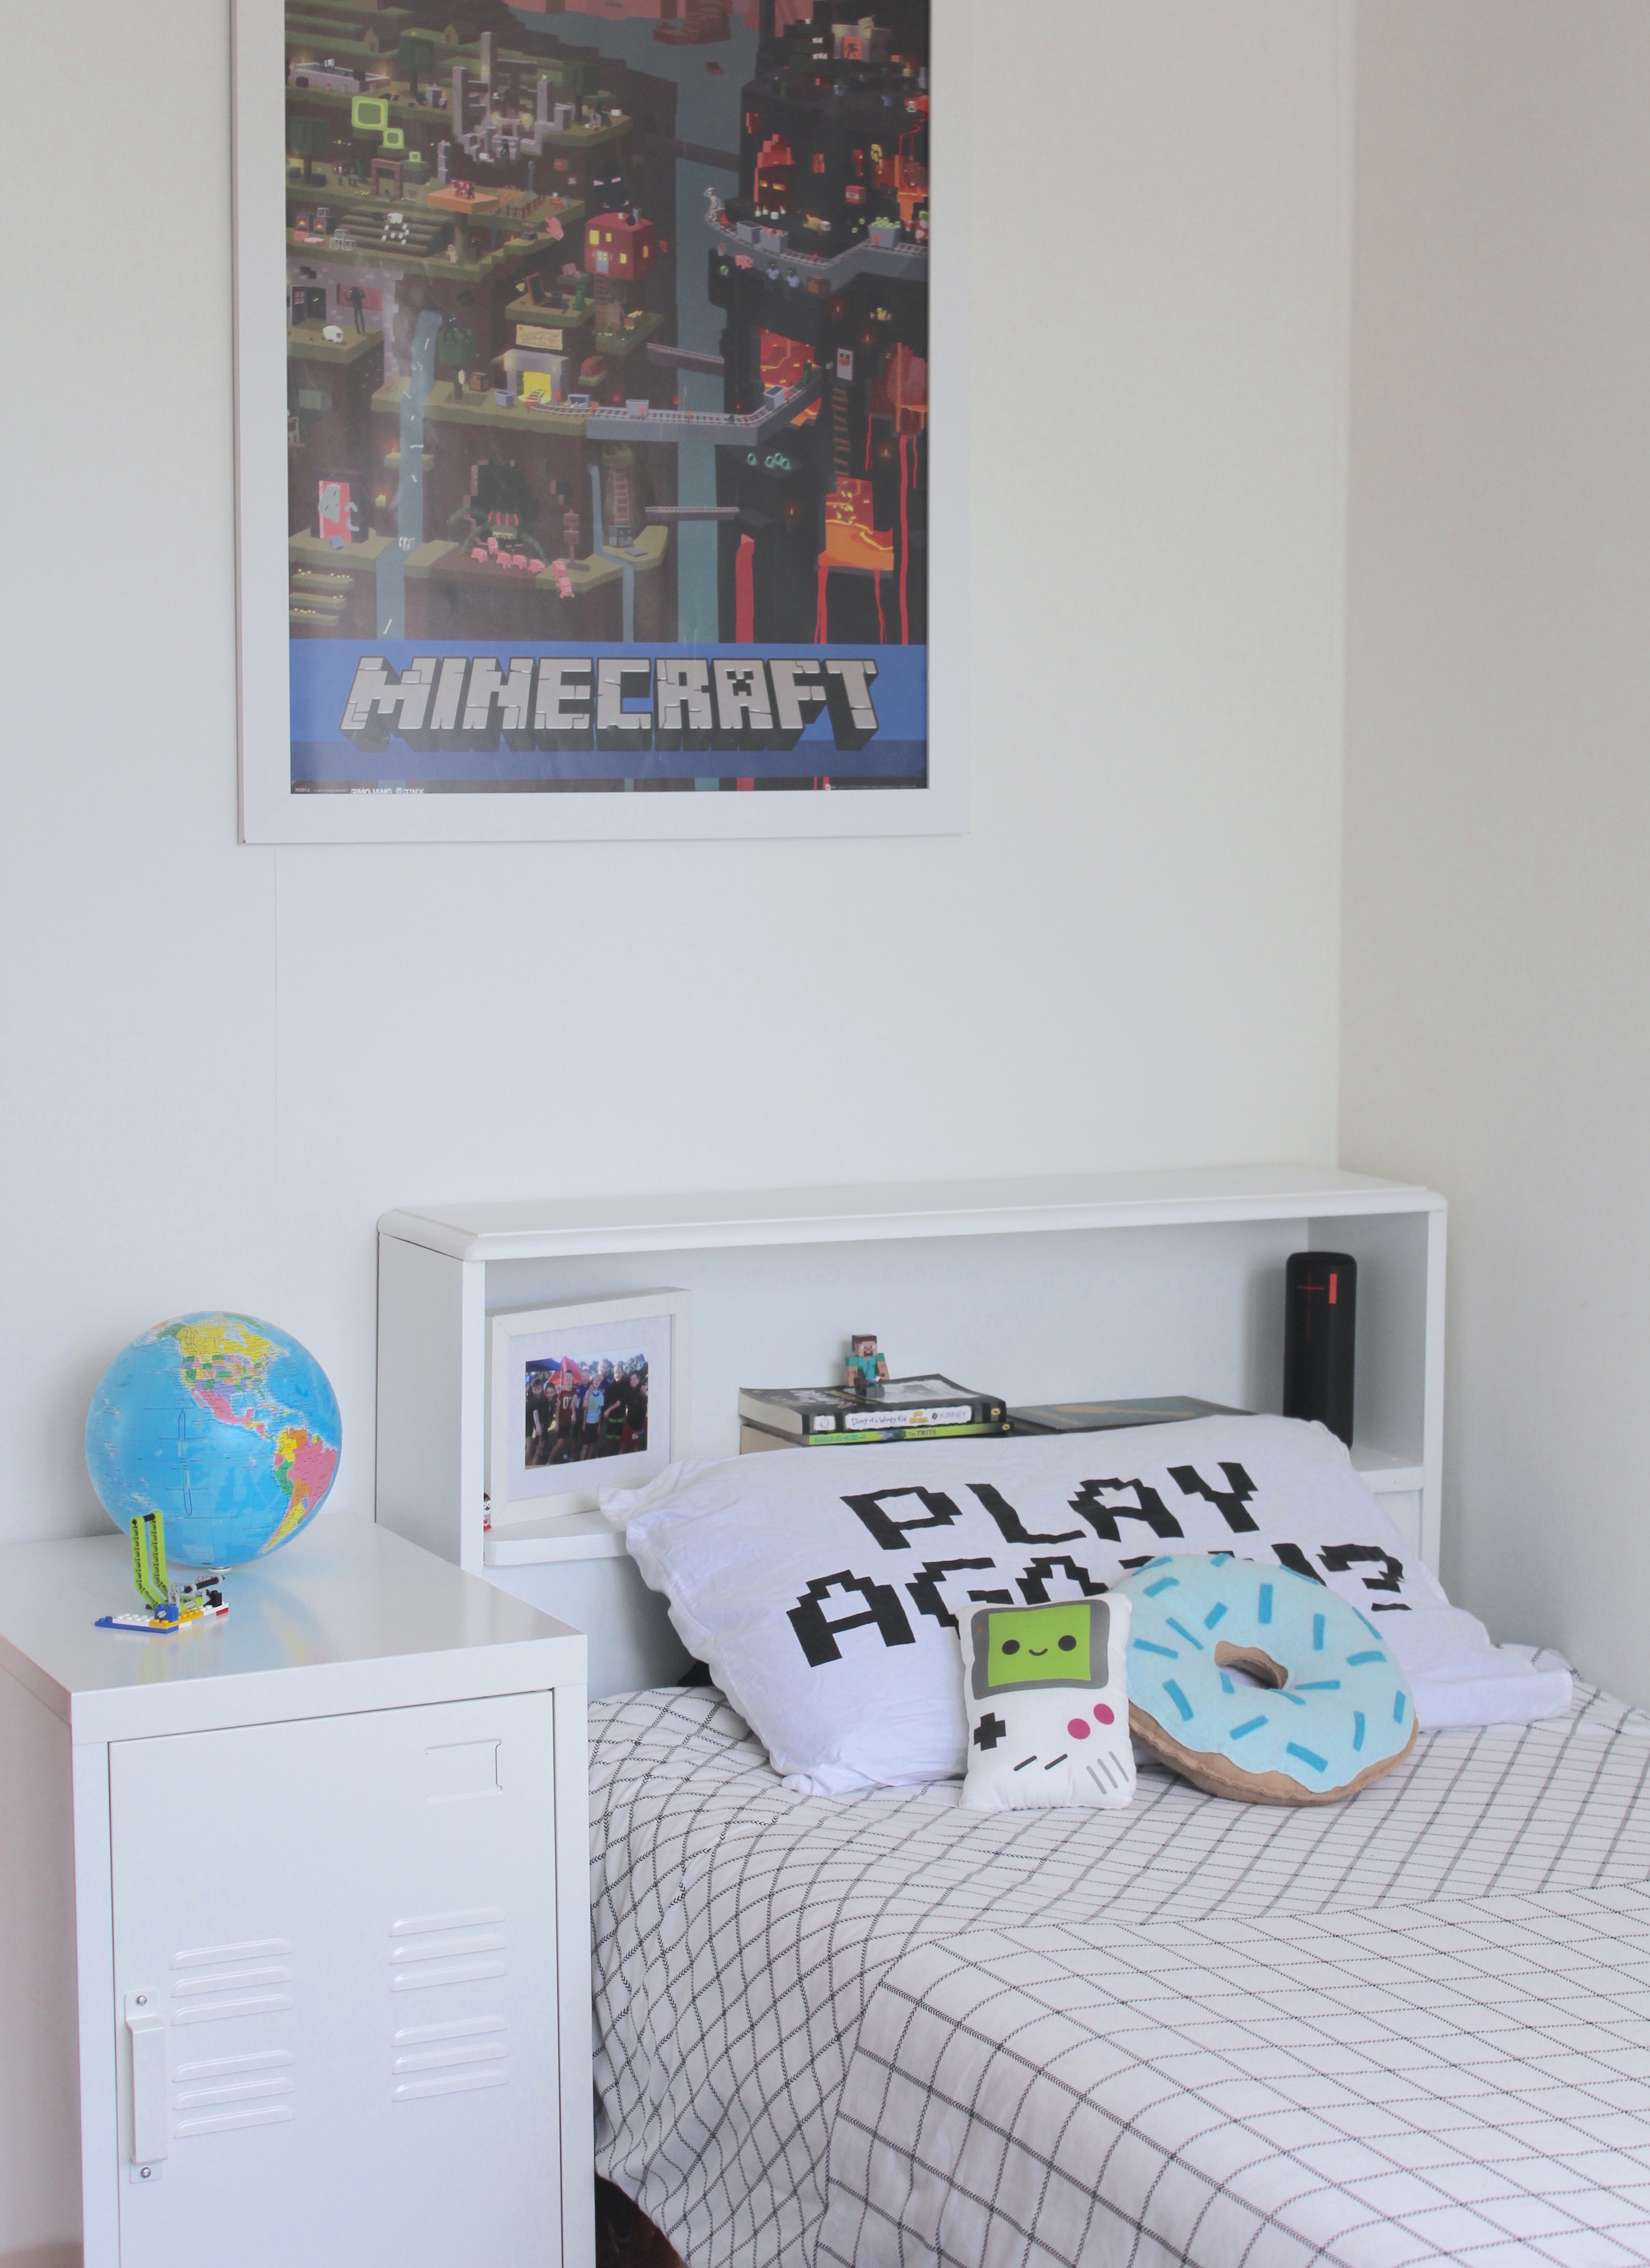
Initially the yellow stain was throwing it off for me and I wasn’t 100% sure if it was going to work. After sanding, priming and painting in Dulux Okarito White, the finished product was better than expected. A cheap project for a total spend of $15 and a great functional piece of furniture that Dylan can style himself.

The post DIY Recessed bedhead appeared first on The Home Scene.
]]>The post Jimmy’s room appeared first on The Home Scene.
]]>Although we loved the boys sharing a room, as Dylan got older we moved him in to the spare room to give the boys their own space. Rather than a quick makeover, the room was a slow renovation over a few months, earlier this year.
My style aesthetic leans towards monochrome and Scandinavian design, with my love of black, white, neutrals and timber simplicity. For those who aren’t fans of this style (I know there are quite a few….), I do love to incorporate pops of colour throughout our home.
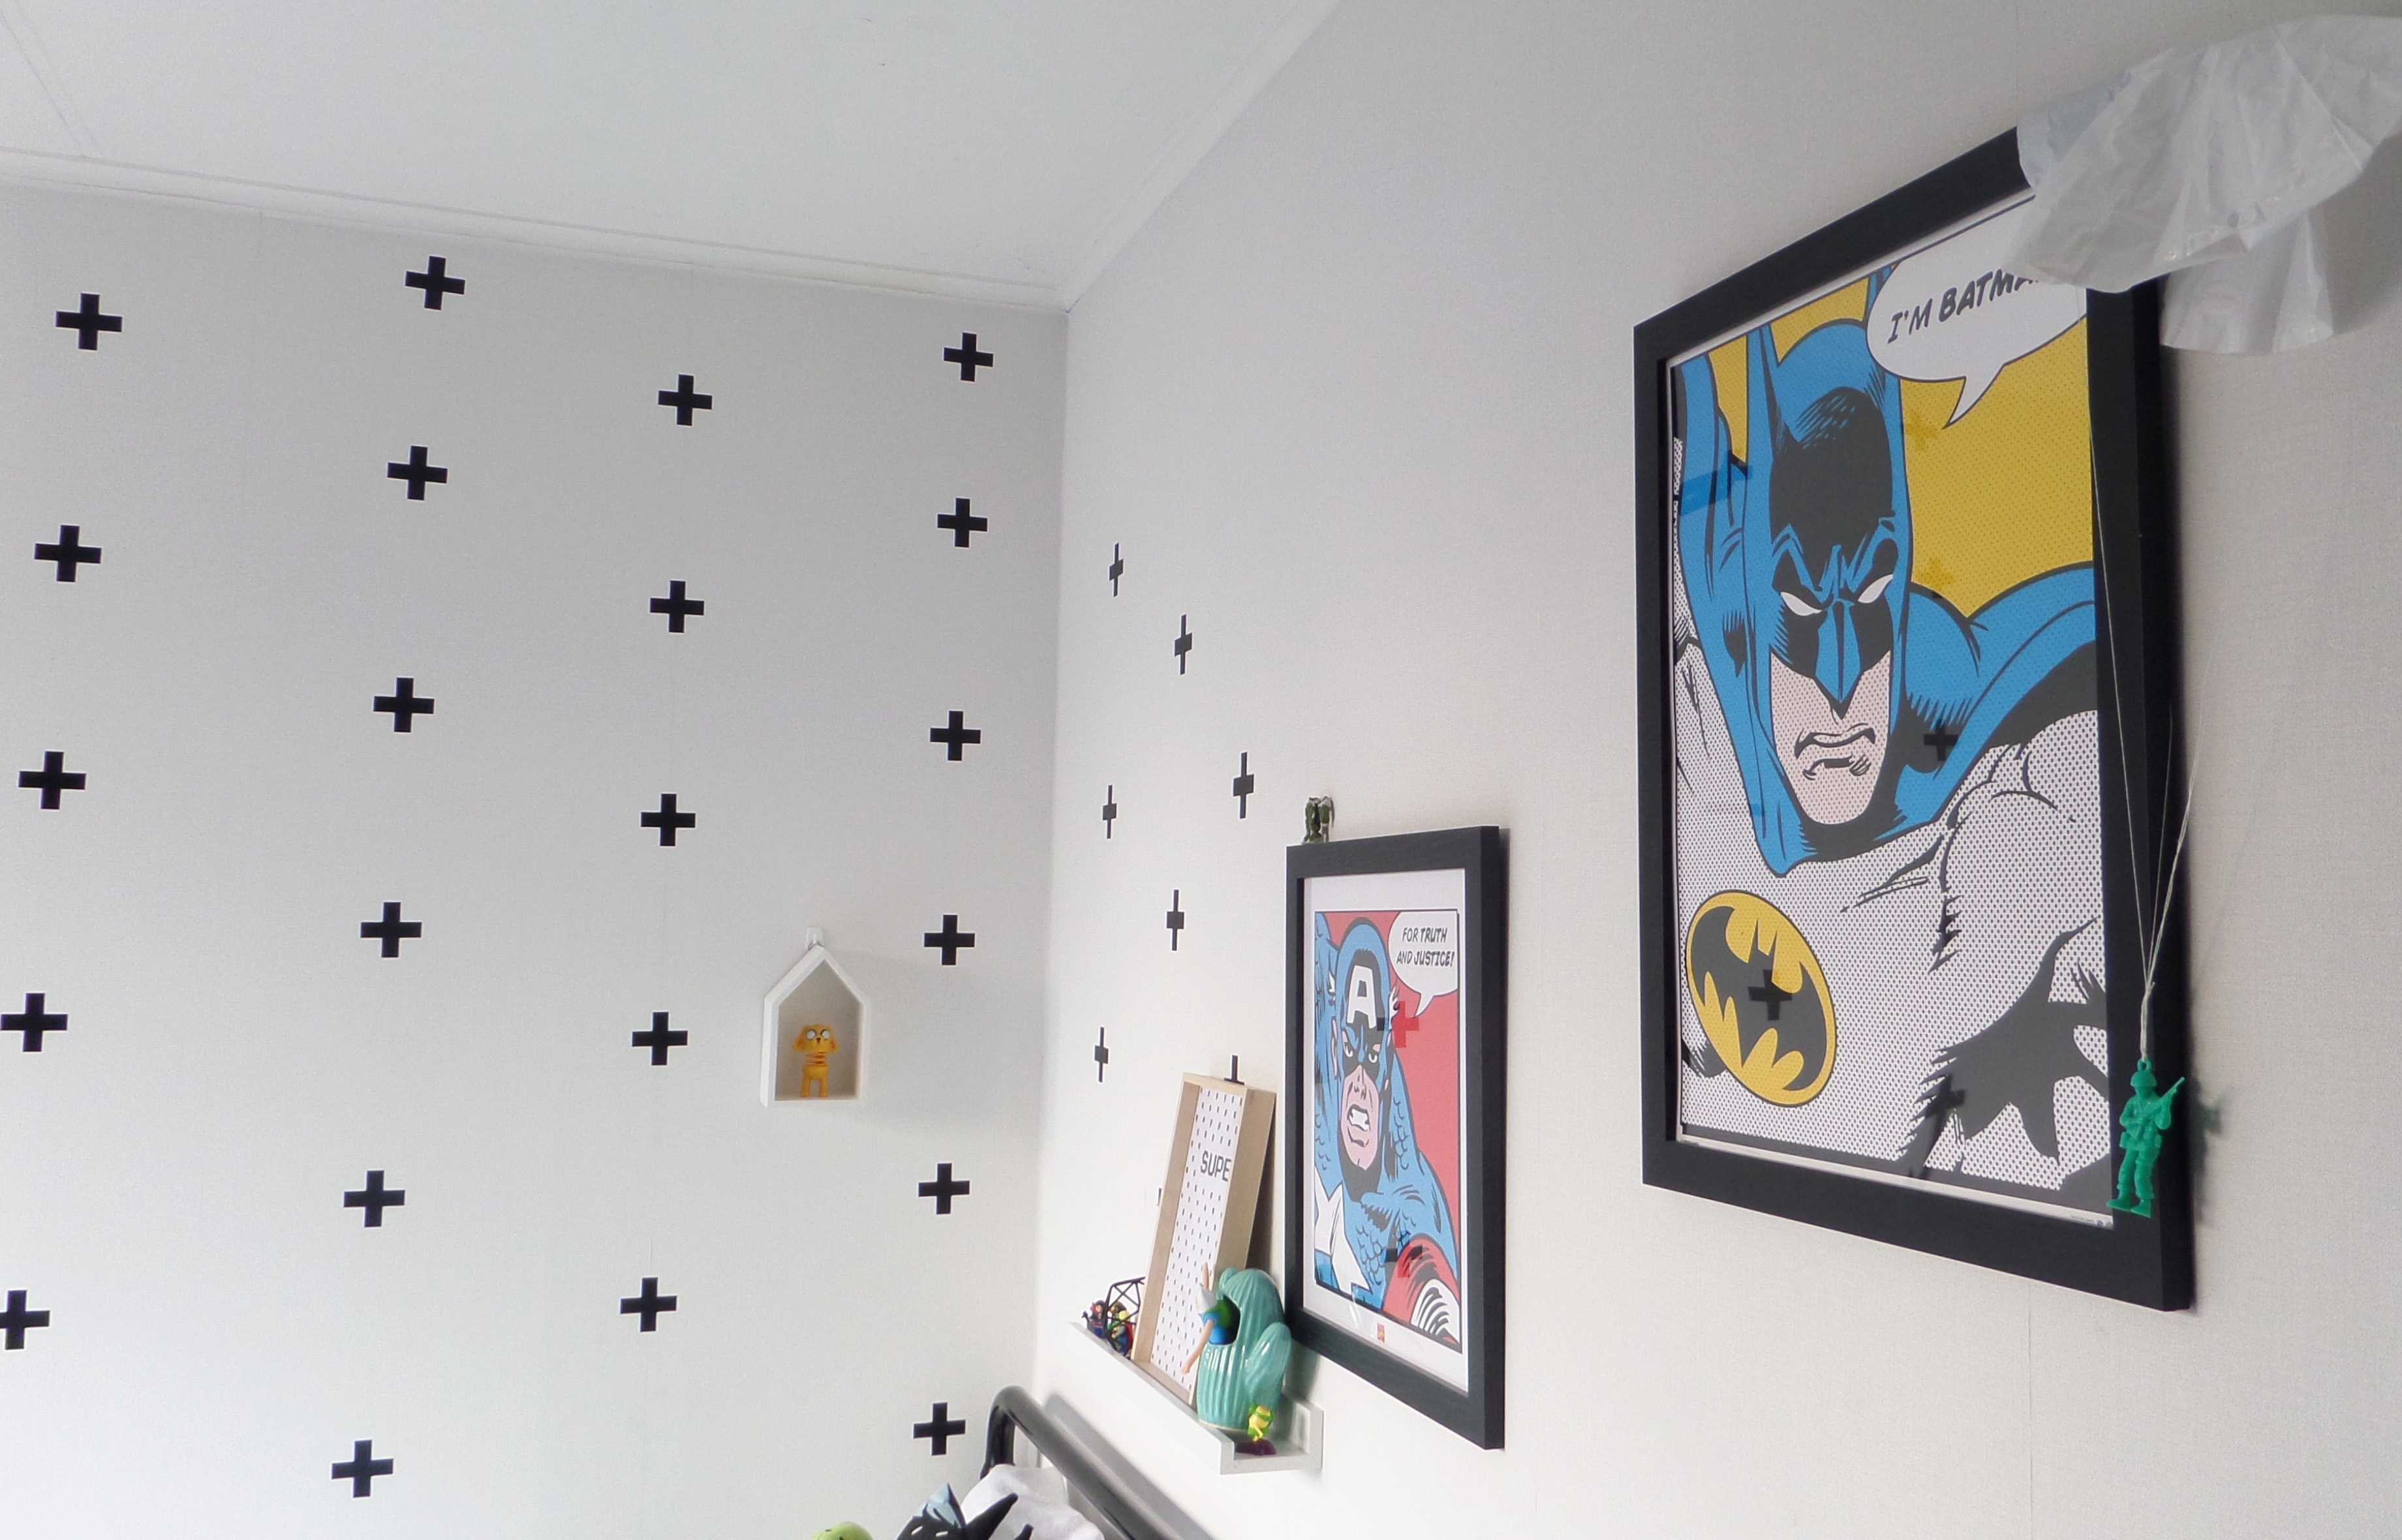
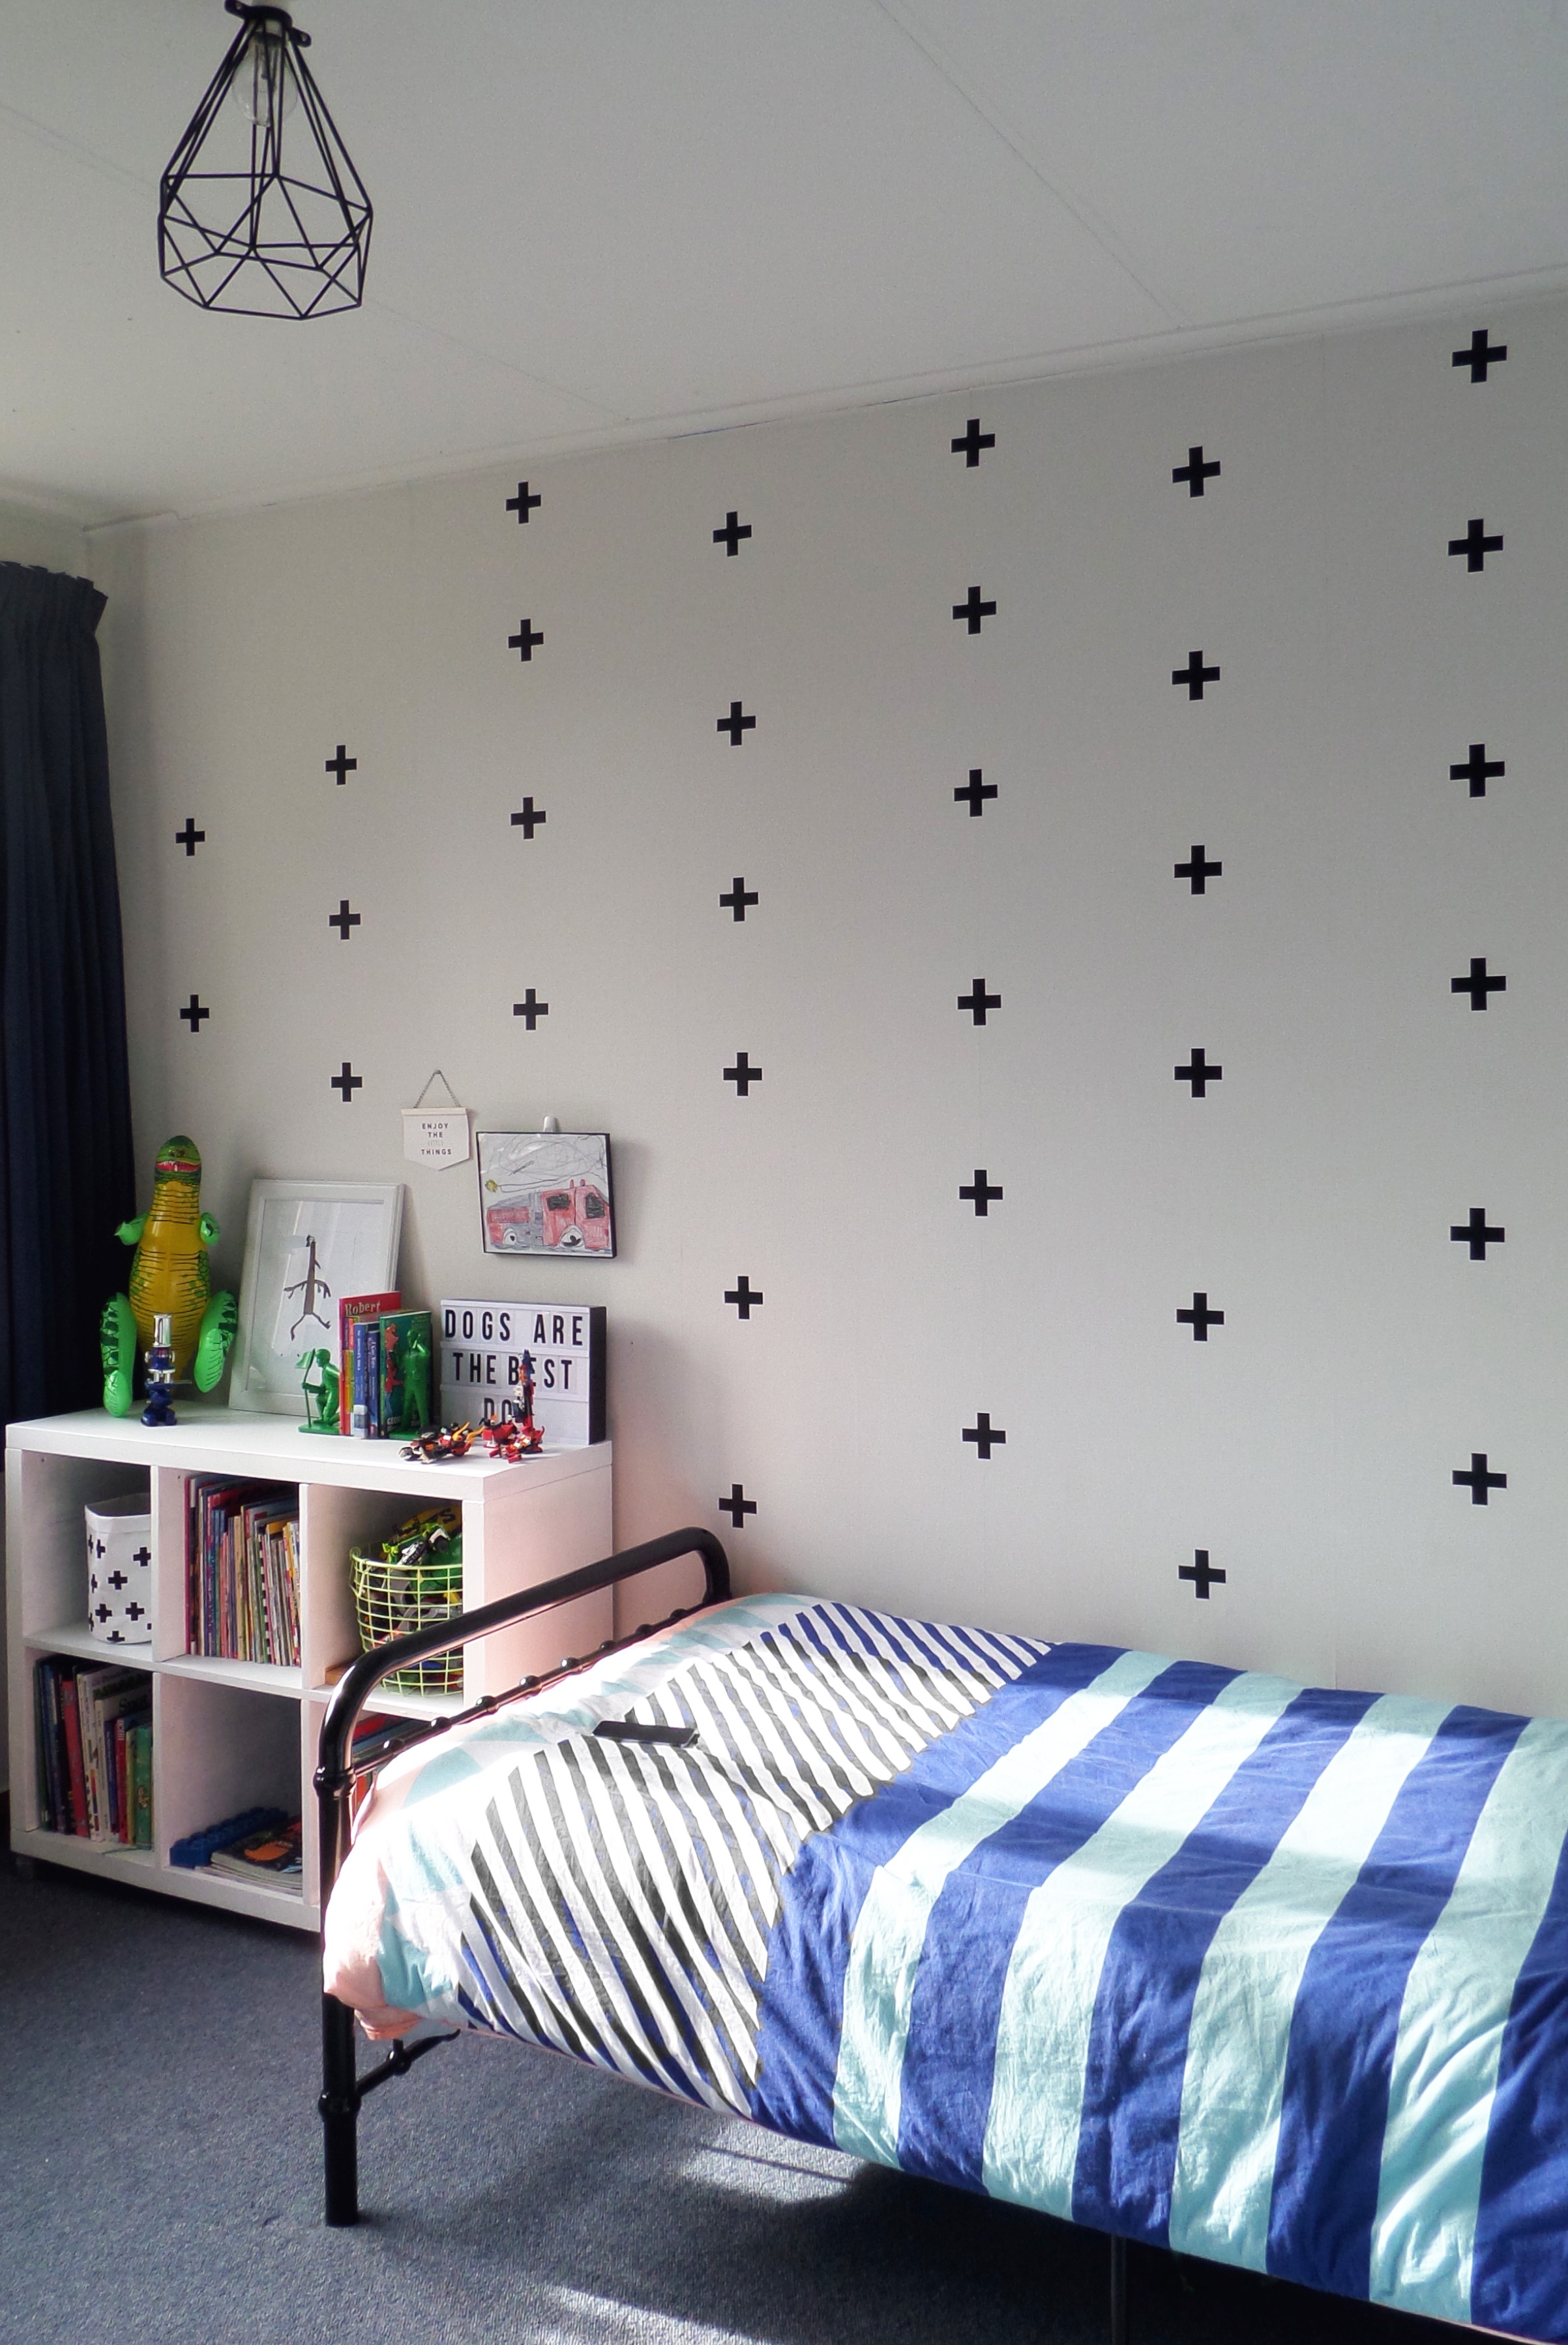
Jimmy loves all things super hero so I wanted to incorporate this in to the design without taking over the space. The newly purchased black Sonata bed from Mocka has replaced the old tired wooden frame and has transformed the room, pulling the look of it altogether.
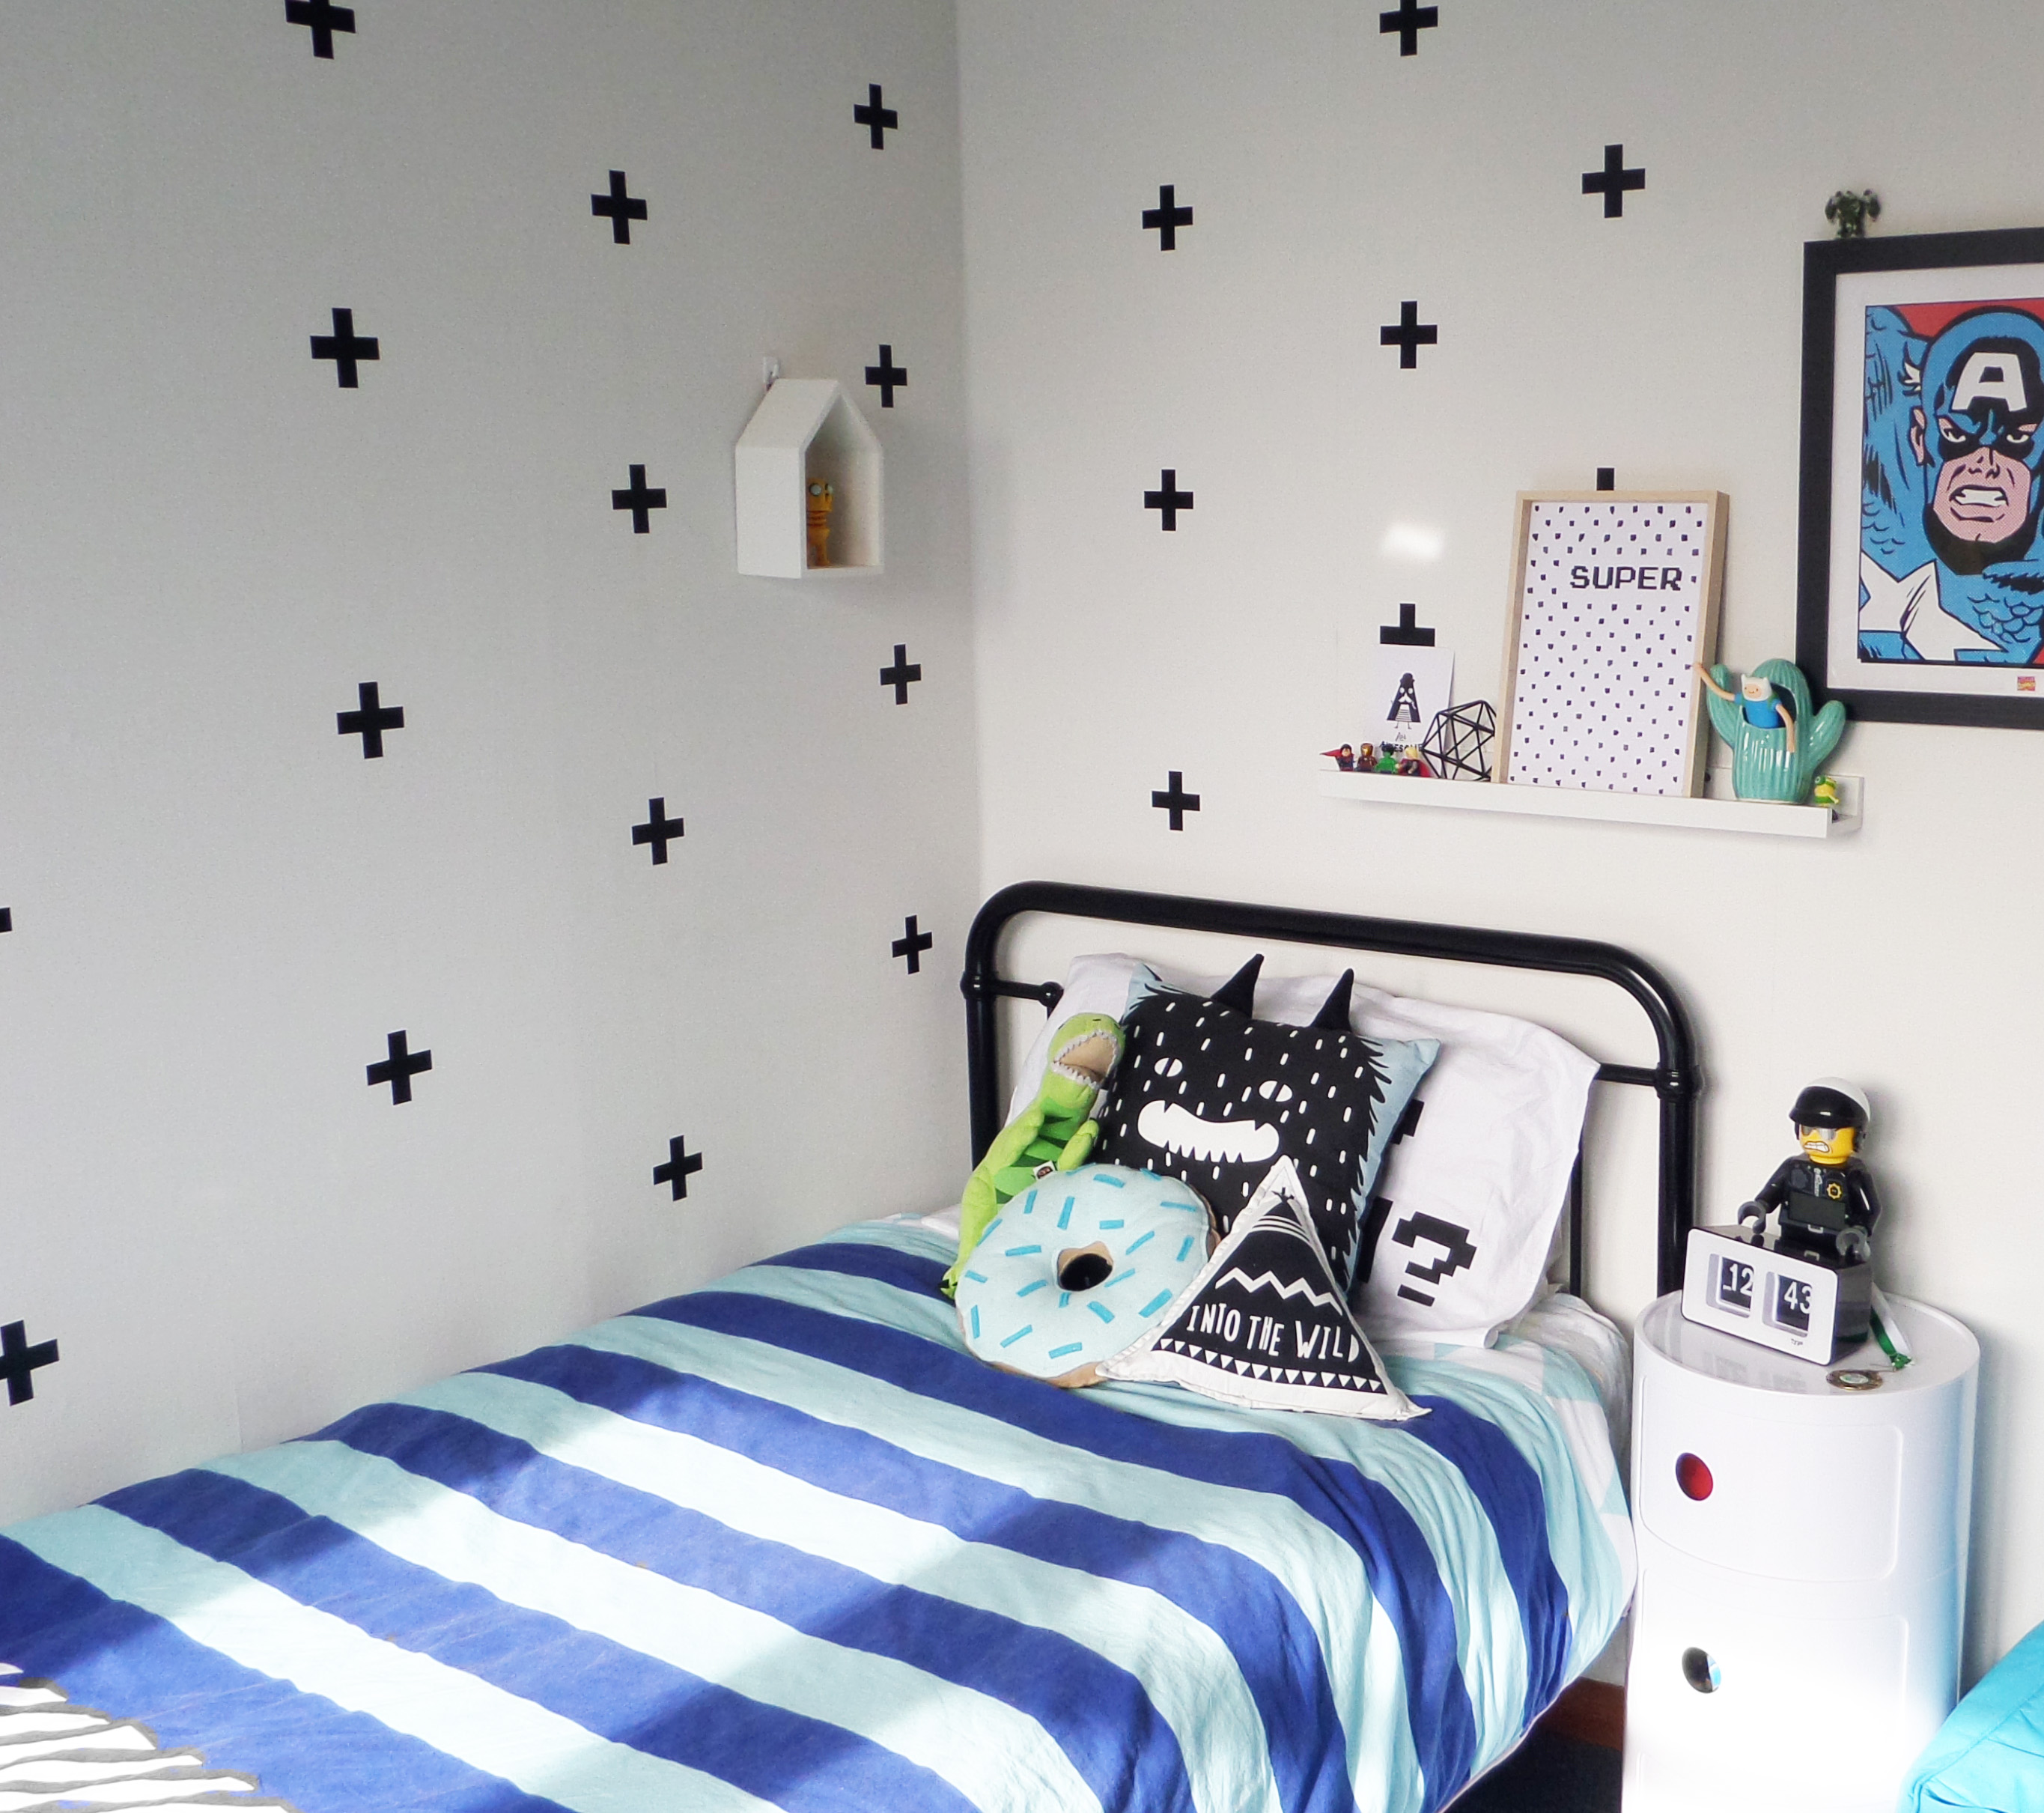
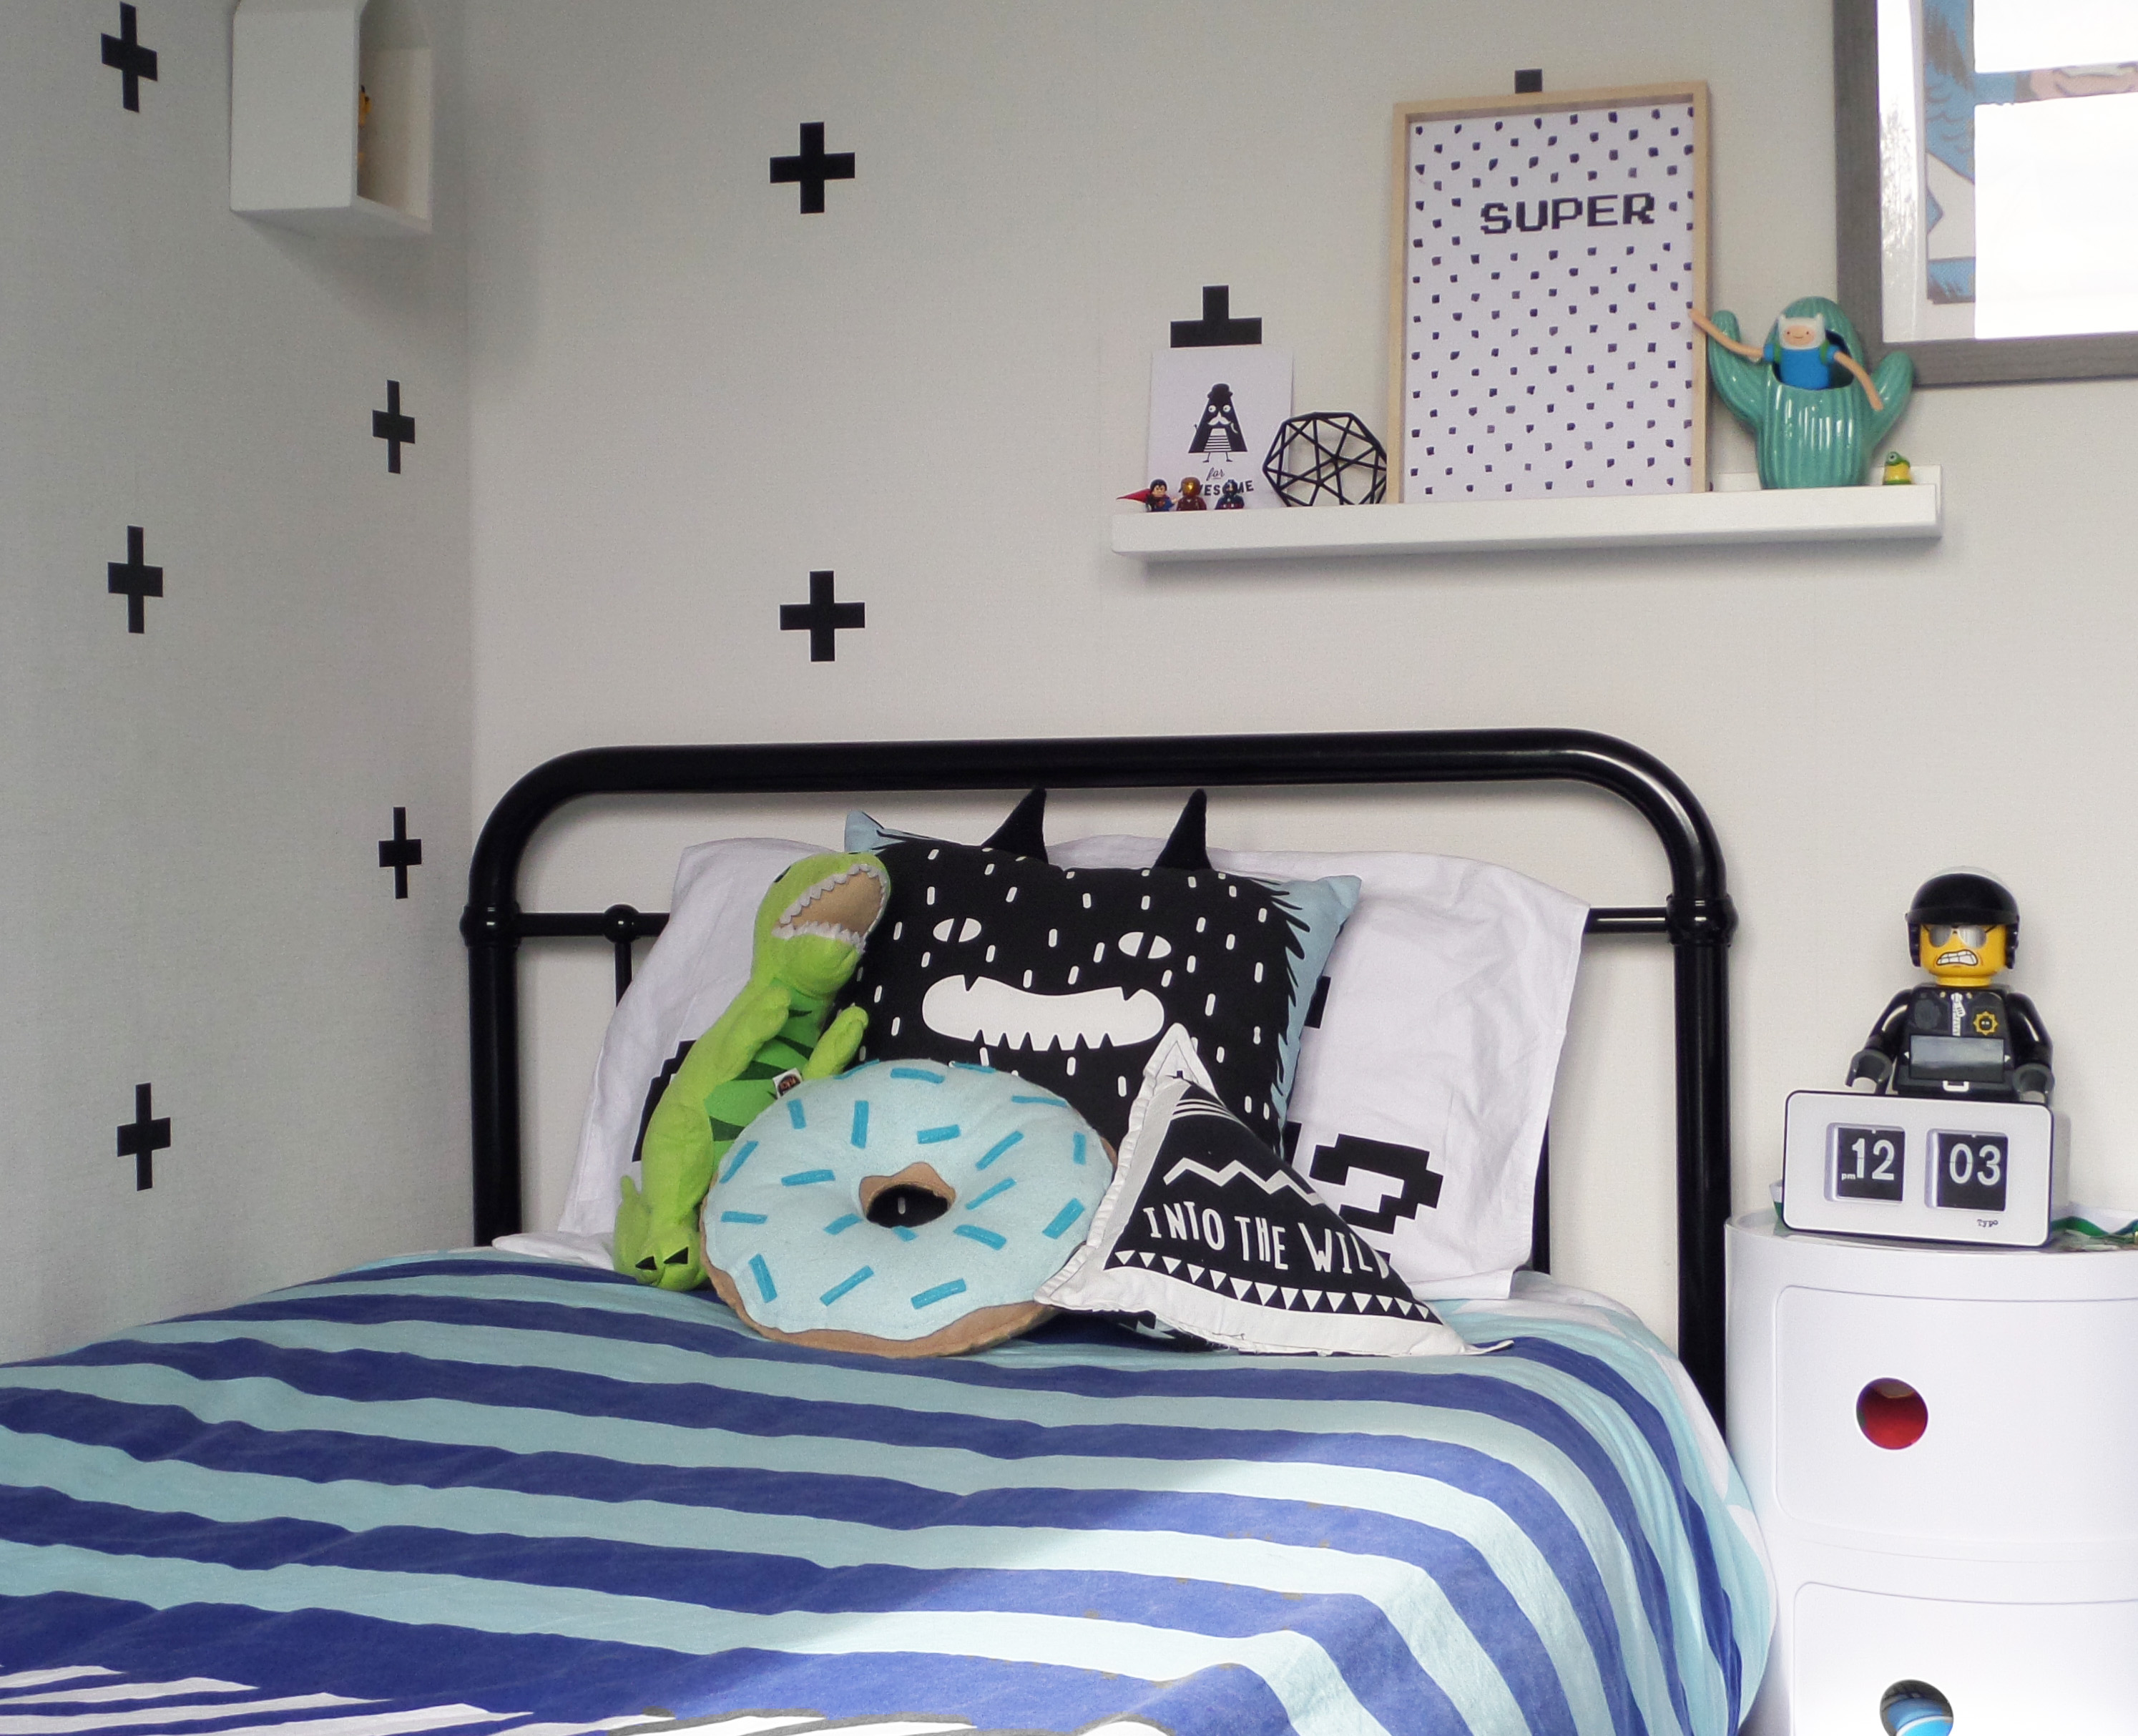
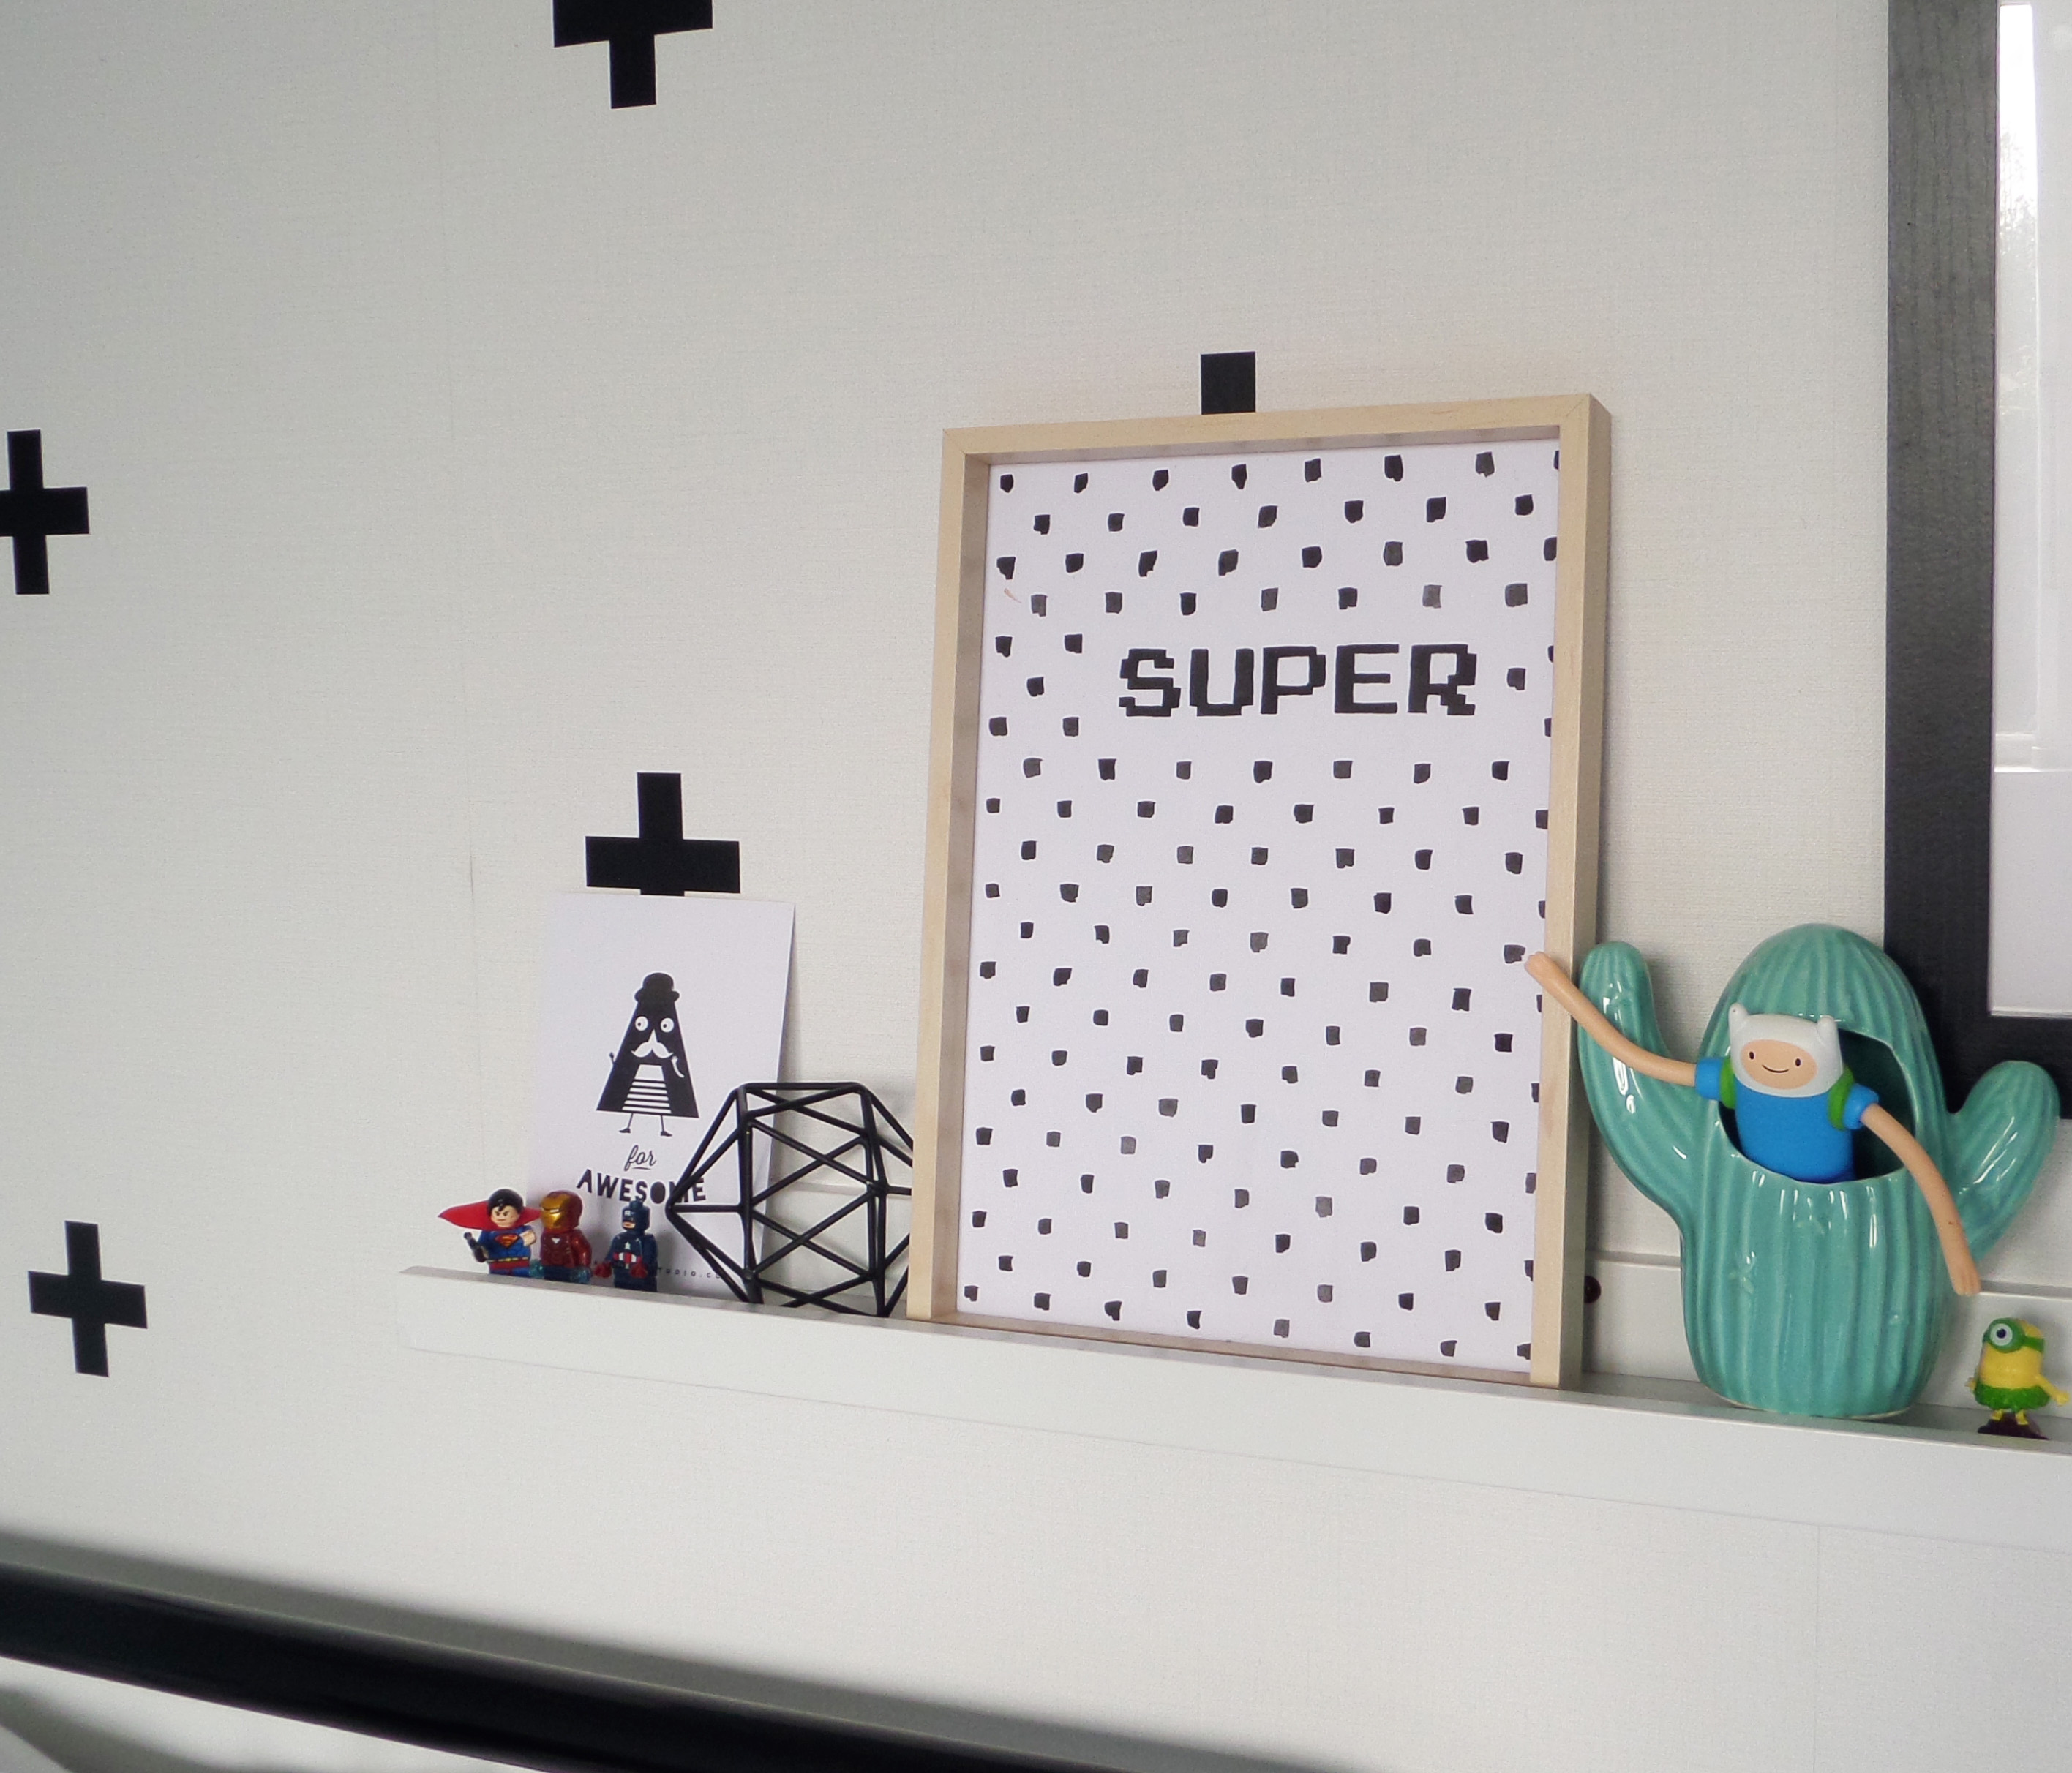
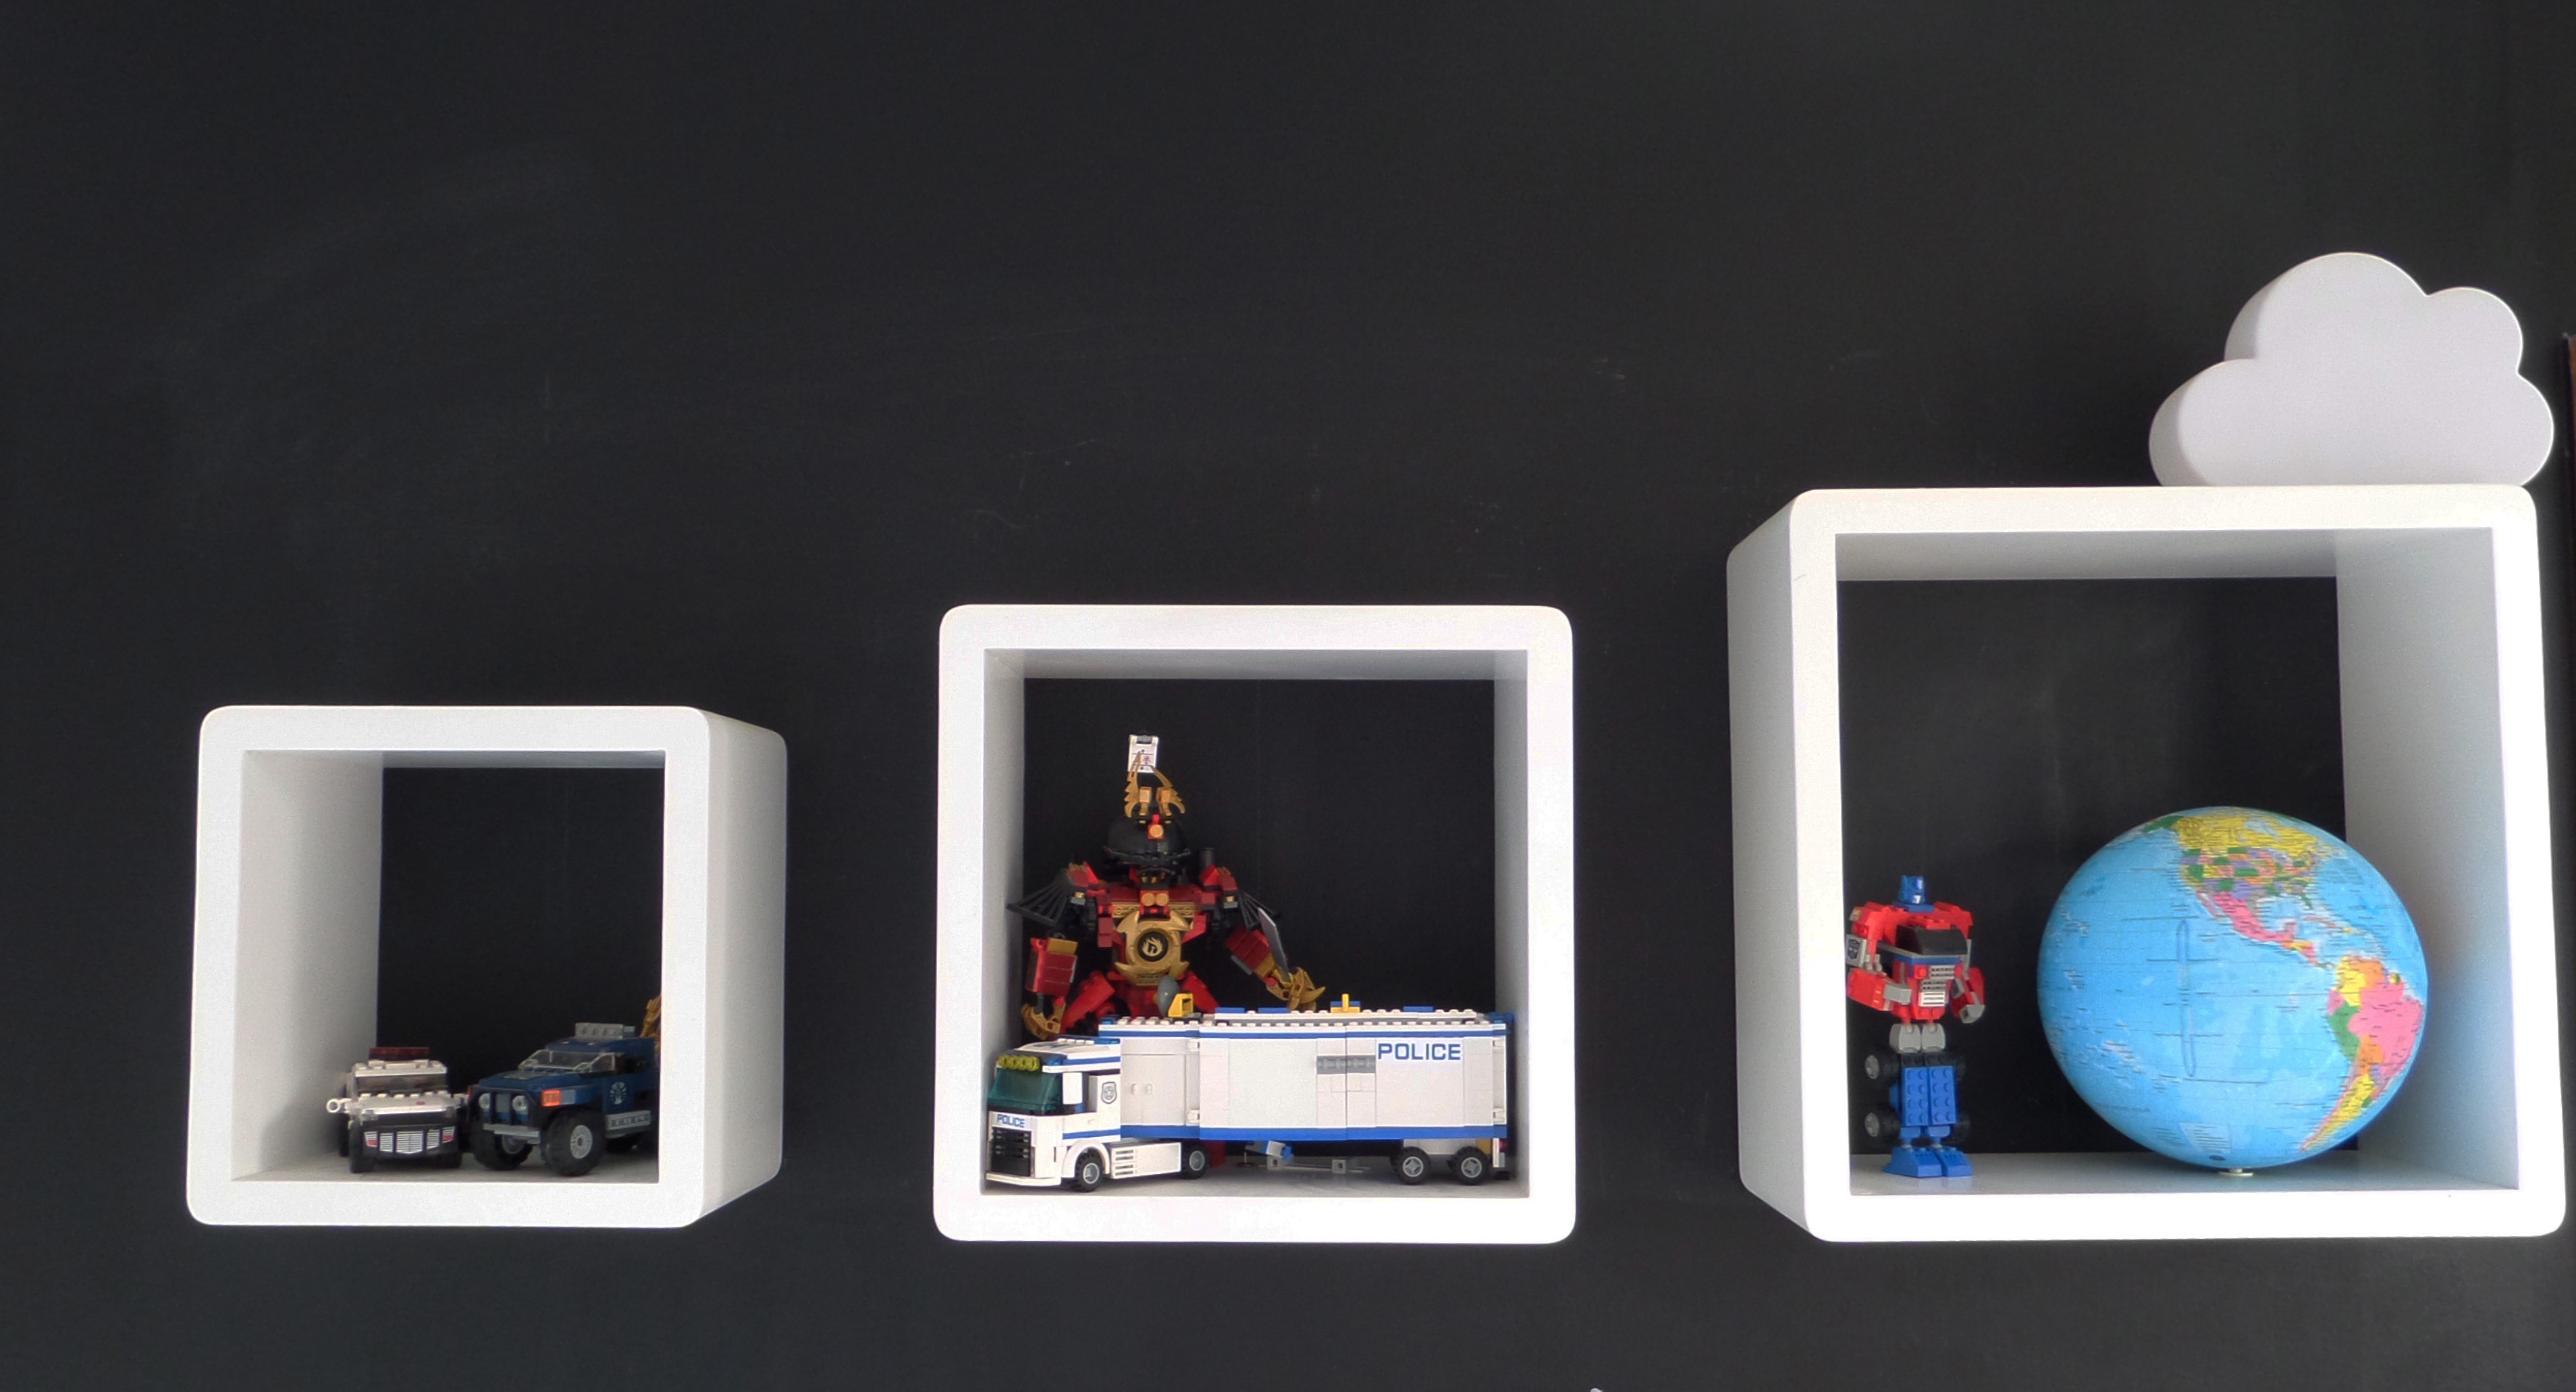
The Ikea picture ledge positioned above Jimmy’s bed gives him a dedicated space to change and put his favourite things on display.
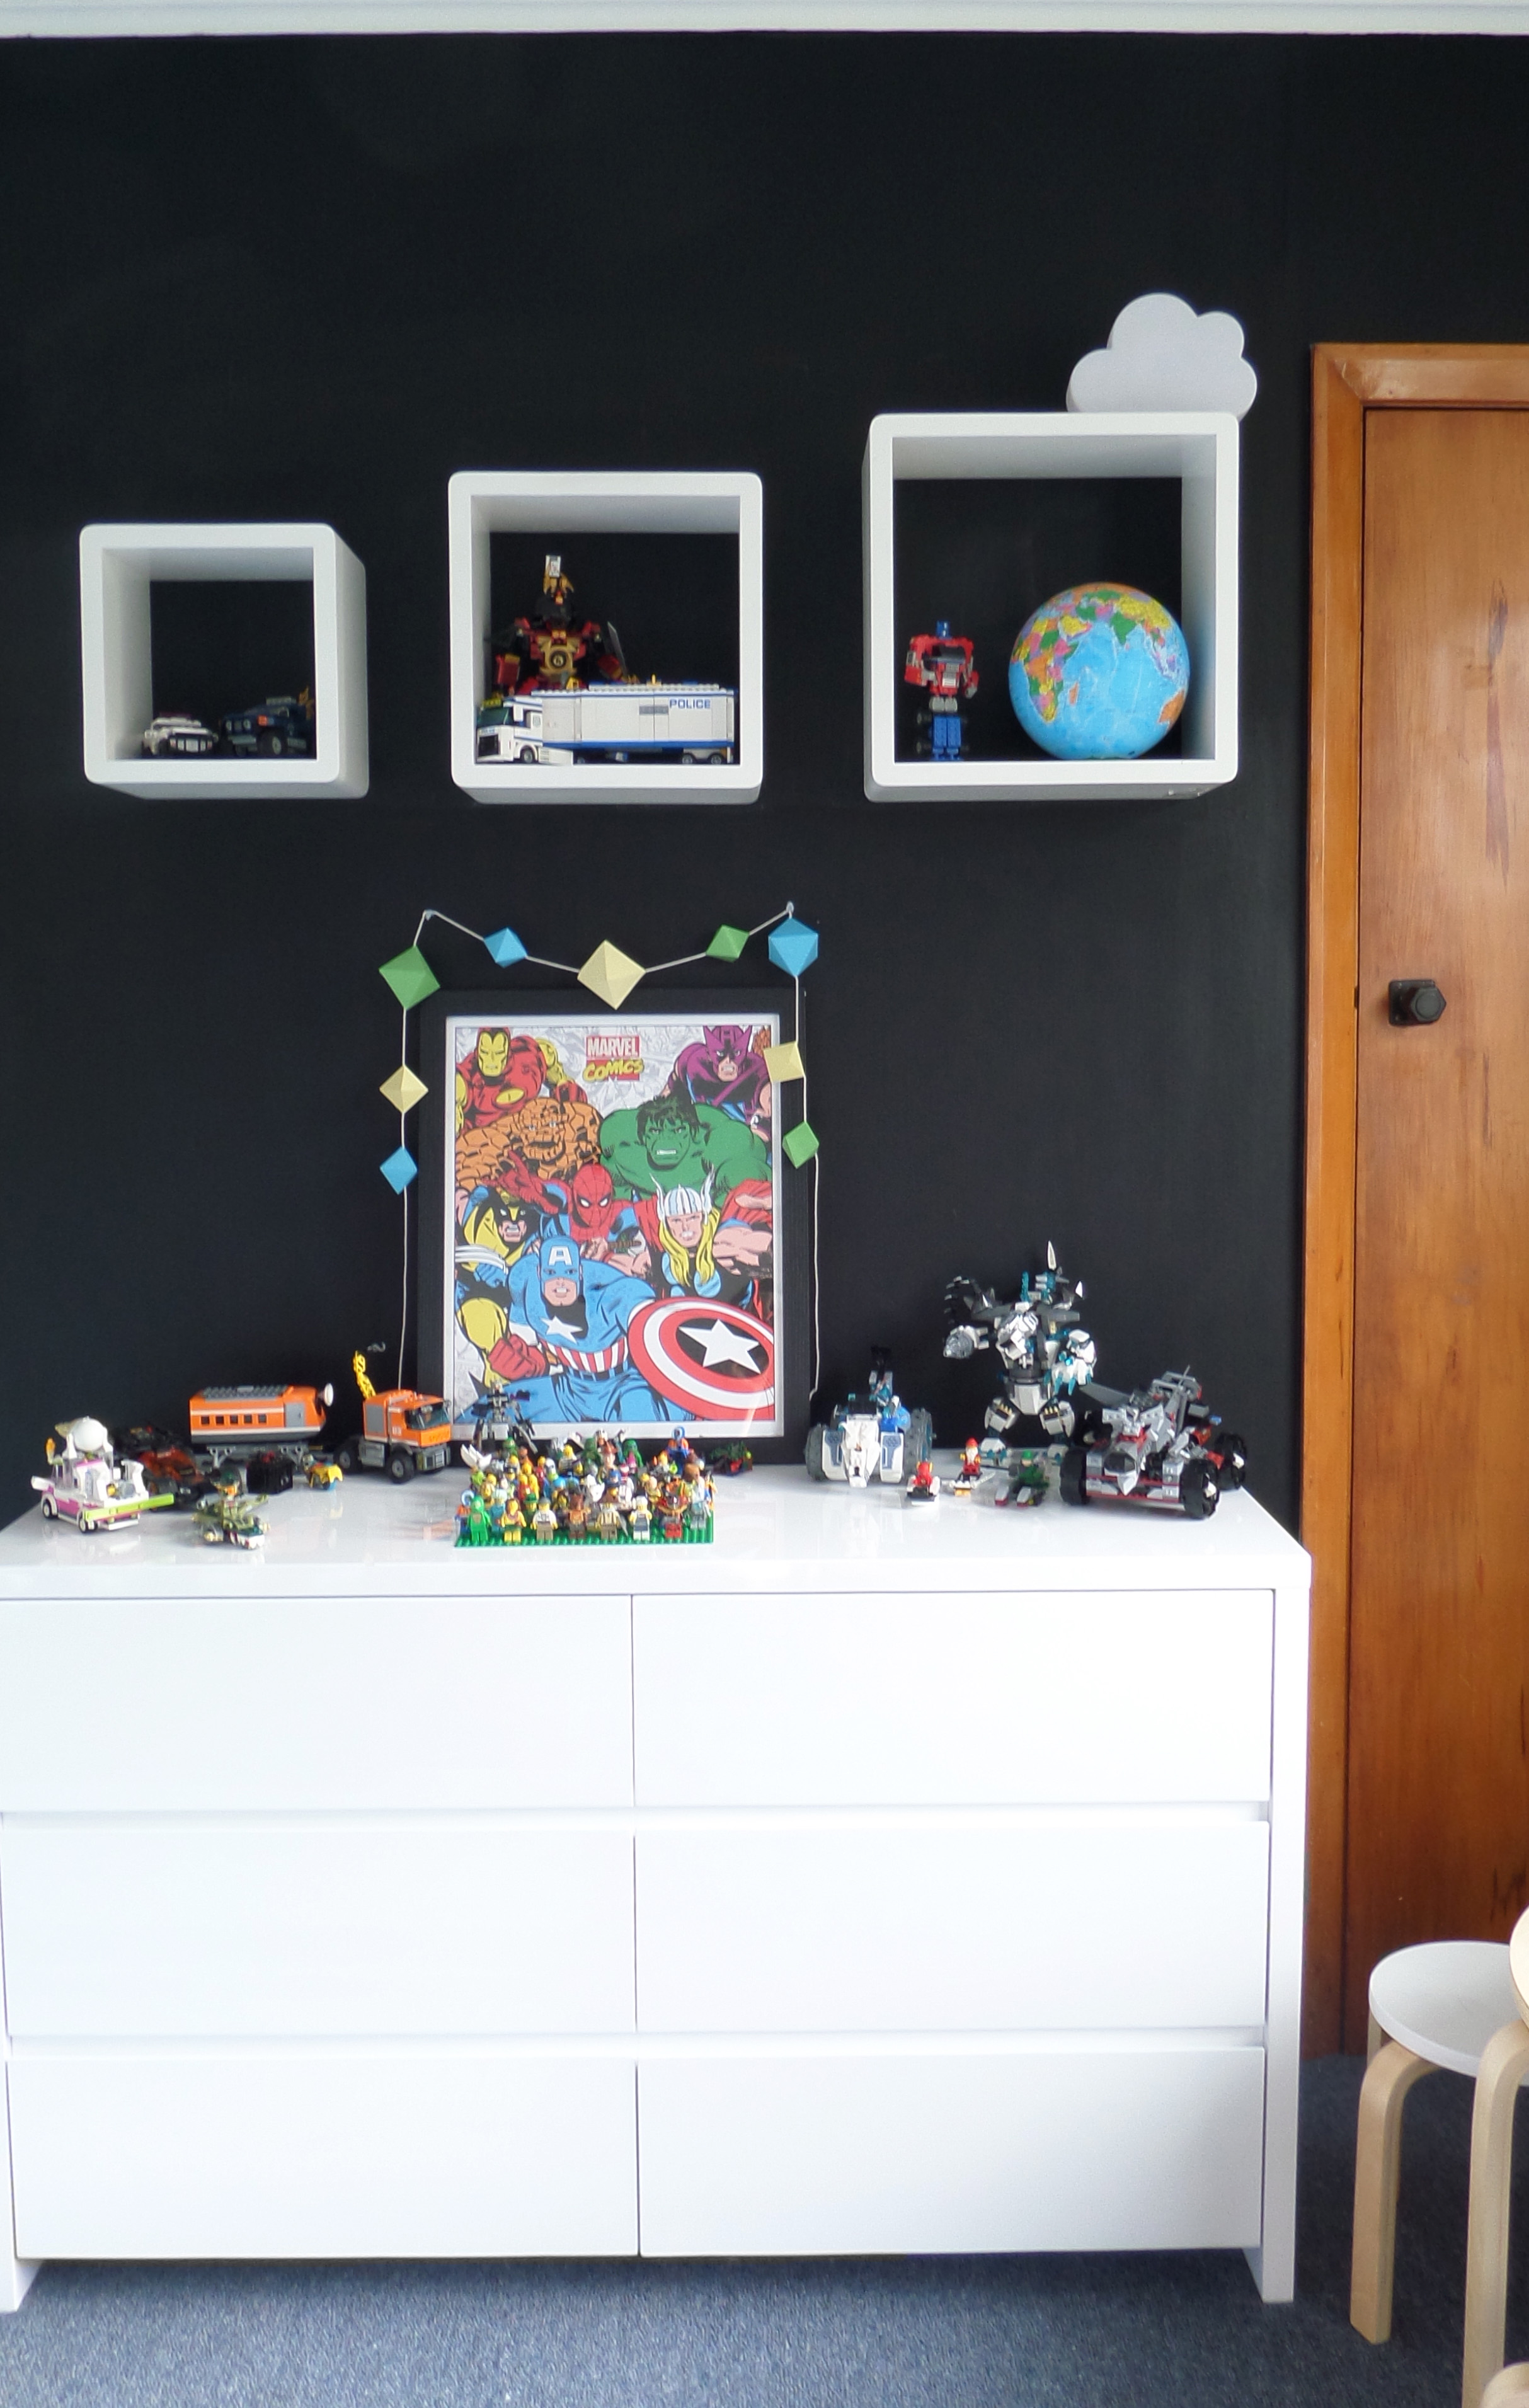
I’m obsessed with Blackboard paint and forever finding new projects to utilise the product. I created the full blackboard wall in the boys shared room 4 years ago. It was a little nerve wracking before that first paint stroke but I loved the effect the strong, black wall had on the space so I extended it in to Dylan’s new room (which I’ll share on the blog soon).
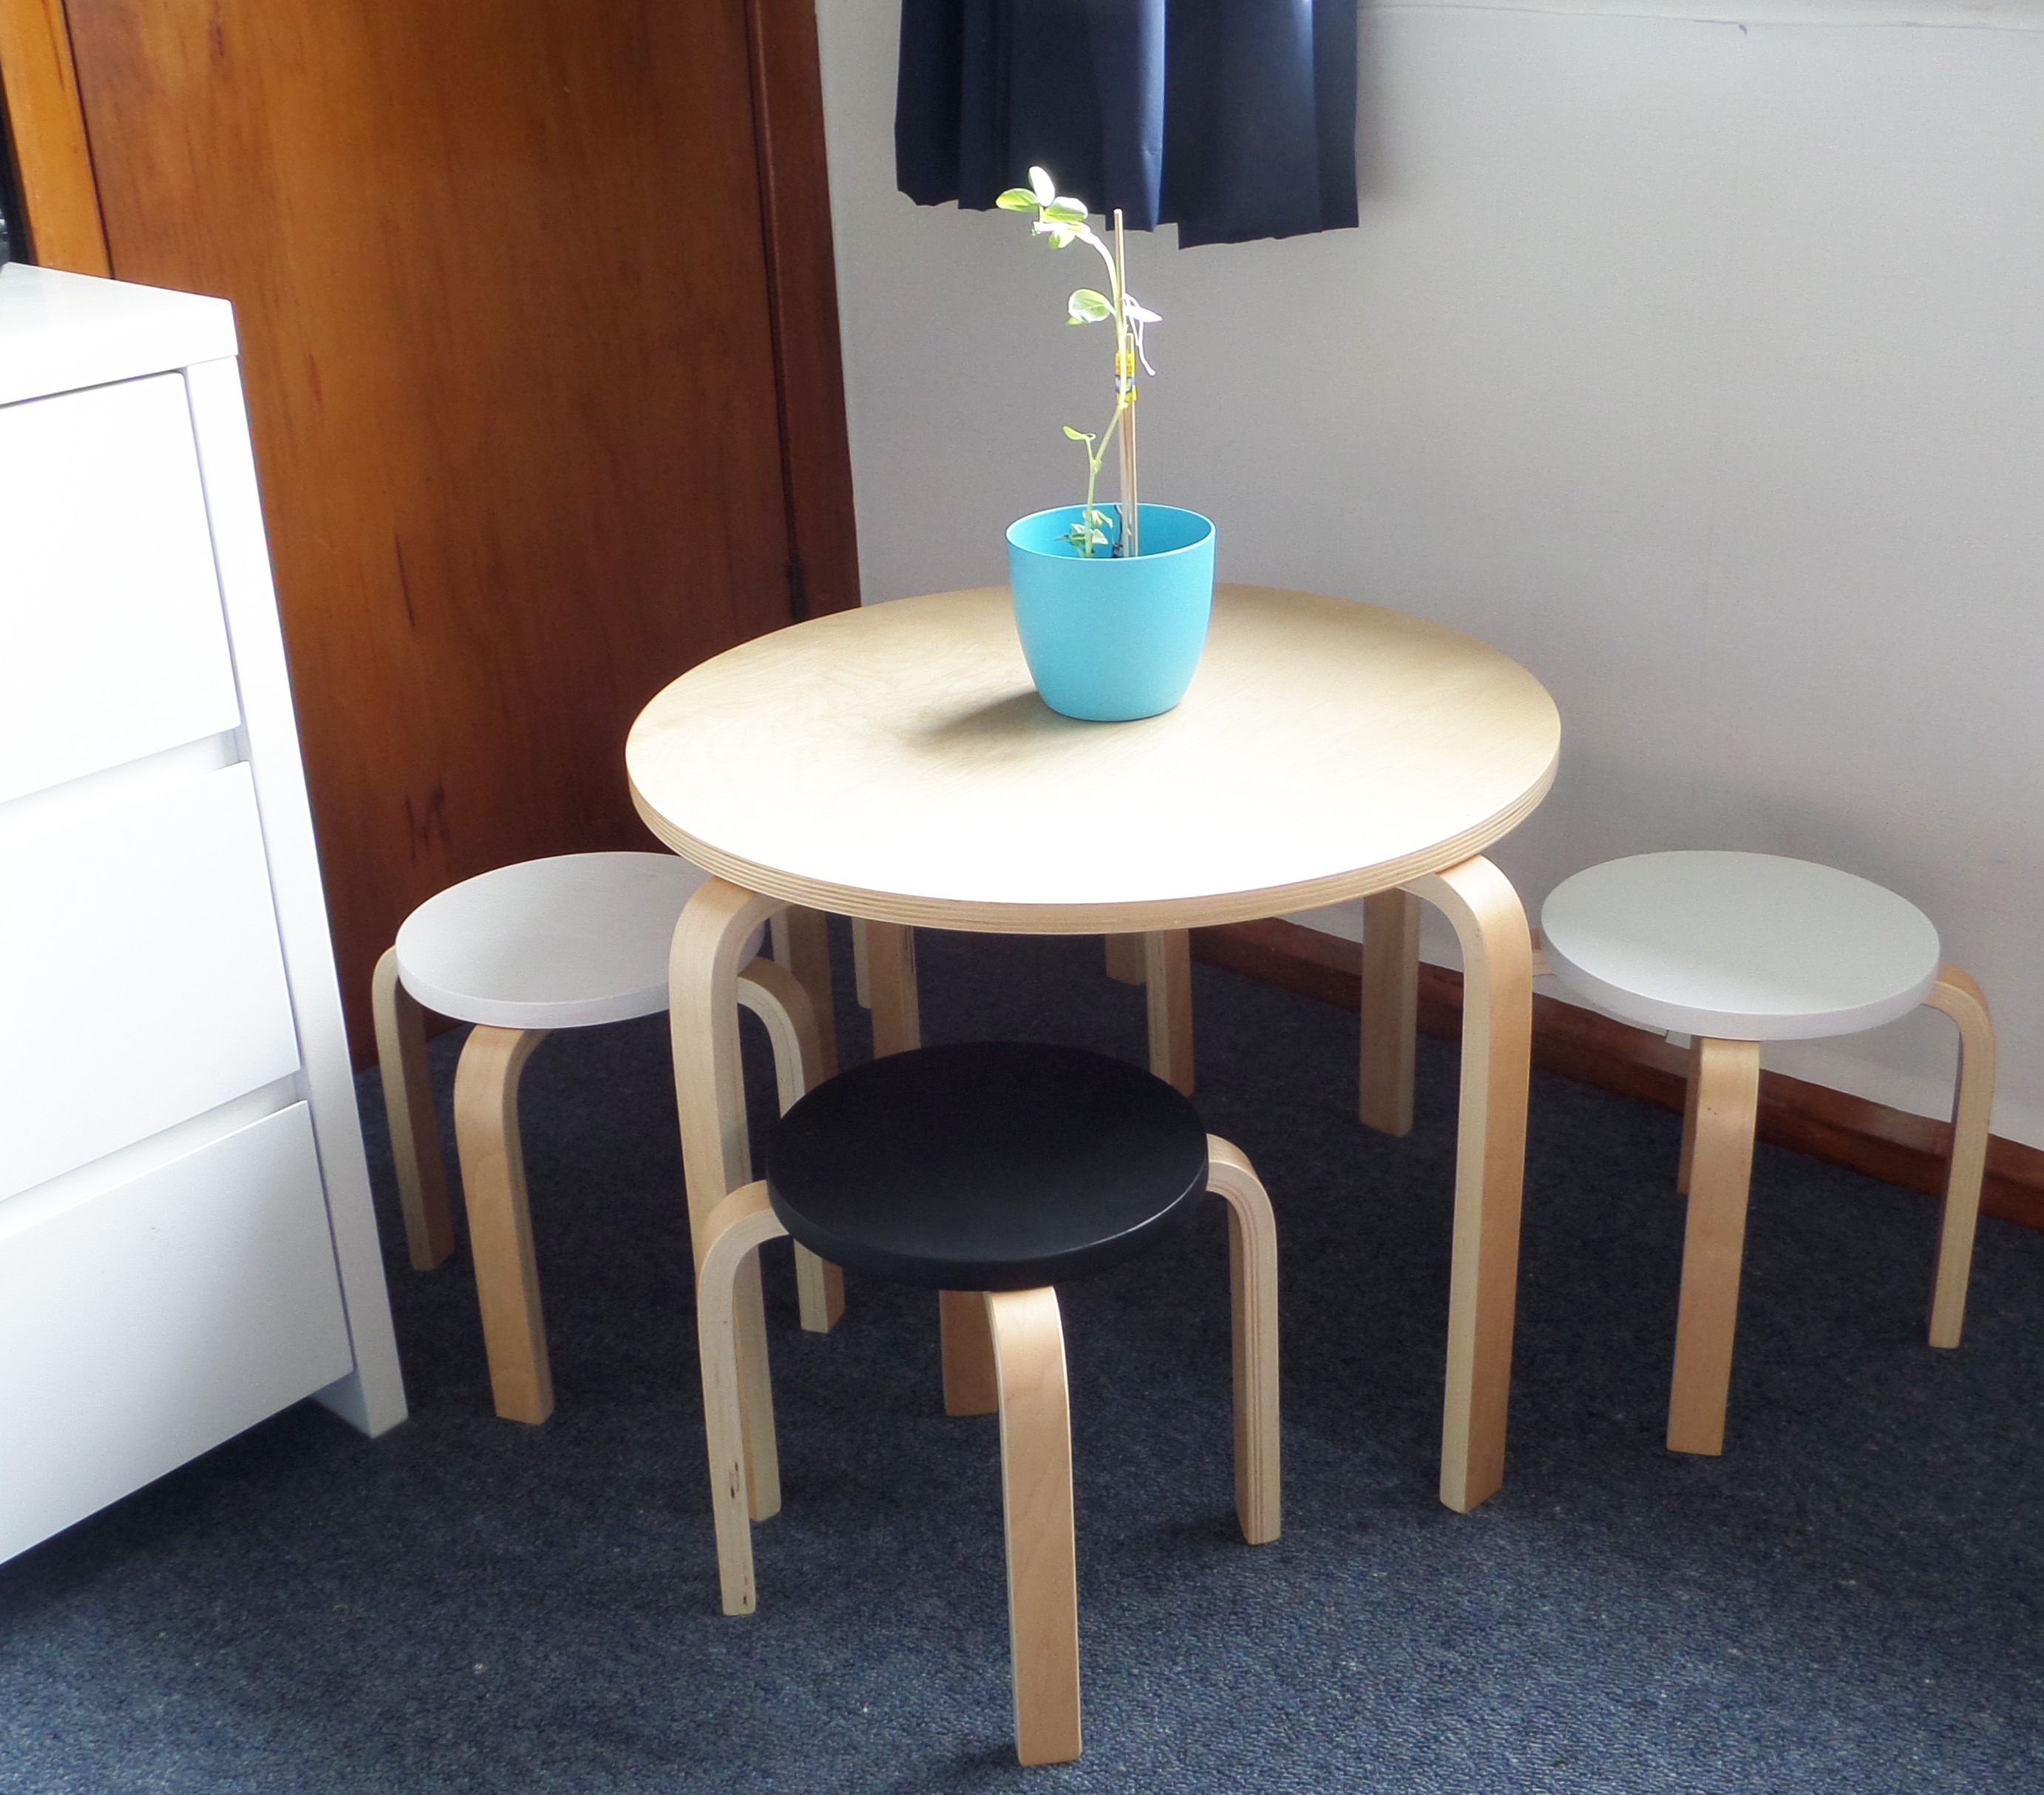
Jimmy loves to sit and draw for hours on end and I wanted to provide him with a quiet space in his room to do this. I added my own touch to the Mocka Hudson kids table and stools by painting the tops of the stools, keeping with the rooms style. We have plants throughout the house and thankfully Jimmy hasn’t developed my skill of killing nearly every house plant. This was one he grew at school and was proud as punch of his effort, he wanted it on display in his room.
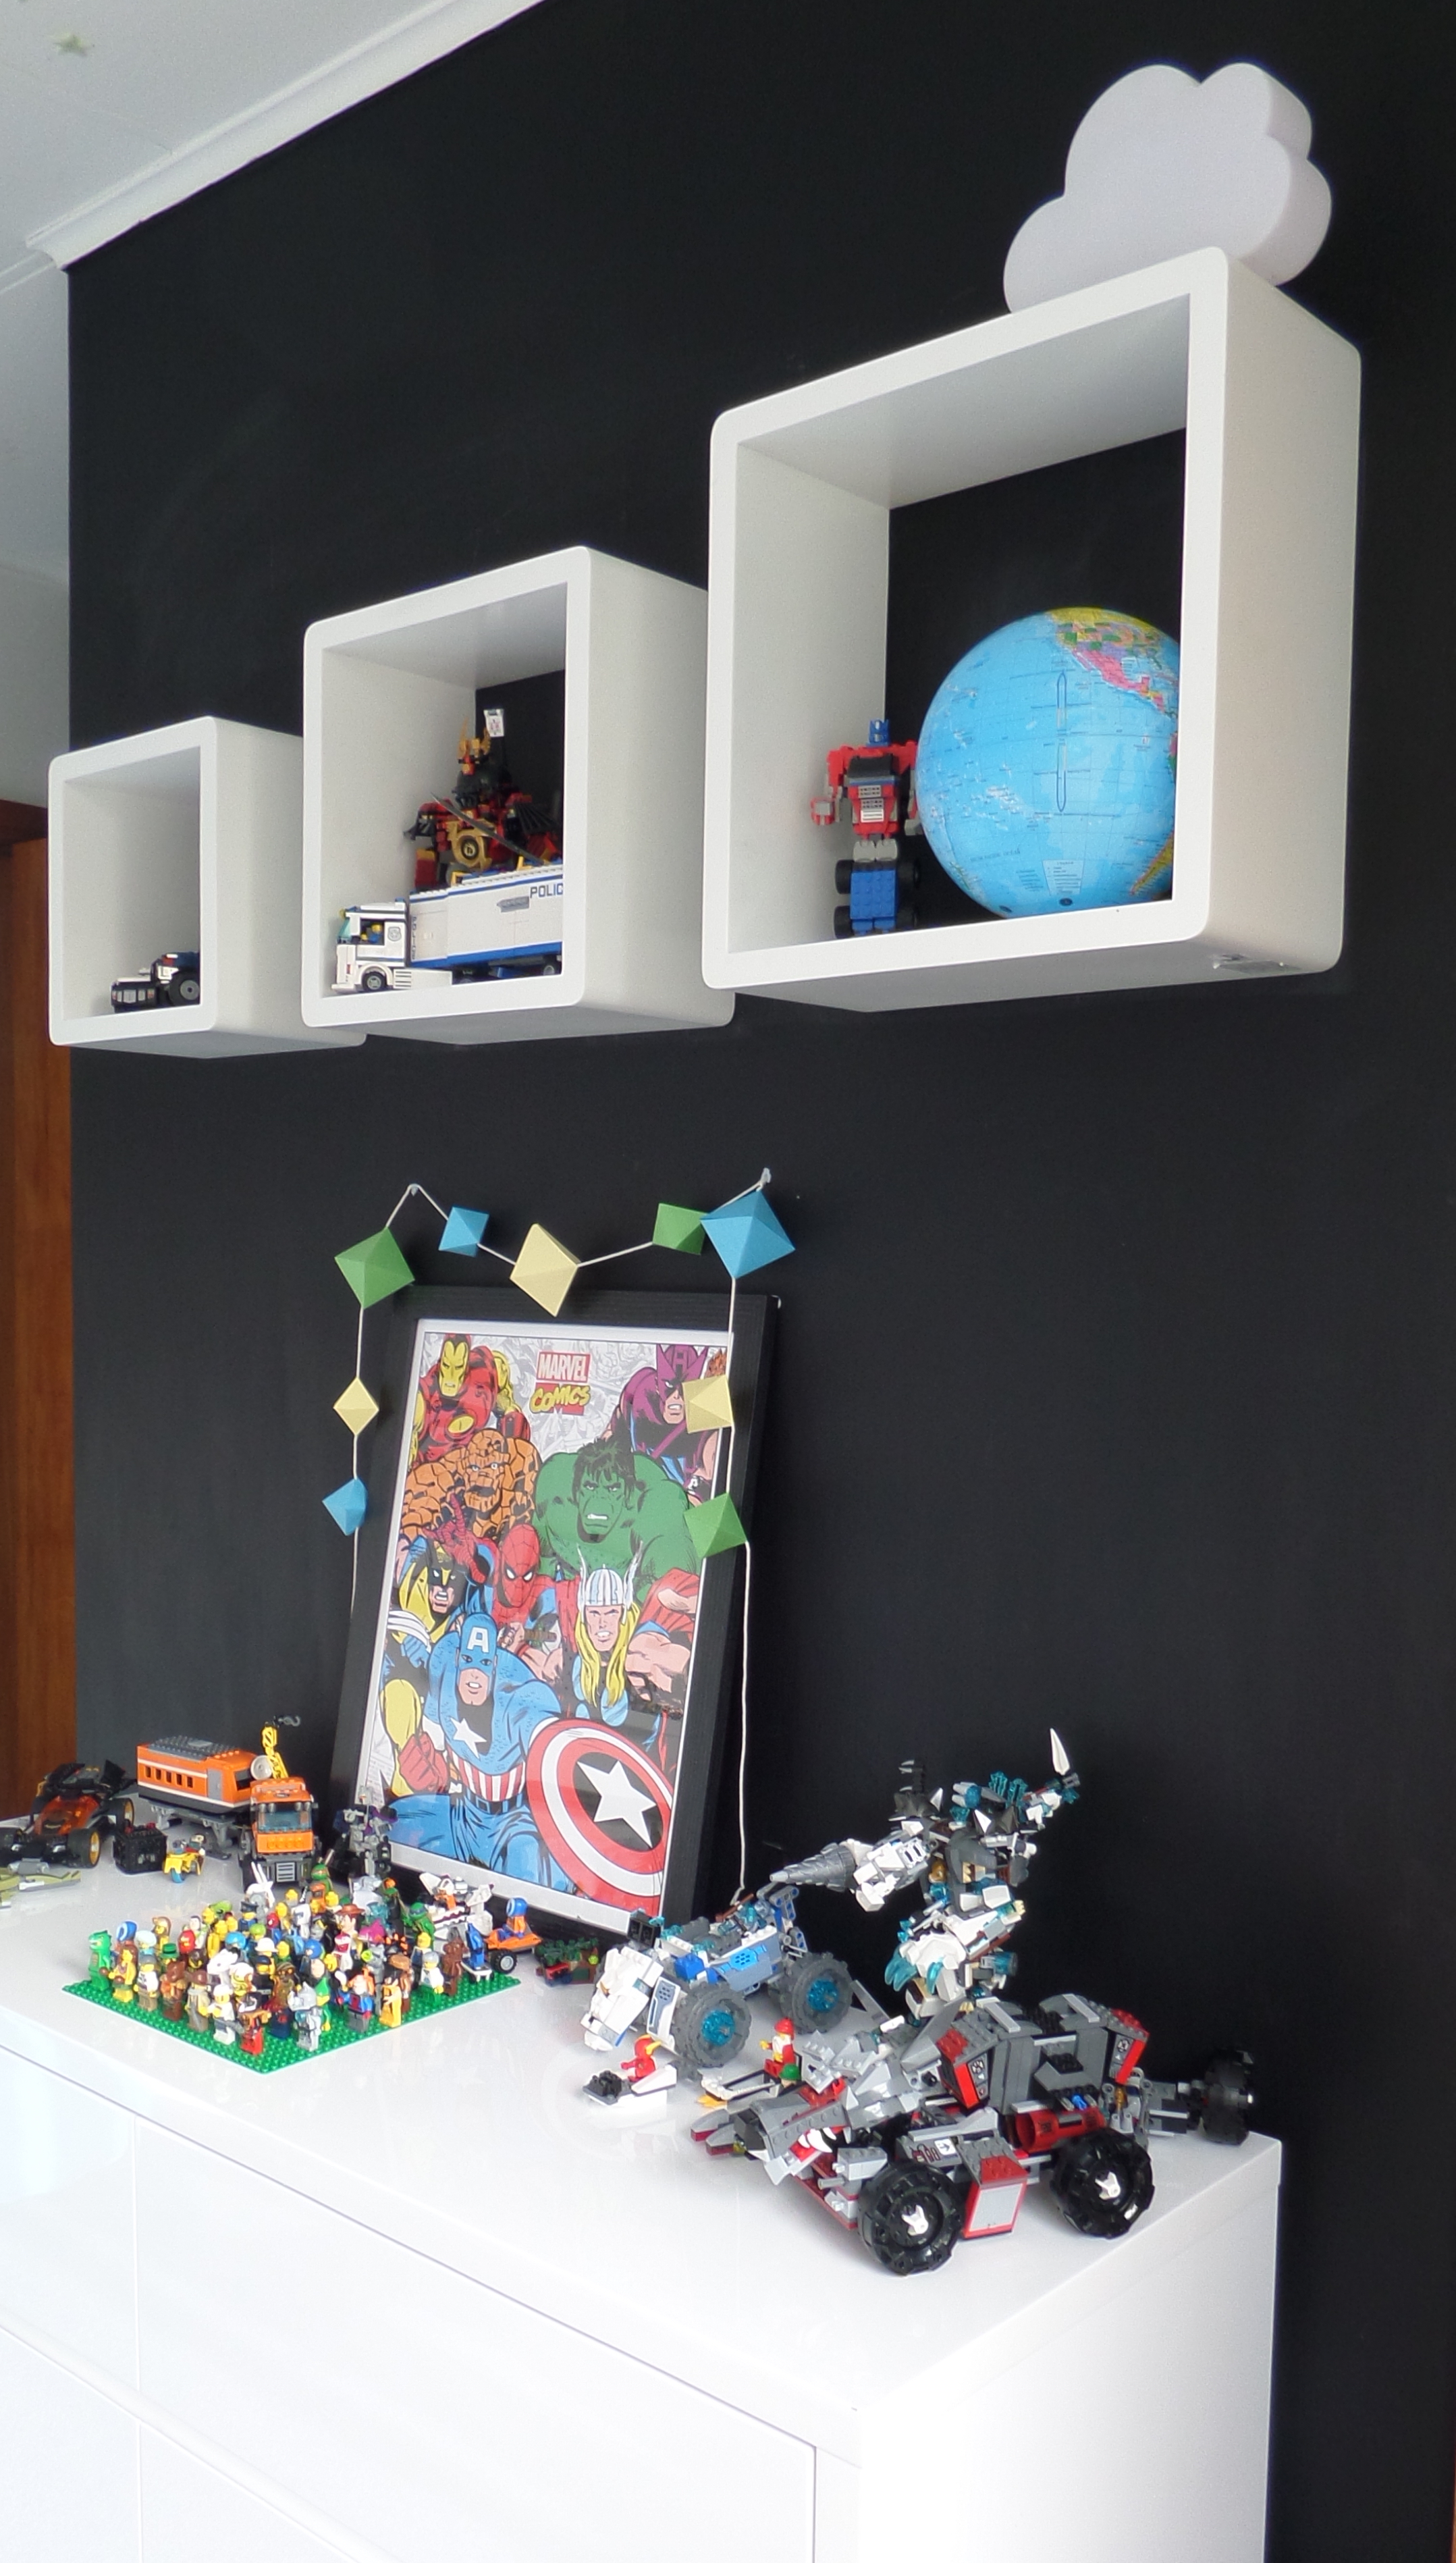
This blackboard wall wraps around the corner and behind the door. This wall is left clear of chalk to provide a clean black wall finish and Jimmy is given free reign to draw anything he likes on the two other walls. The geometric garland was one I created myself with the DIY template on the blog.
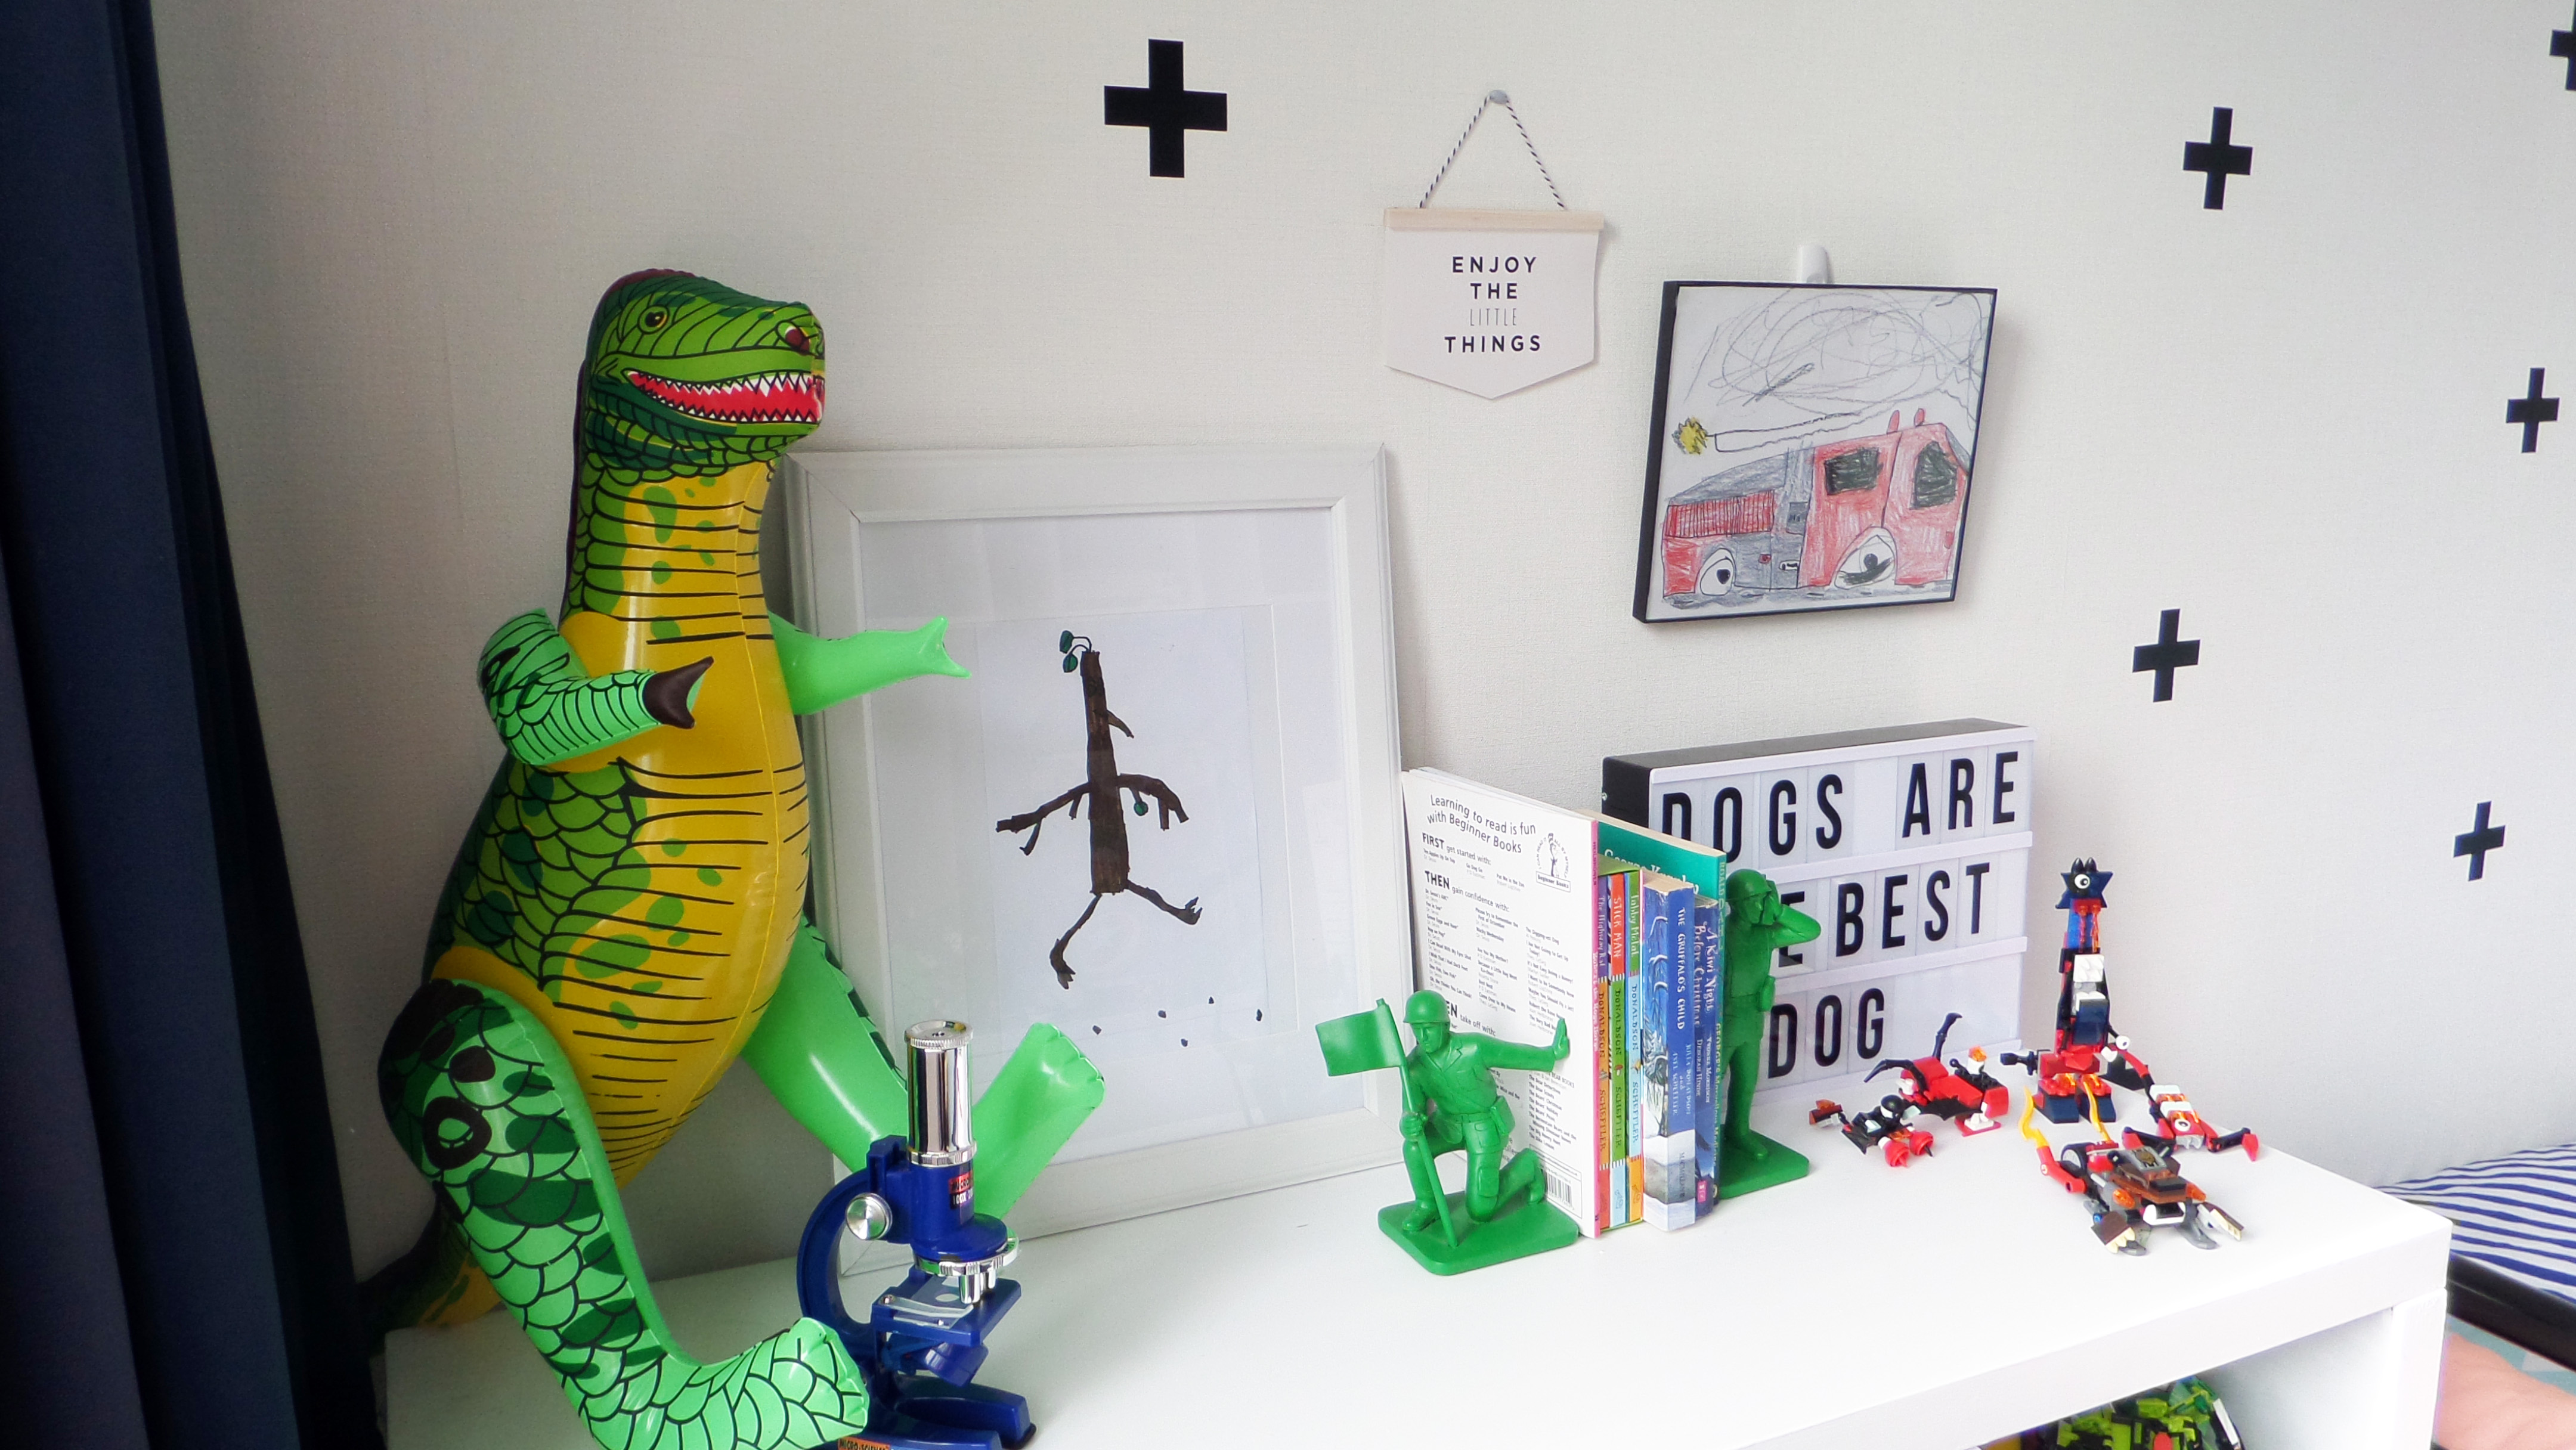
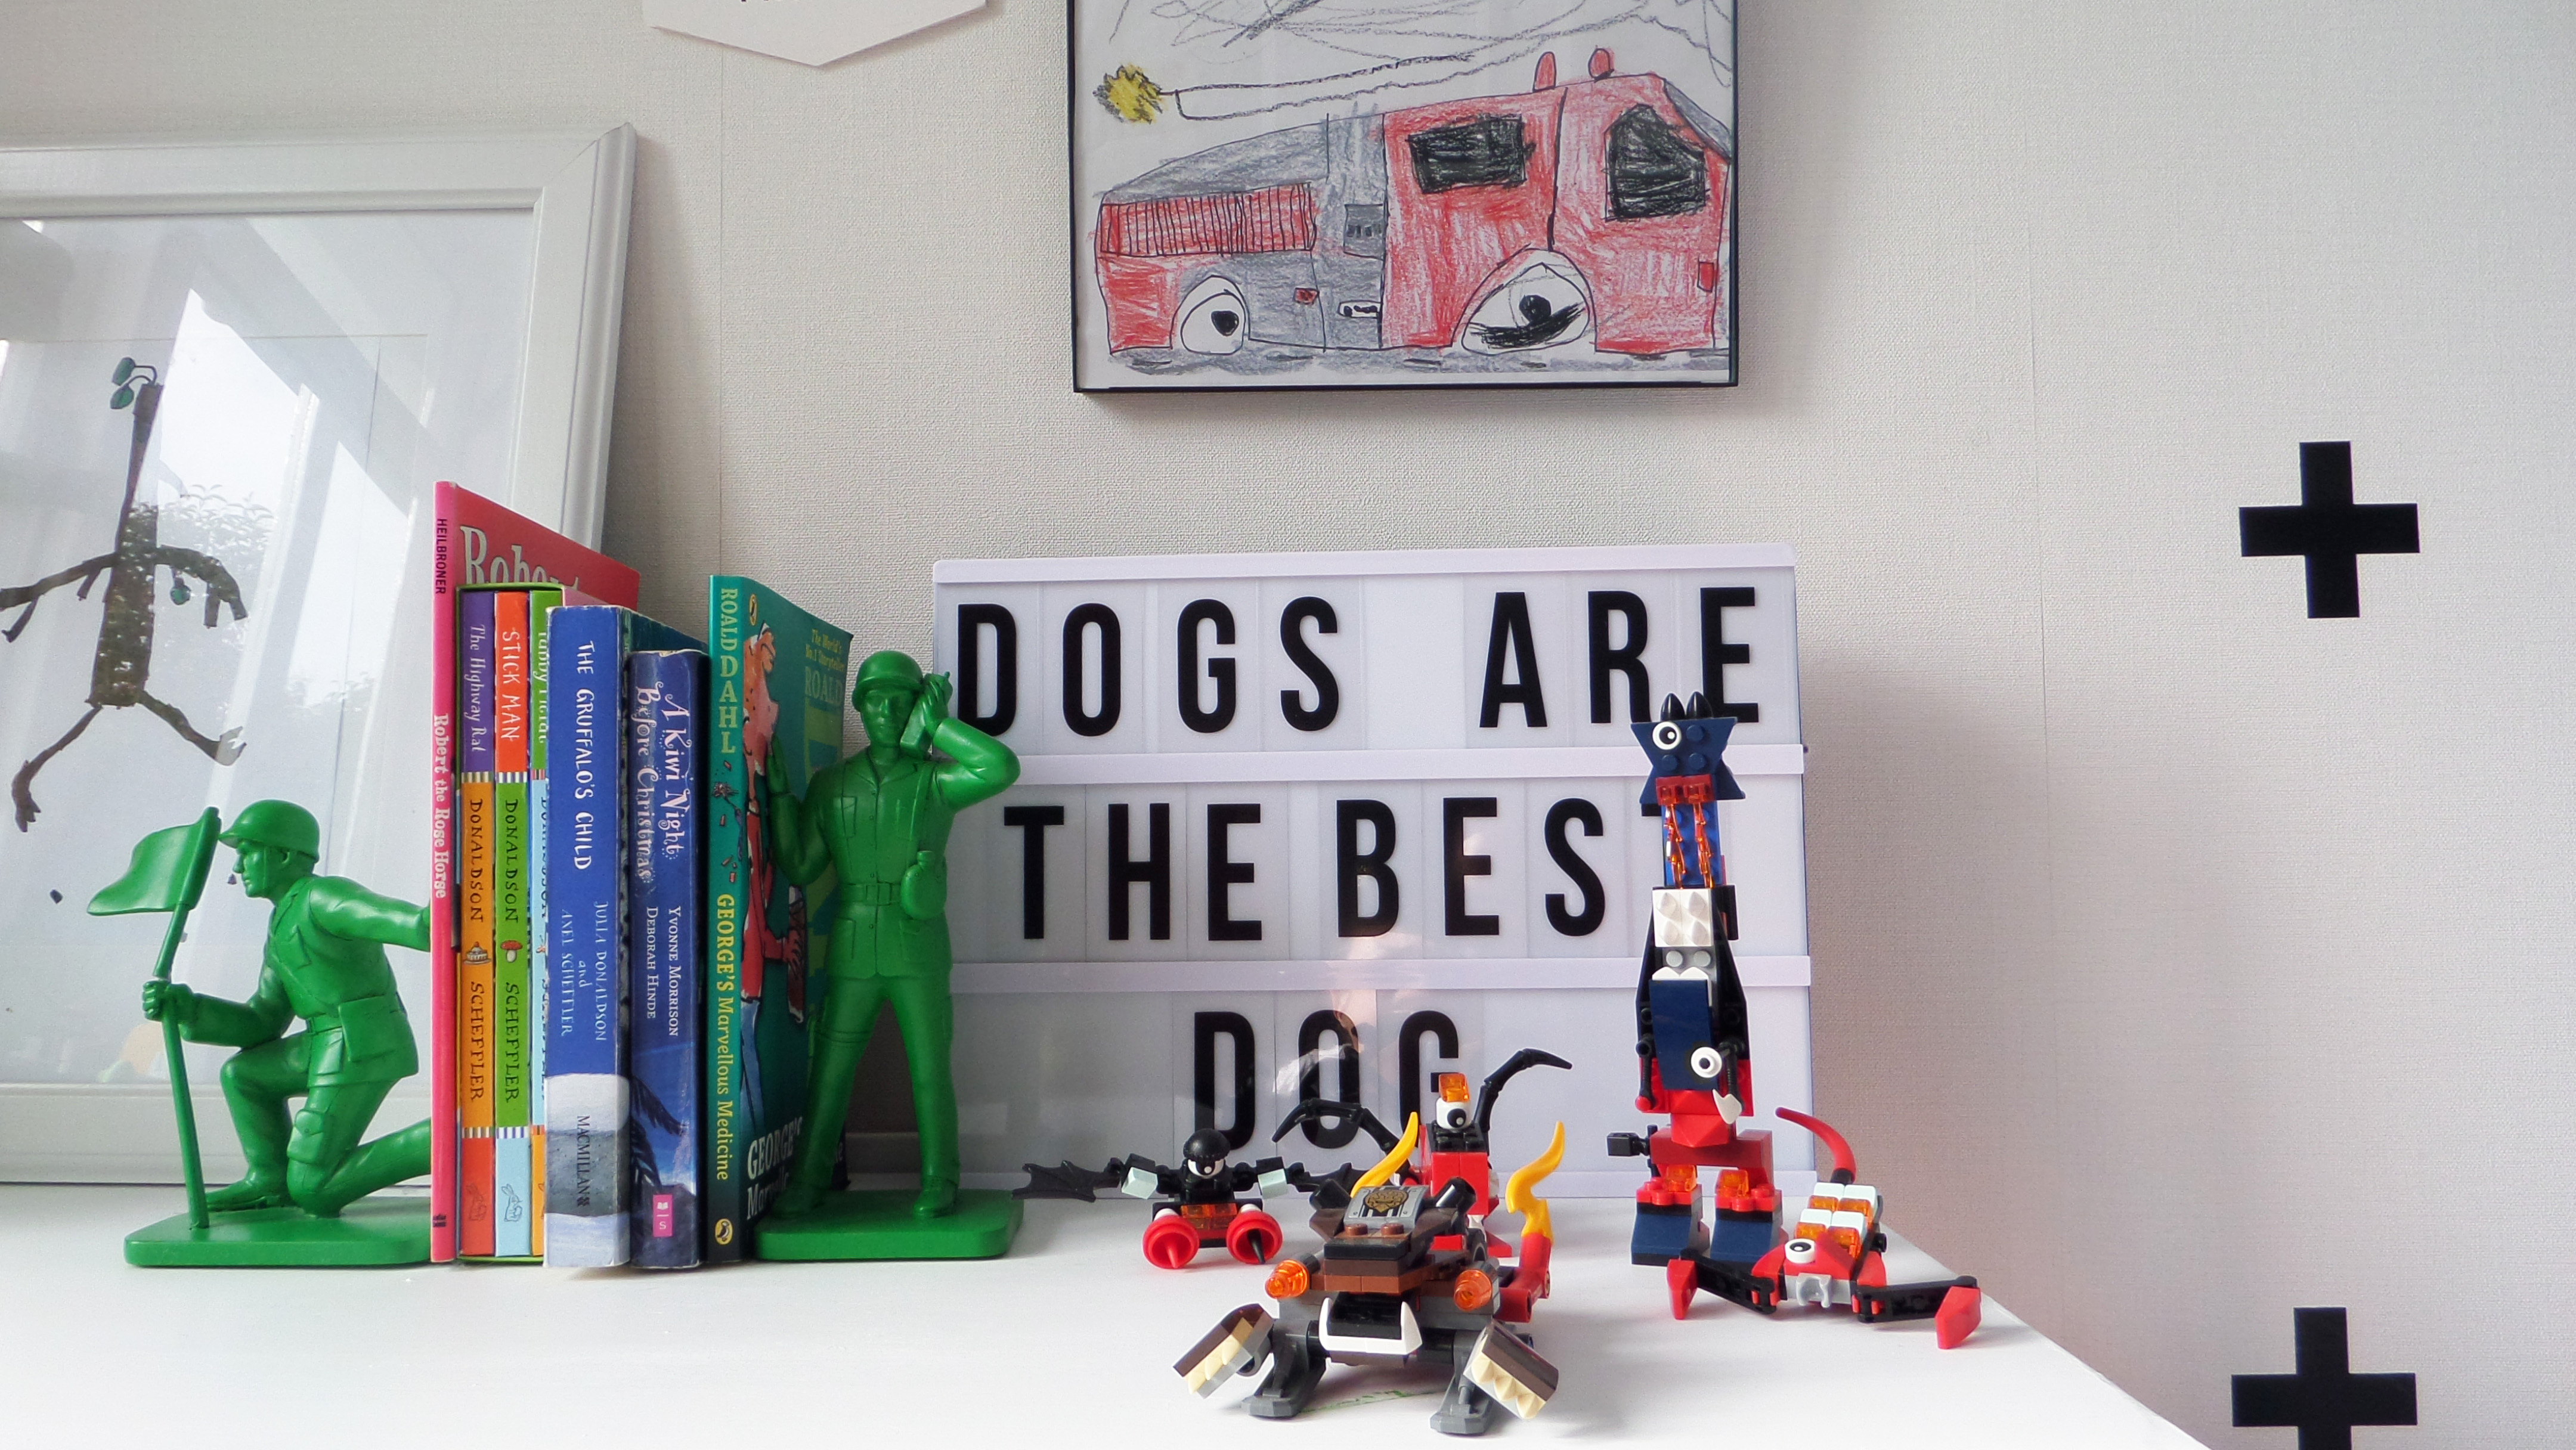
Jimmy’s love of art is on display with this one he drew from the classic book, Stickman and the fire engine he drew from copying an image from a book. He chose the lightbox and loves to change the messages up – currently stating ‘Dogs are the best dog’ (we ran out of enough “s”), too cute.
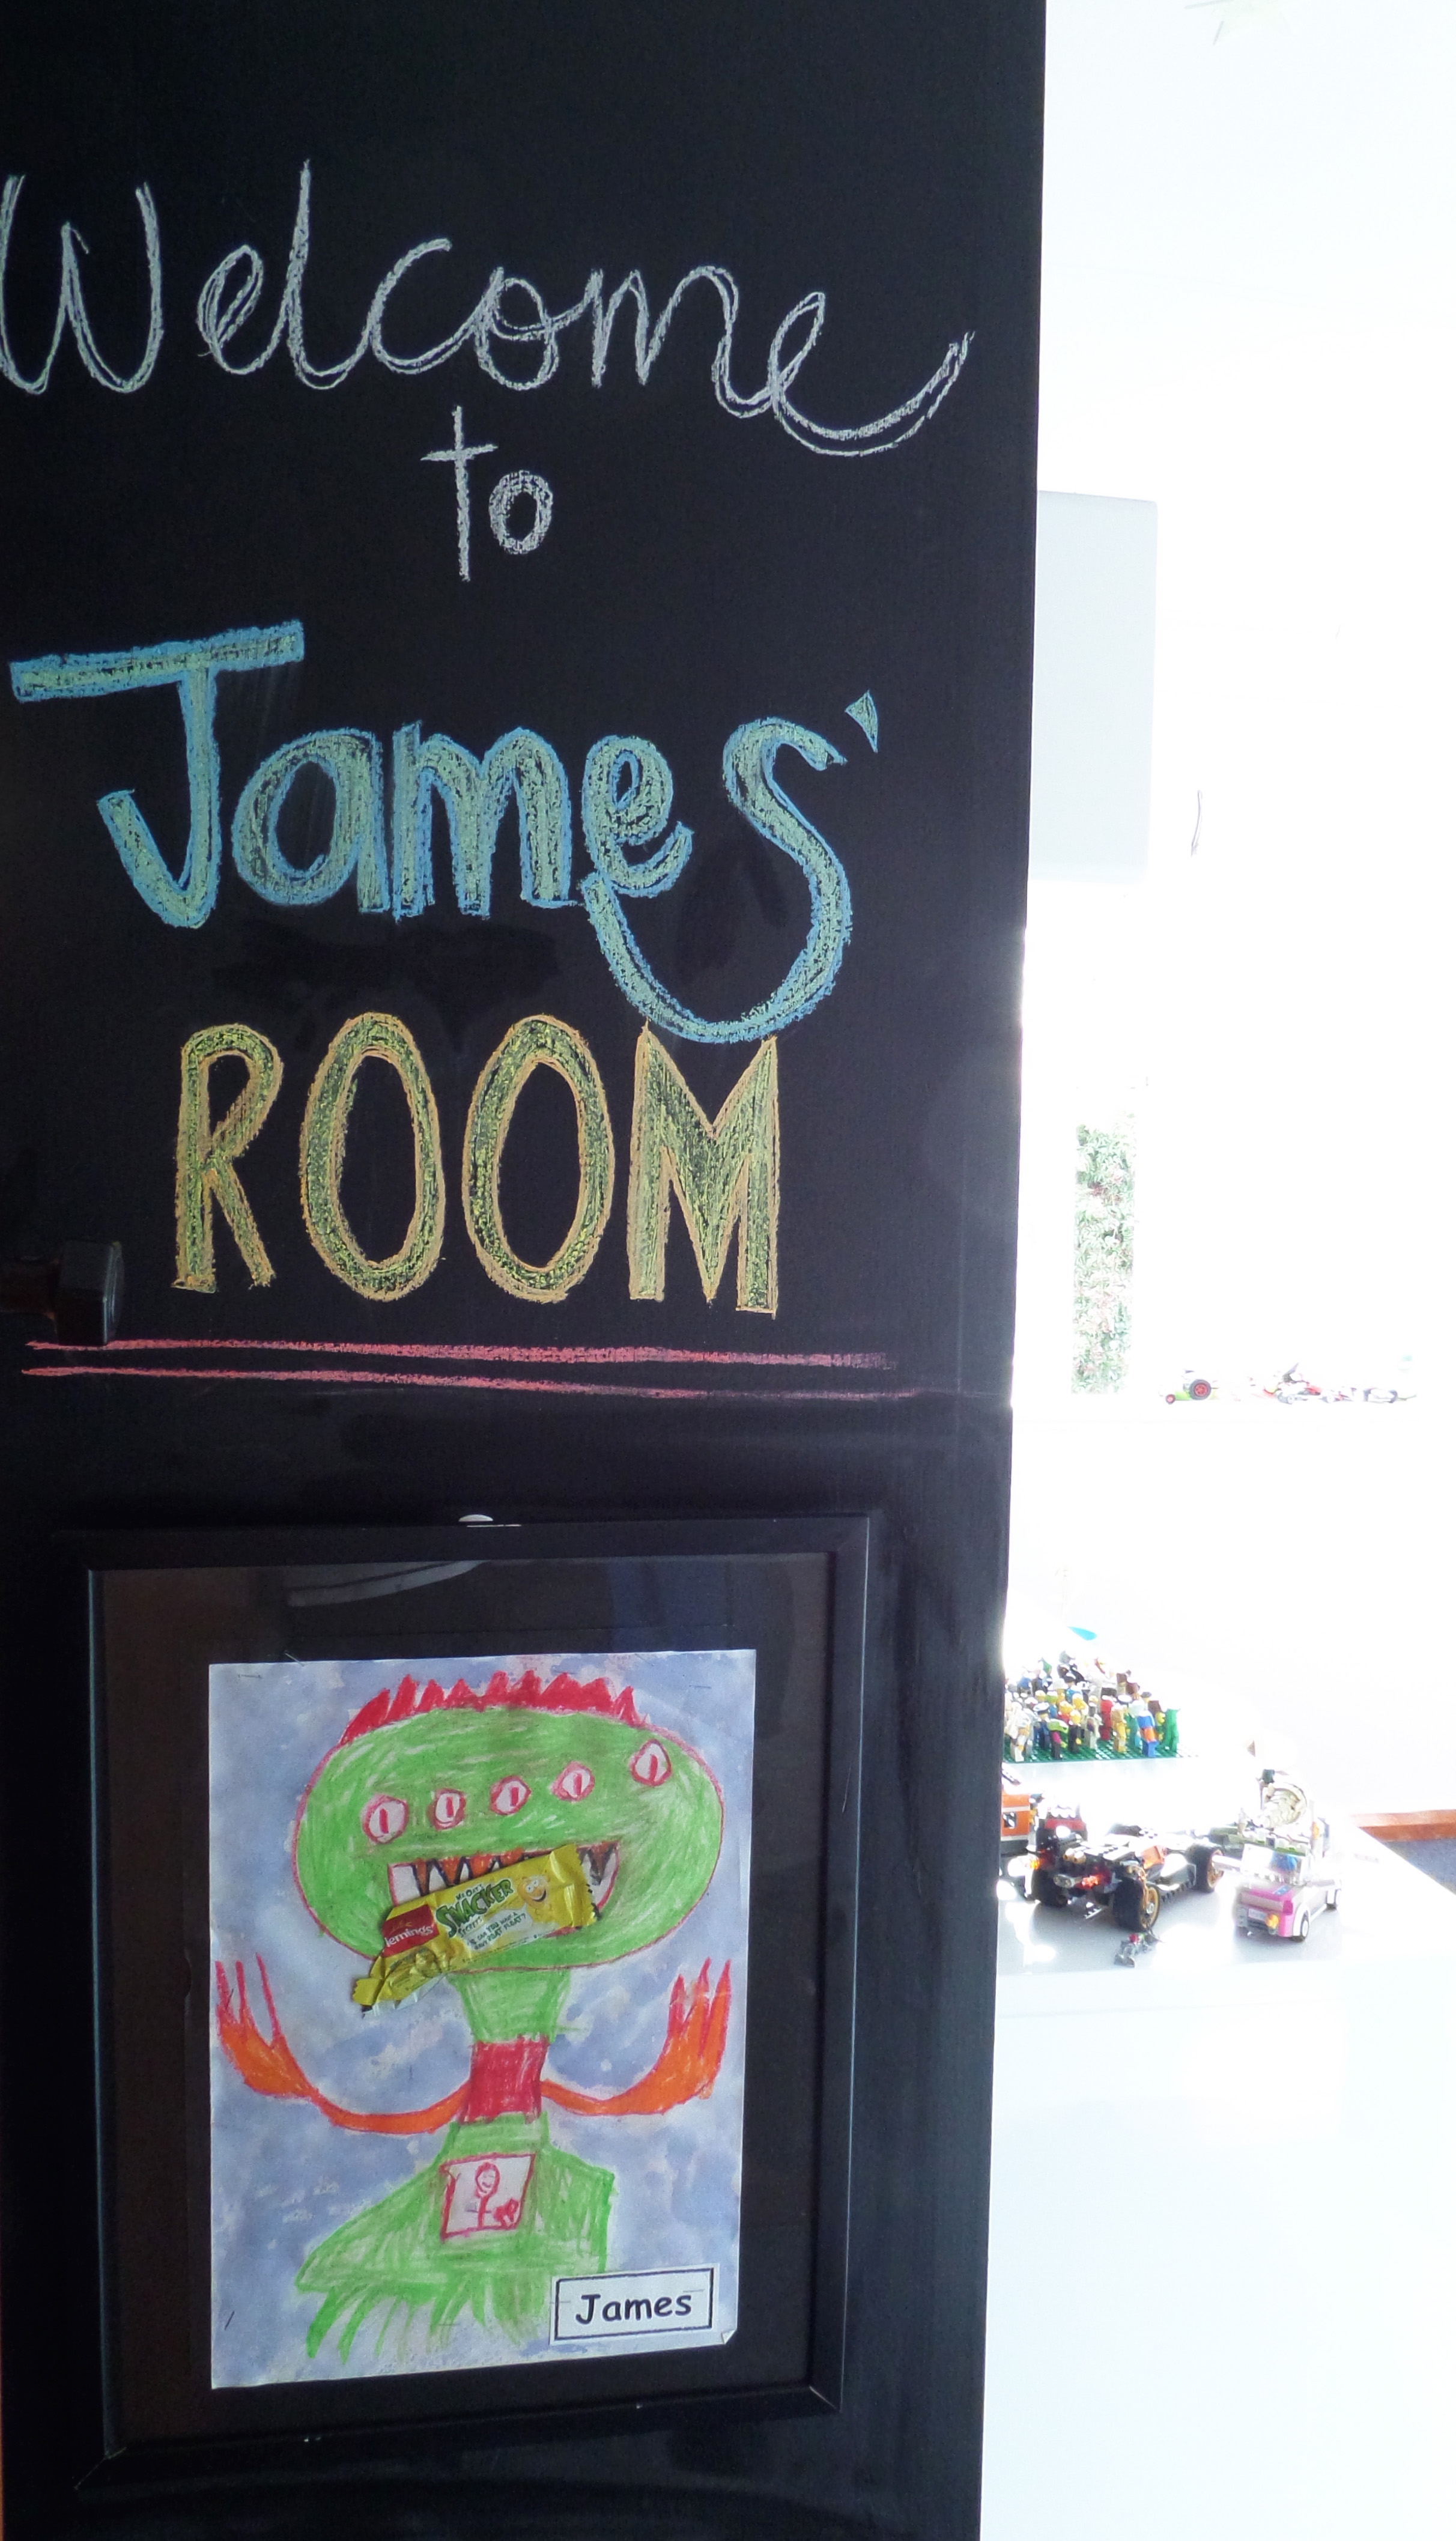
Part of the full blackboard wall, this space creates a welcoming entrance as you step into the room. Jimmy chose his monster print art work as a way to ‘warn people’ coming in, monsters live here.
There are still a few more touches to go in this room but I’m happy with how it’s come together and of course, the most important thing is Jimmy loves his room.
Happy to share any product details you might love, feel free to comment below and I’ll let you know where they were sourced from.
– Kelly

The post Jimmy’s room appeared first on The Home Scene.
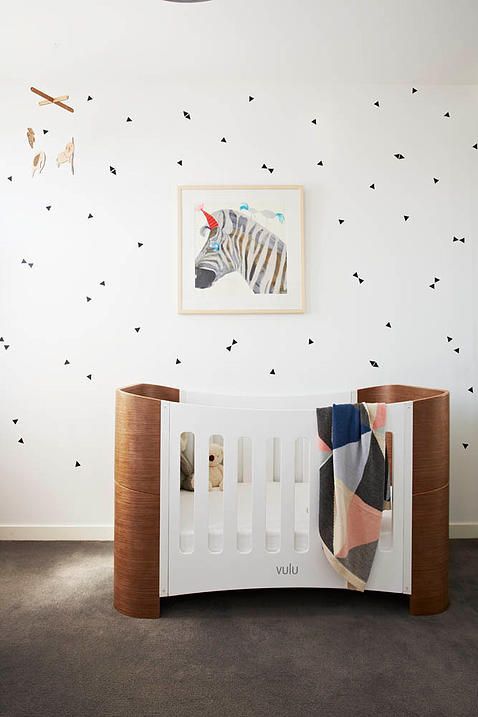
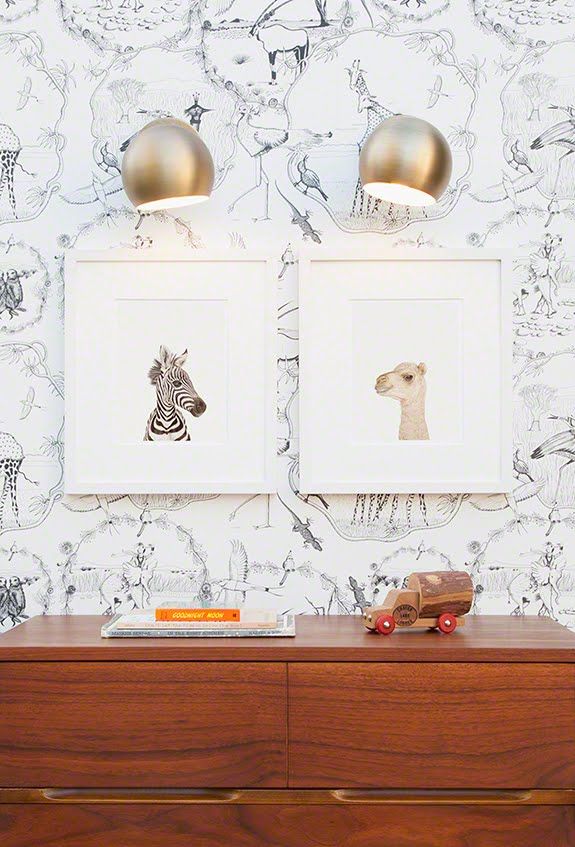
]]>The post Sweet Dreams Baby appeared first on The Home Scene.
]]>And while mine are certainly grown out of the baby phase, I still find myself loving the inspiration that’s out there for special wee ones.
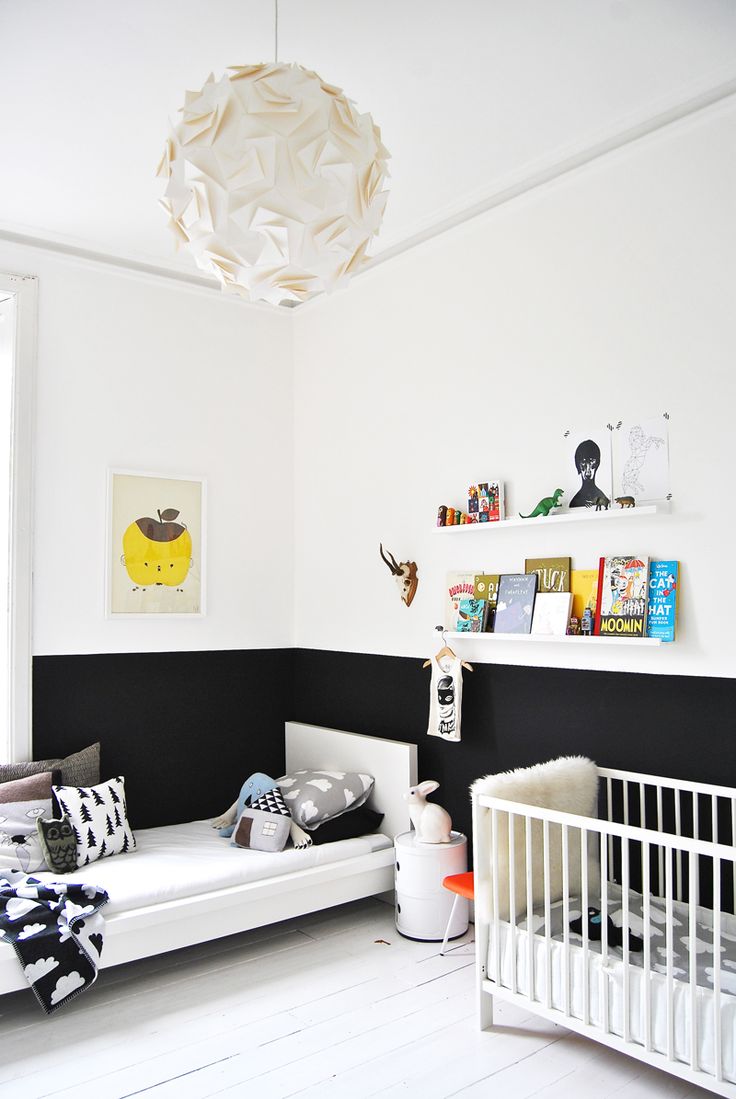
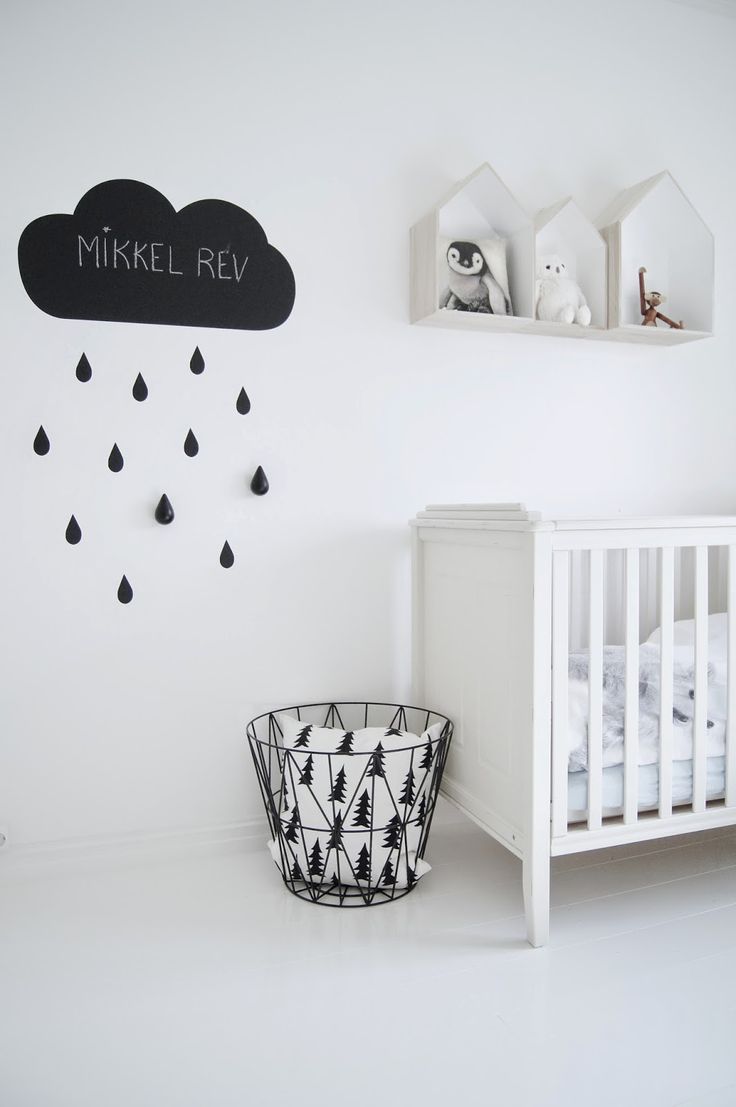
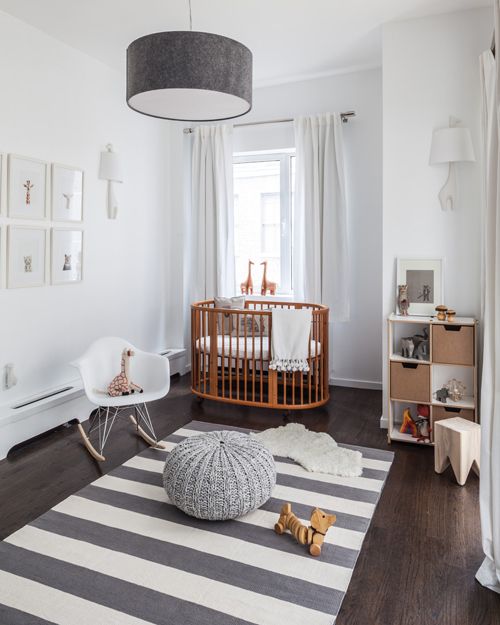
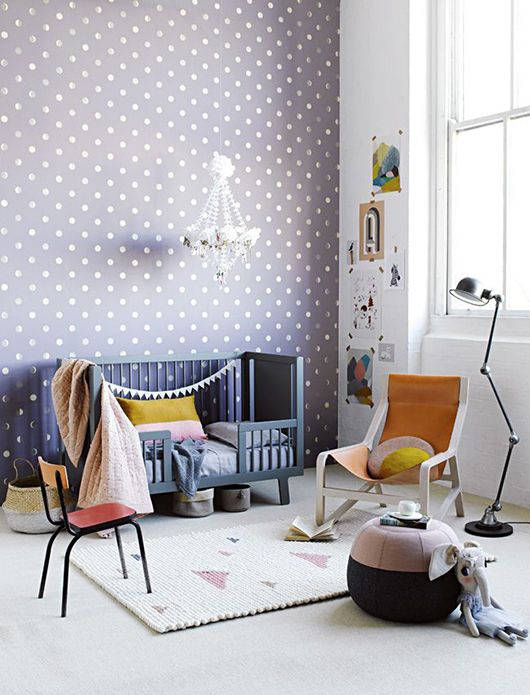
As a self confessed lover of a monochrome room, naturally I don’t believe a baby’s room need to prescribe to the old adage of pink and blue, (or yellow for that matter) with cliched pop culture references.
Add in grown up furniture and vintage finds to style the room as a space that will grow with you child as they move throughout their toddler years and beyond. Take inspiration from some of my favourite finds below and pop over to my pinterest page for more inspiration.

Are you, or someone you know creating a dream worthy space for a new bundle of joy? We’d love to know what style you love and how you style your space.
Kelly

The post Sweet Dreams Baby appeared first on The Home Scene.
]]>The post Geometric Garlands appeared first on The Home Scene.
]]>They were simple and easy to do and I love how they have turned out. I’ve put together a template print out and a quick ‘how-to’ so you can recreate your own geometric garlands.
What you will need:
- A4 Paper/Craft Paper
- Glue Stick
- Scissors
- String
Download the large or small template and get creating.
Choose your own colours or go for a classic monochrome look in good old black and white. I couldn’t choose between the two so I made both. I used craft paper as a bit of thickness over your standard A4 paper makes it easier for them to hold their shape once glued together.
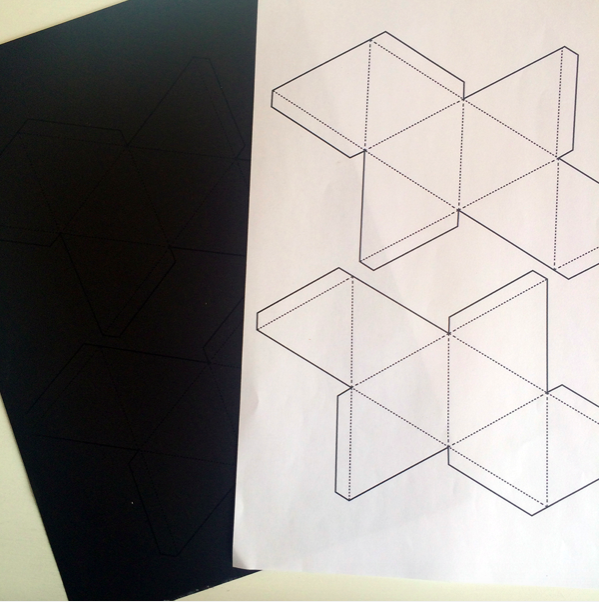
The black card does show up the print out lines (just not clearly in this photo)
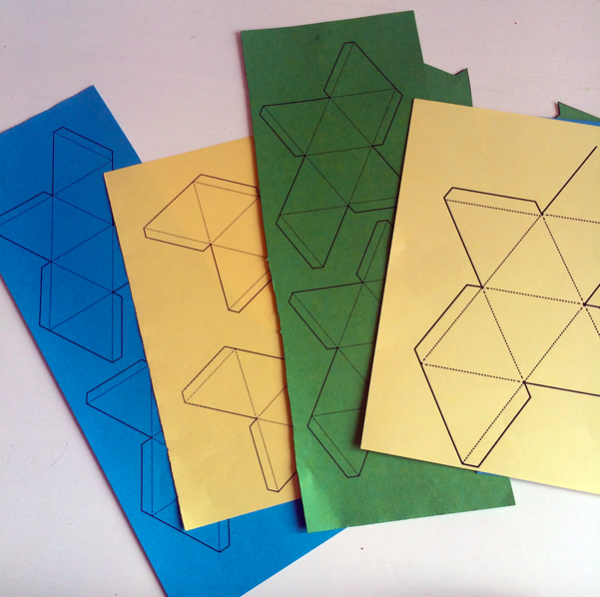
Choose any colours that suit your space you’ll be placing them in. Works in a monochrome style room as well for a pop of colour (as I’ve done for Jimmy – 5yrs room)
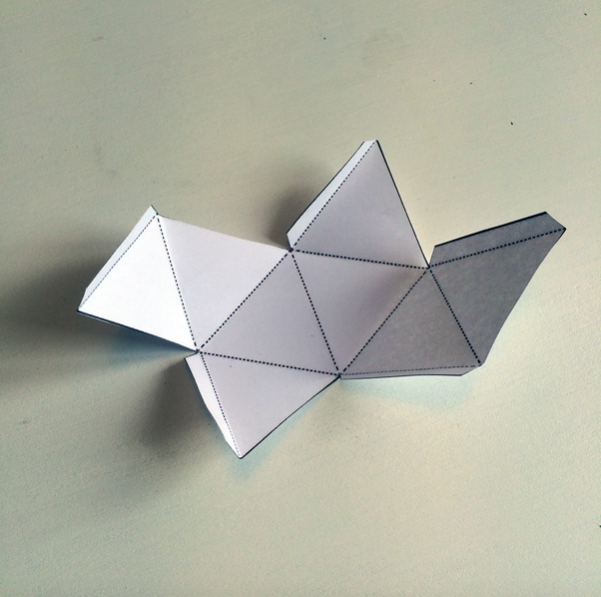
Cut the shapes out and fold along each of the dotted lines
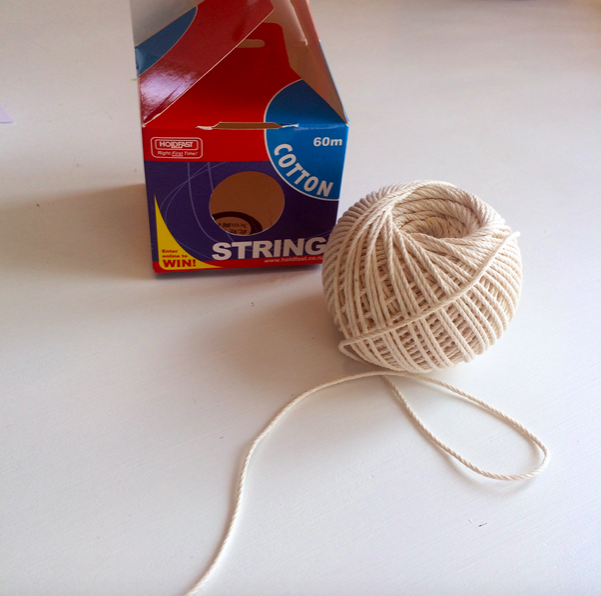
I like to use string as opposed to yarn to avoid the small bits of yarn that always fall off and get stuck to your hands while glueing (e.g.: hot mess) and it look untidy on the garland when hung
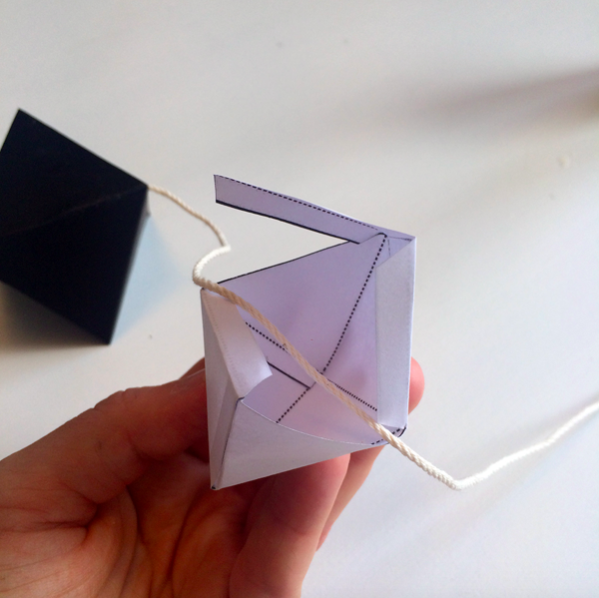
Depending how you like the shape to sit along the string when hung, I placed the string through from point to point so the diamond was more obvious when hung on display
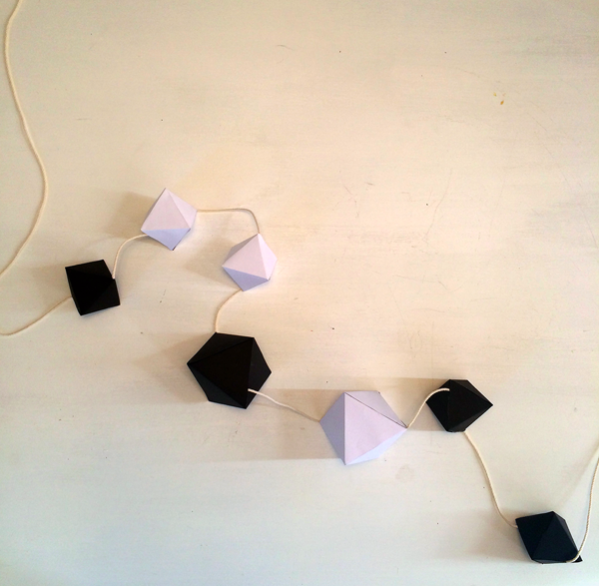
Place a combination of large and small in any order that you would like. With my black and white I kept it random but with my coloured garland I kept the colours in sequence, throwing in a large one amongst it
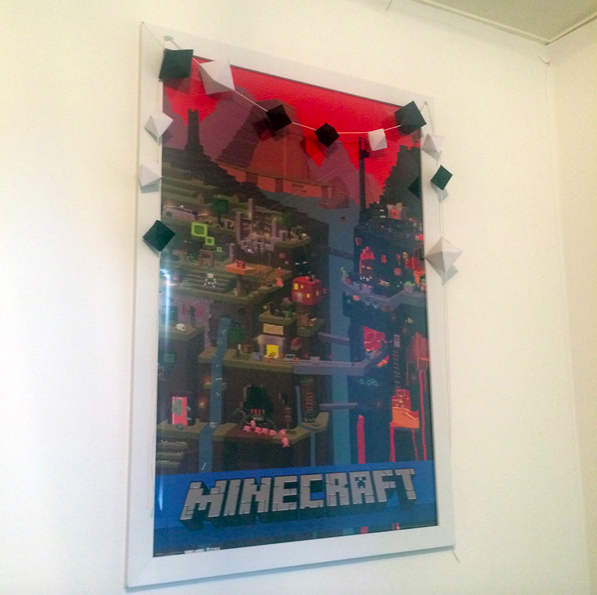
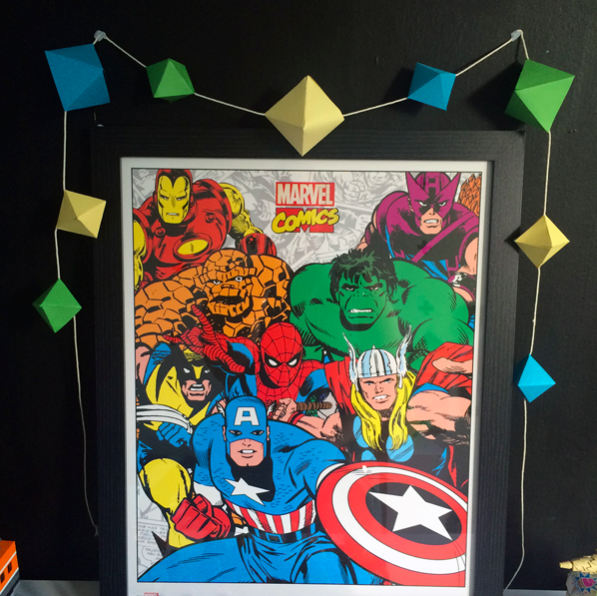
Here’s the finished looks in Jimmy (5) and Dylan’s (11) rooms. I’ll add more to Jimmy’s coloured garland so it reaches down further but you can add as many or little as you like to suit your space.
If you give this easy DIY a go, I’d love to see how you put the finished look together – feel free to share them on social or let me know how you go.
Kelly

The post Geometric Garlands appeared first on The Home Scene.
]]>