The post Foliage Centrepiece appeared first on The Home Scene.
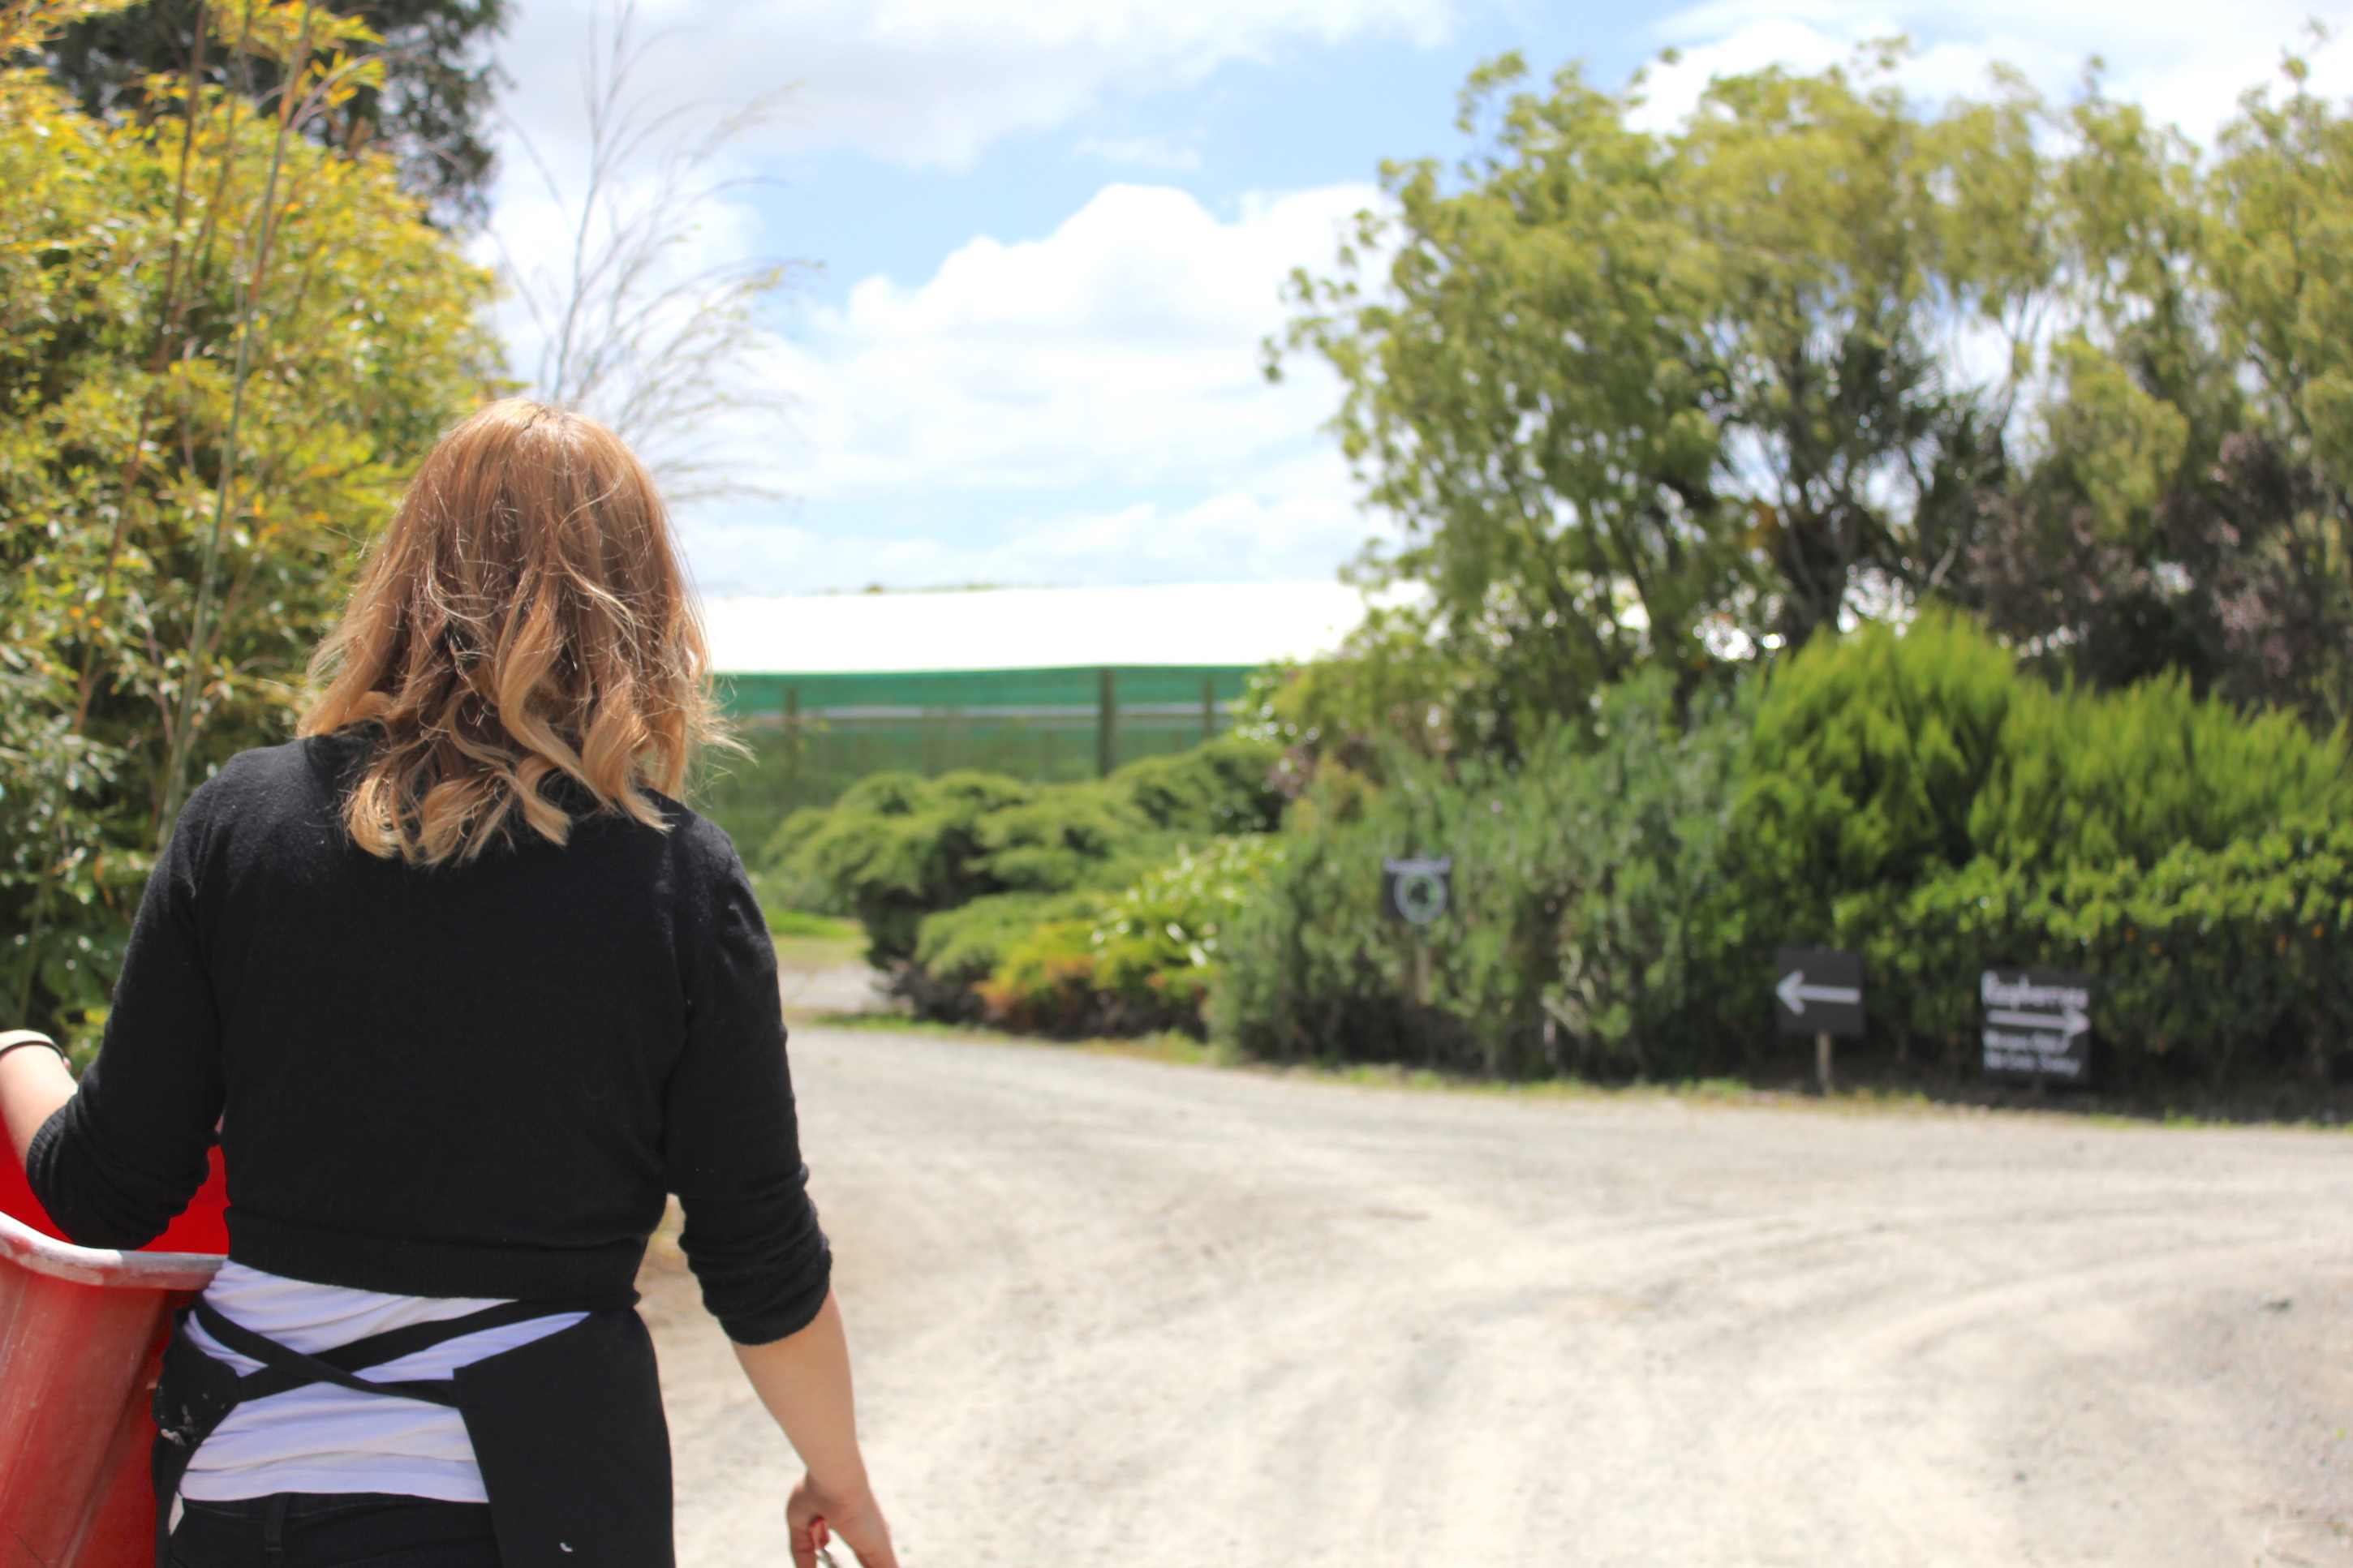
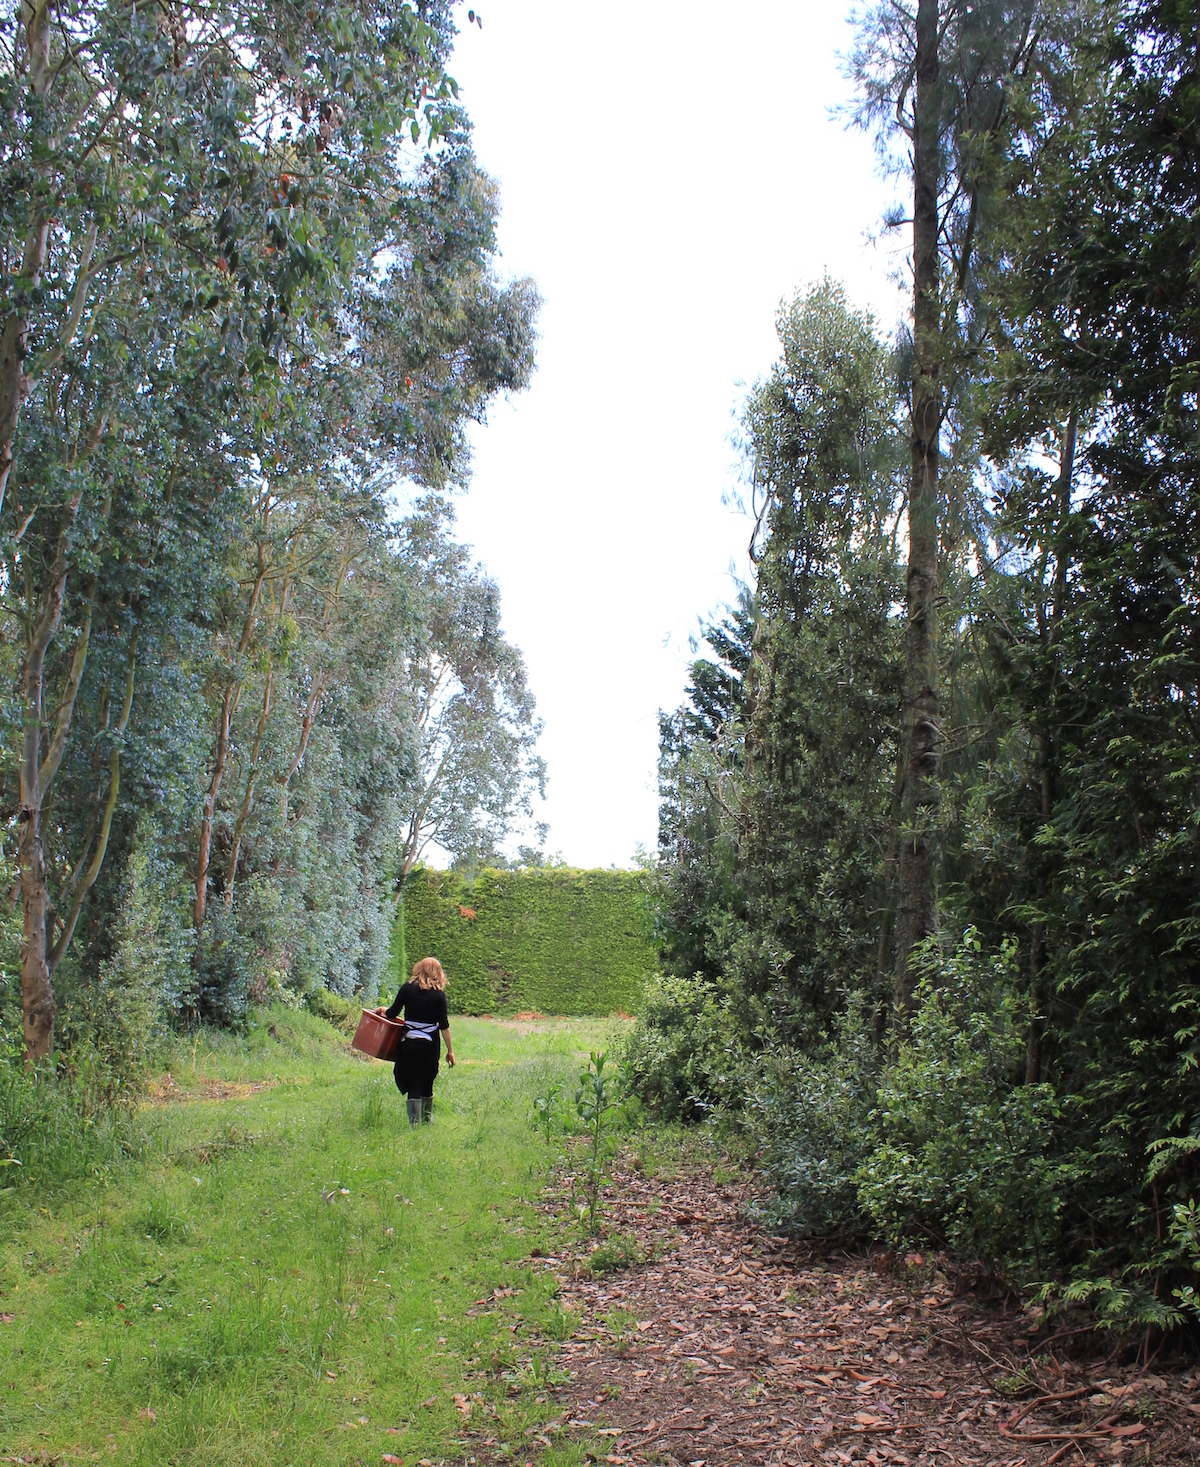
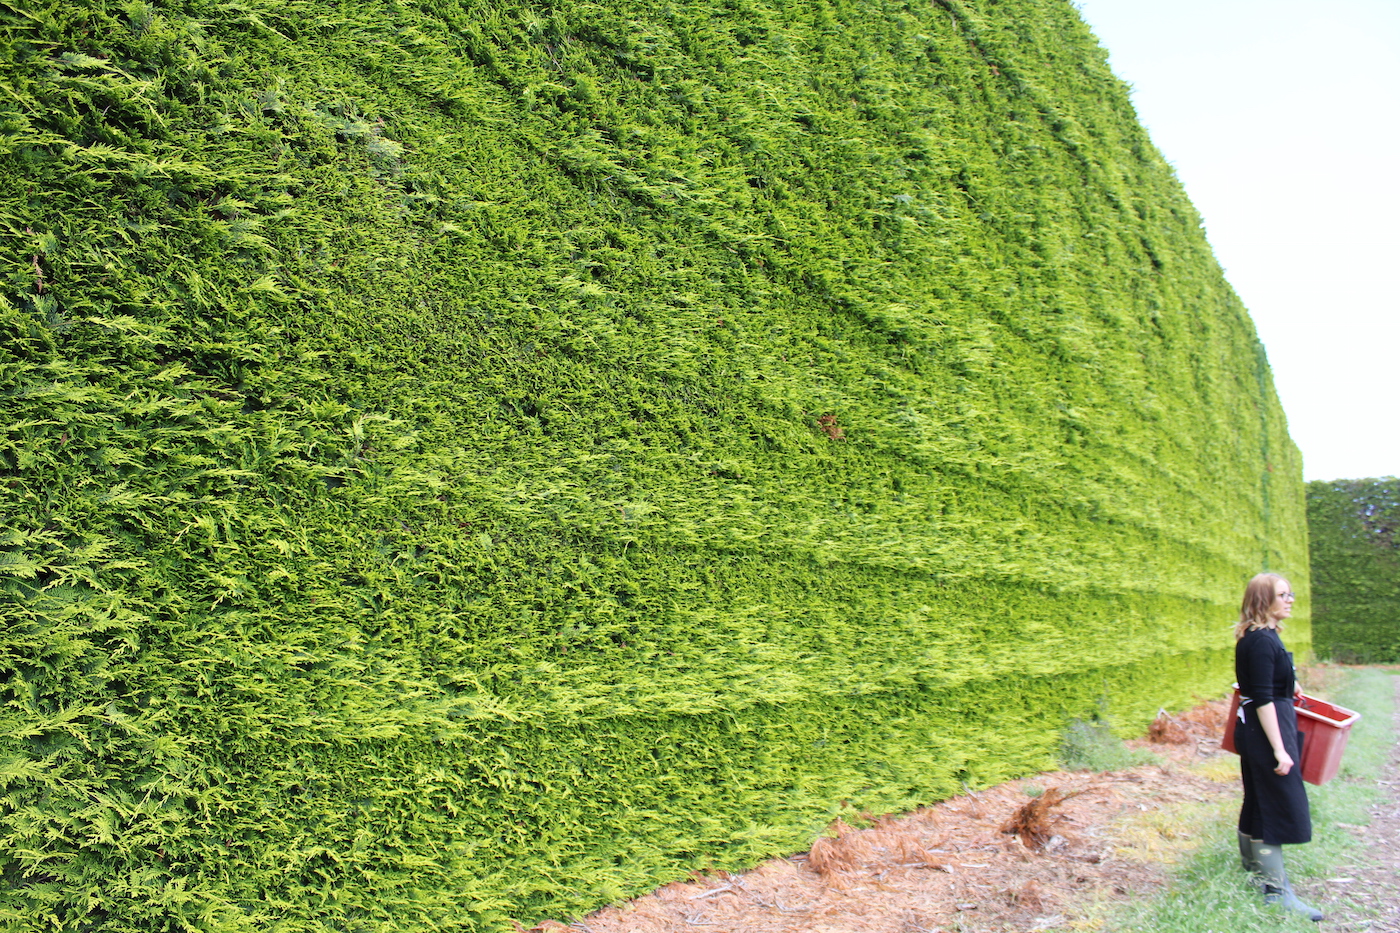
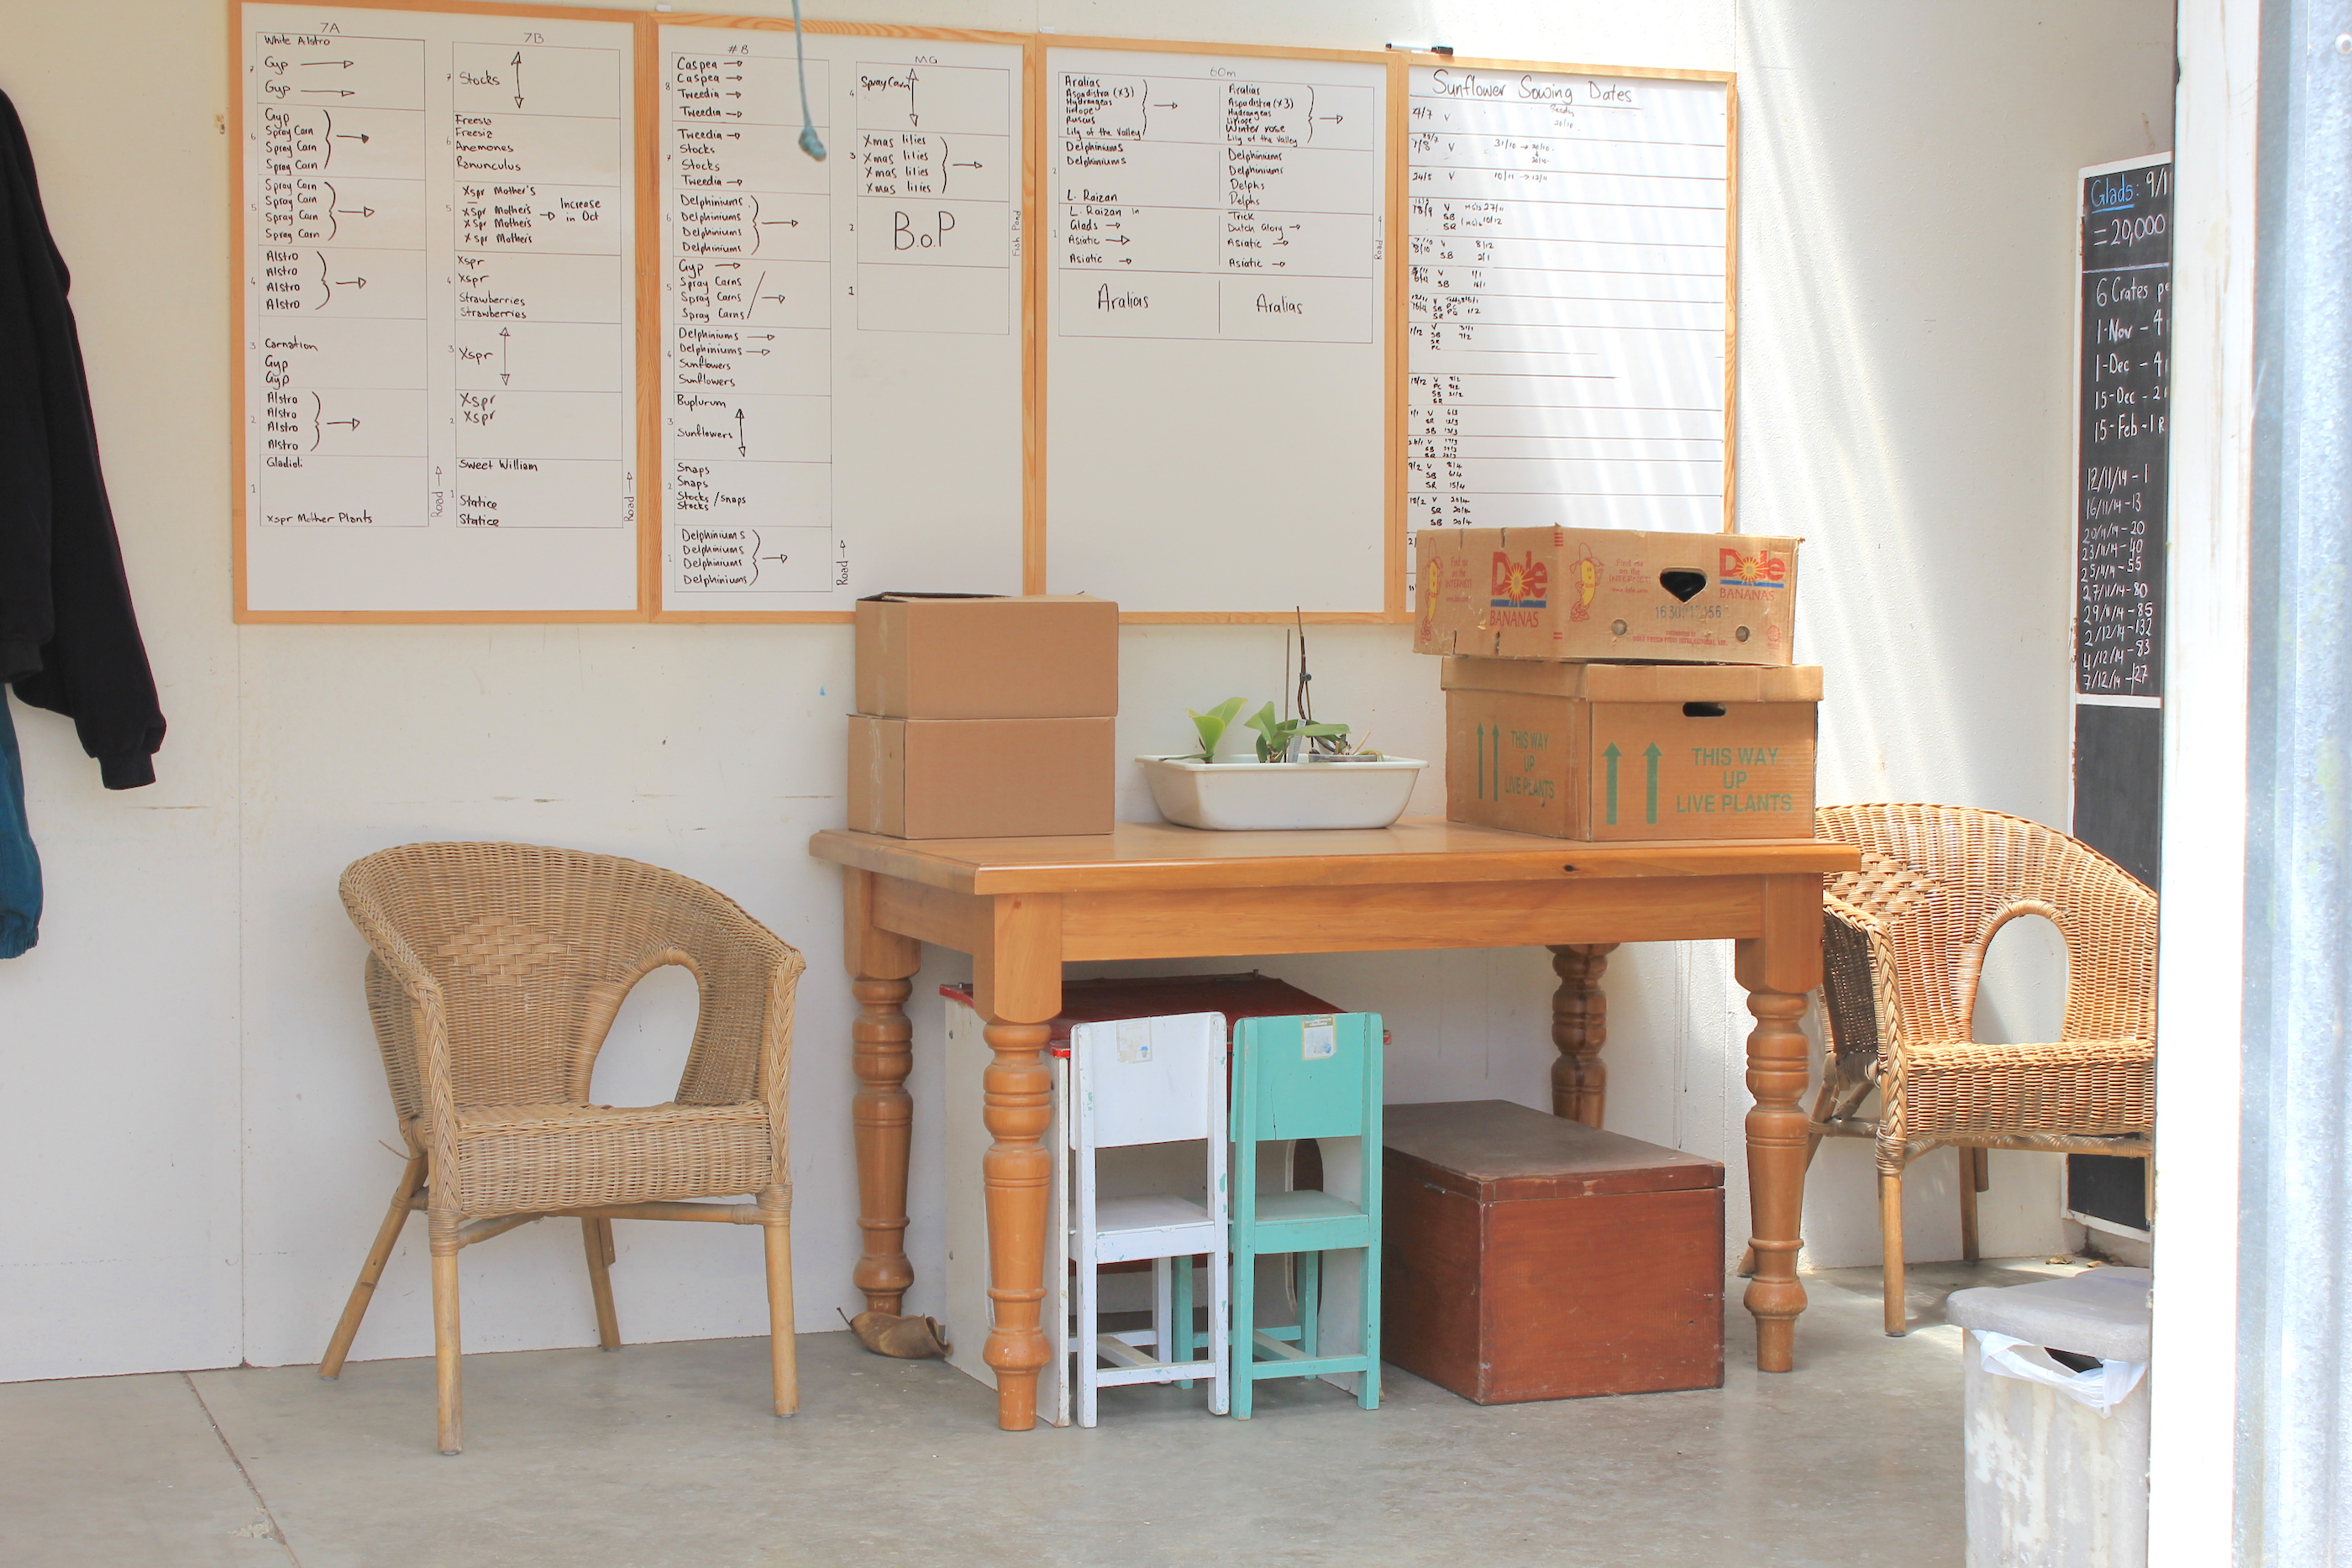
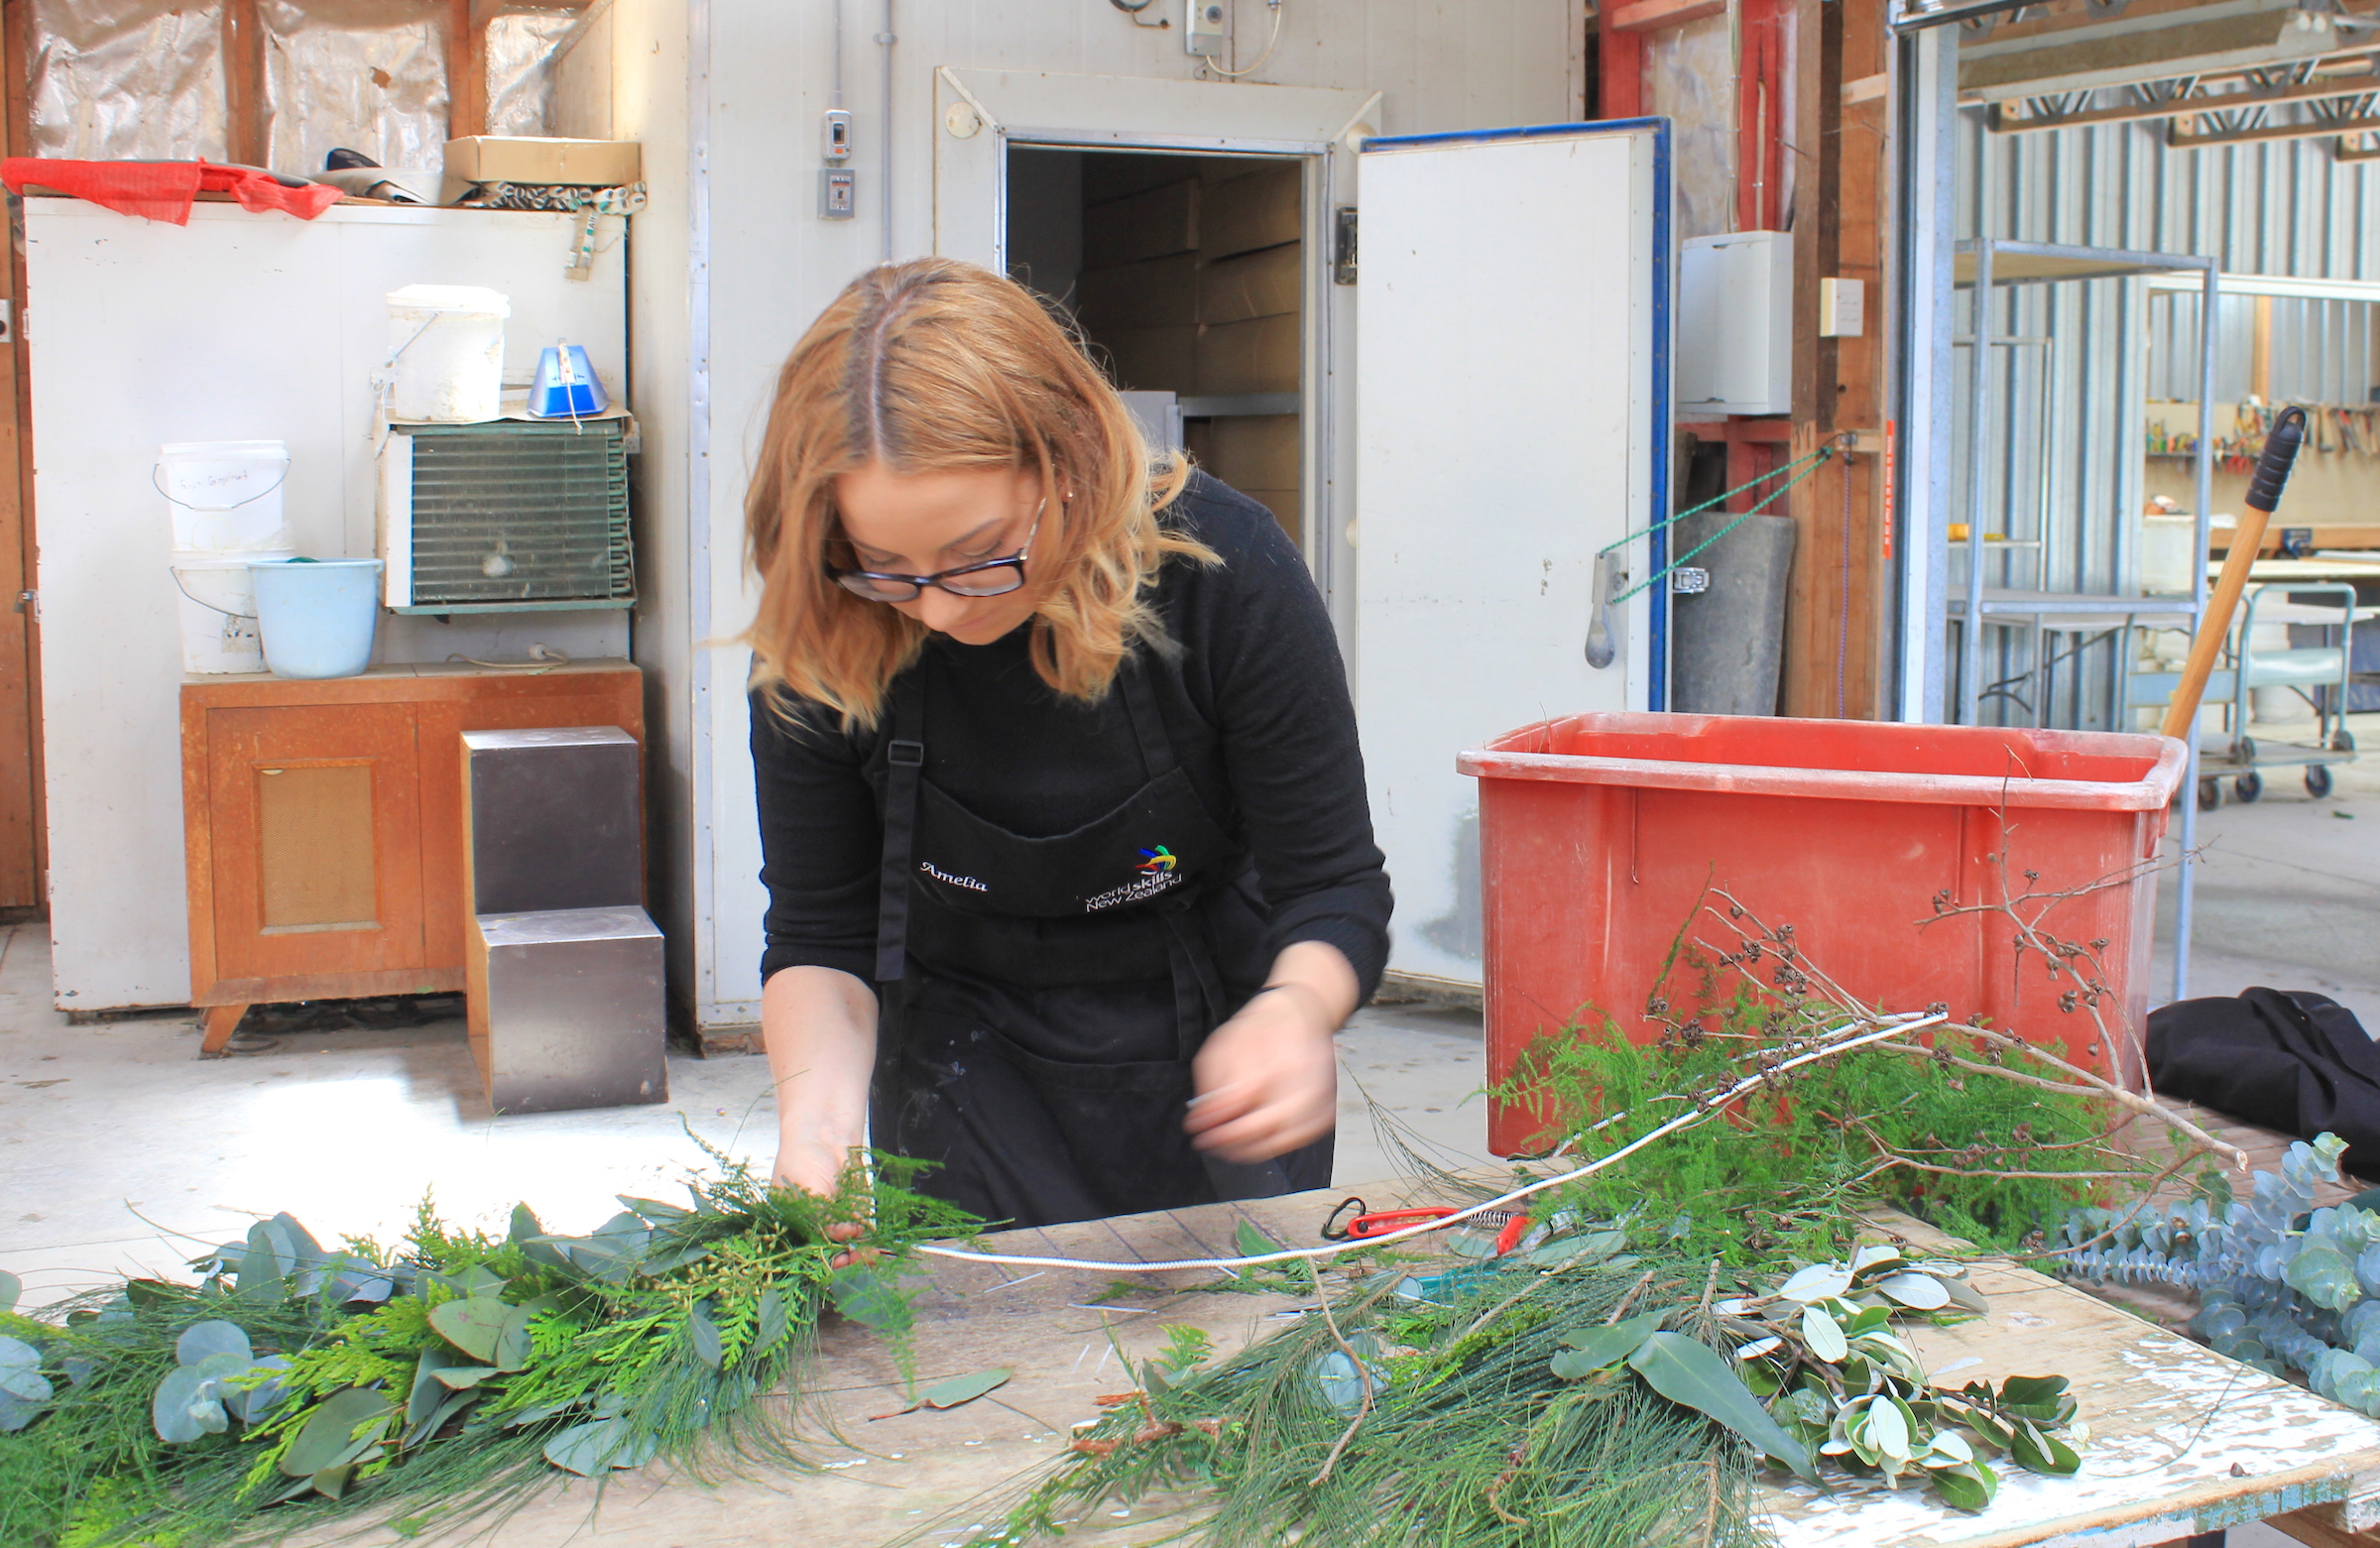
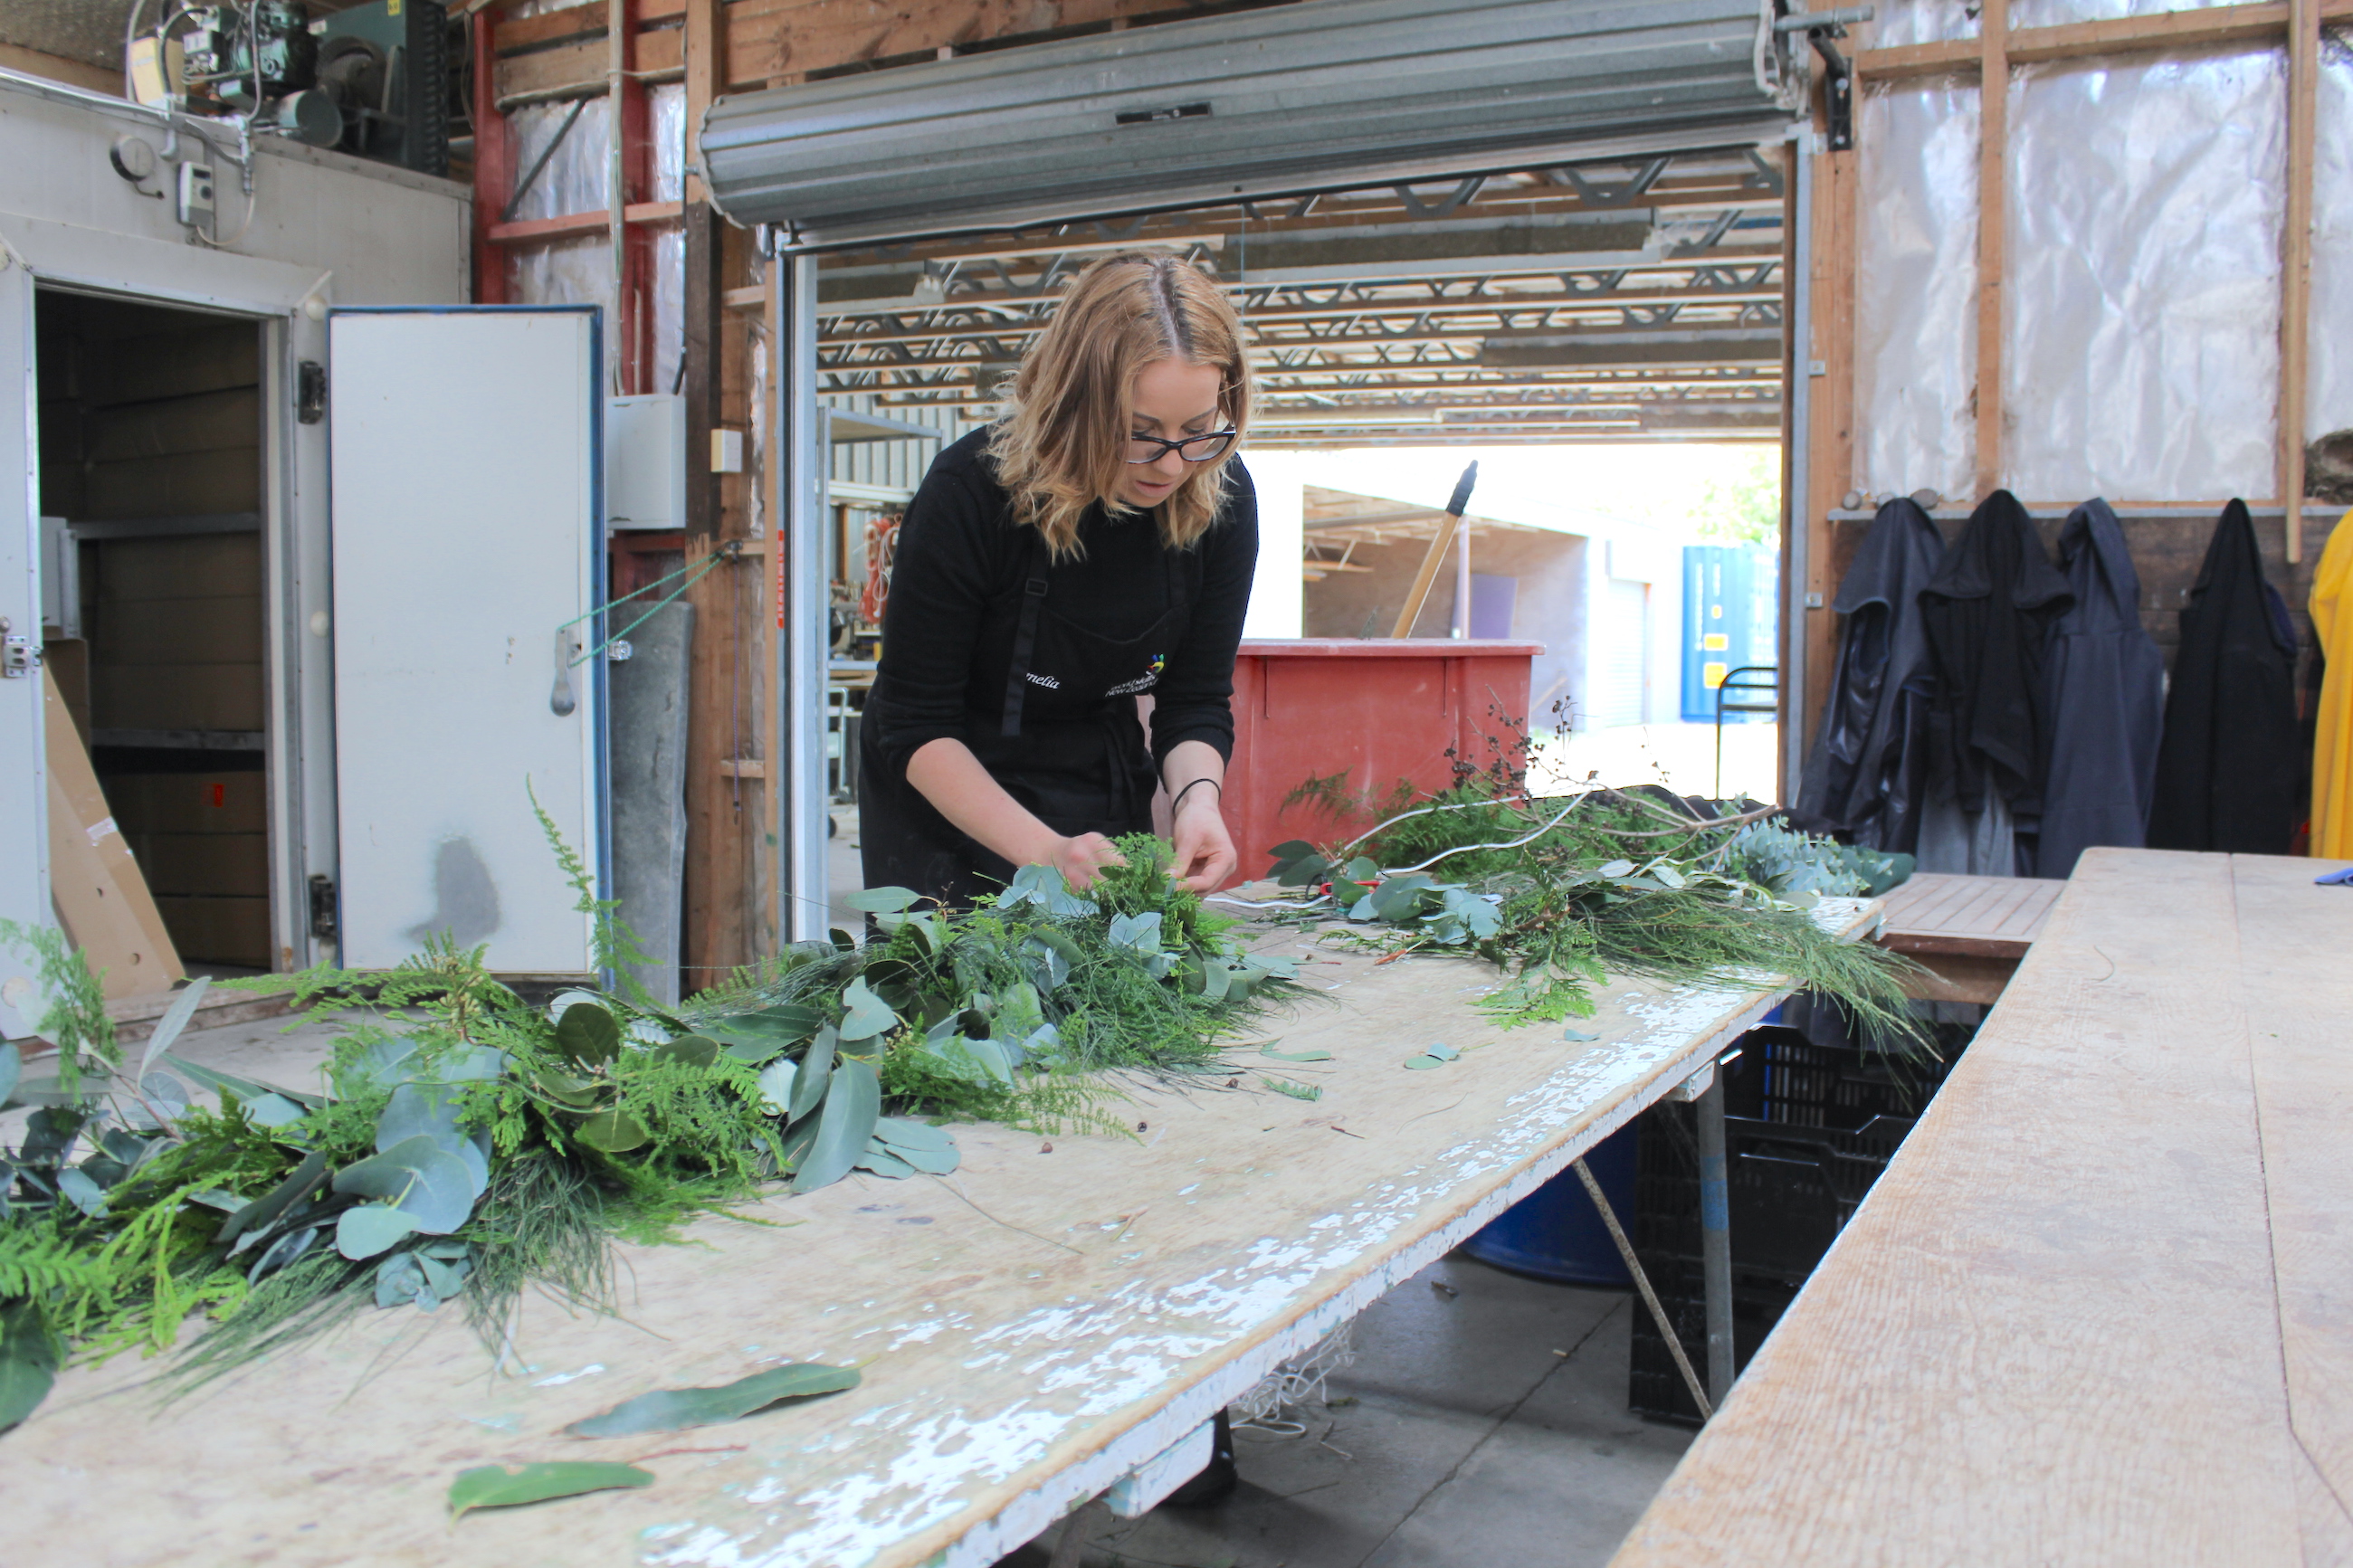
]]>I spent the morning out at one of my local gardens and followed talented florist and friend, Amelia Addis around as she foraged for the right foliage and snapped away while she worked her magic. I love the simple and relaxed style the foliage centrepiece creates.
It’s easy enough to make yourself and for those that wish to recreate the look for their own Christmas table, I’ve included some tips and tricks at the bottom of the post.
Enjoy this visual post and take a look at the complete Christmas Table setting styled in our backyard underneath our evergreen tree.


What you’ll need:
- Length of rope (doesn’t have to be super thick)
- Cable Ties
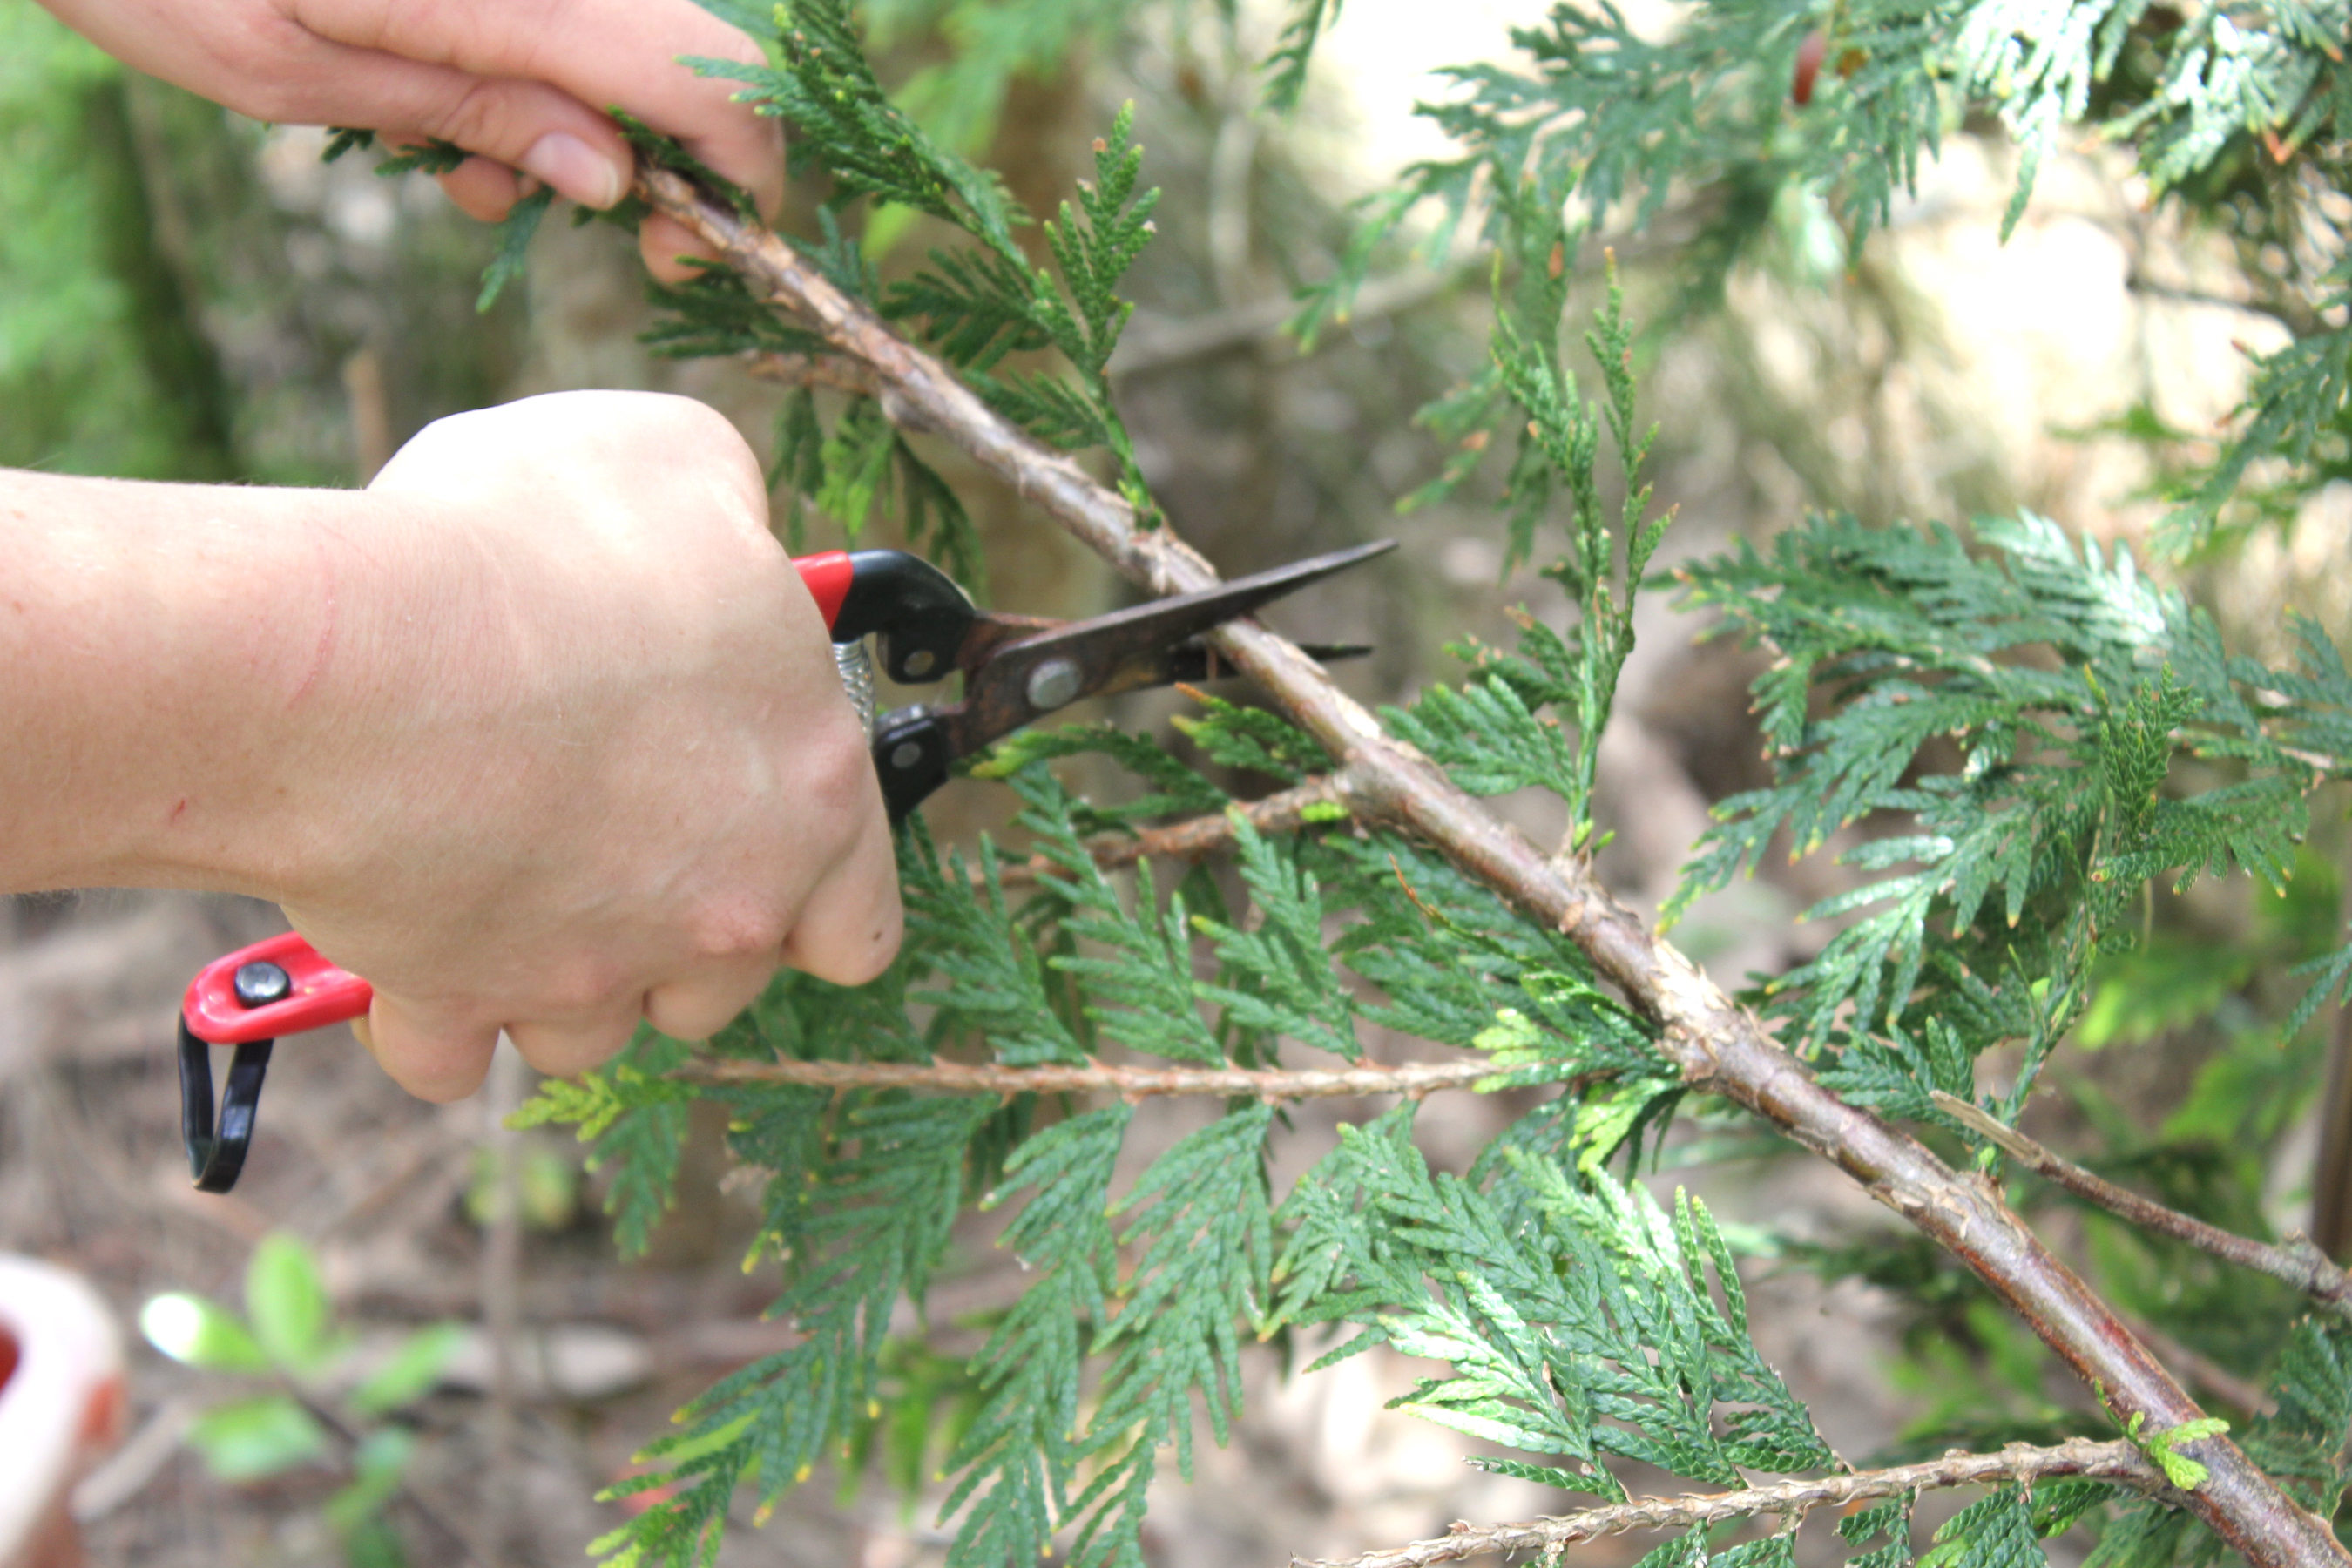
- Secateurs
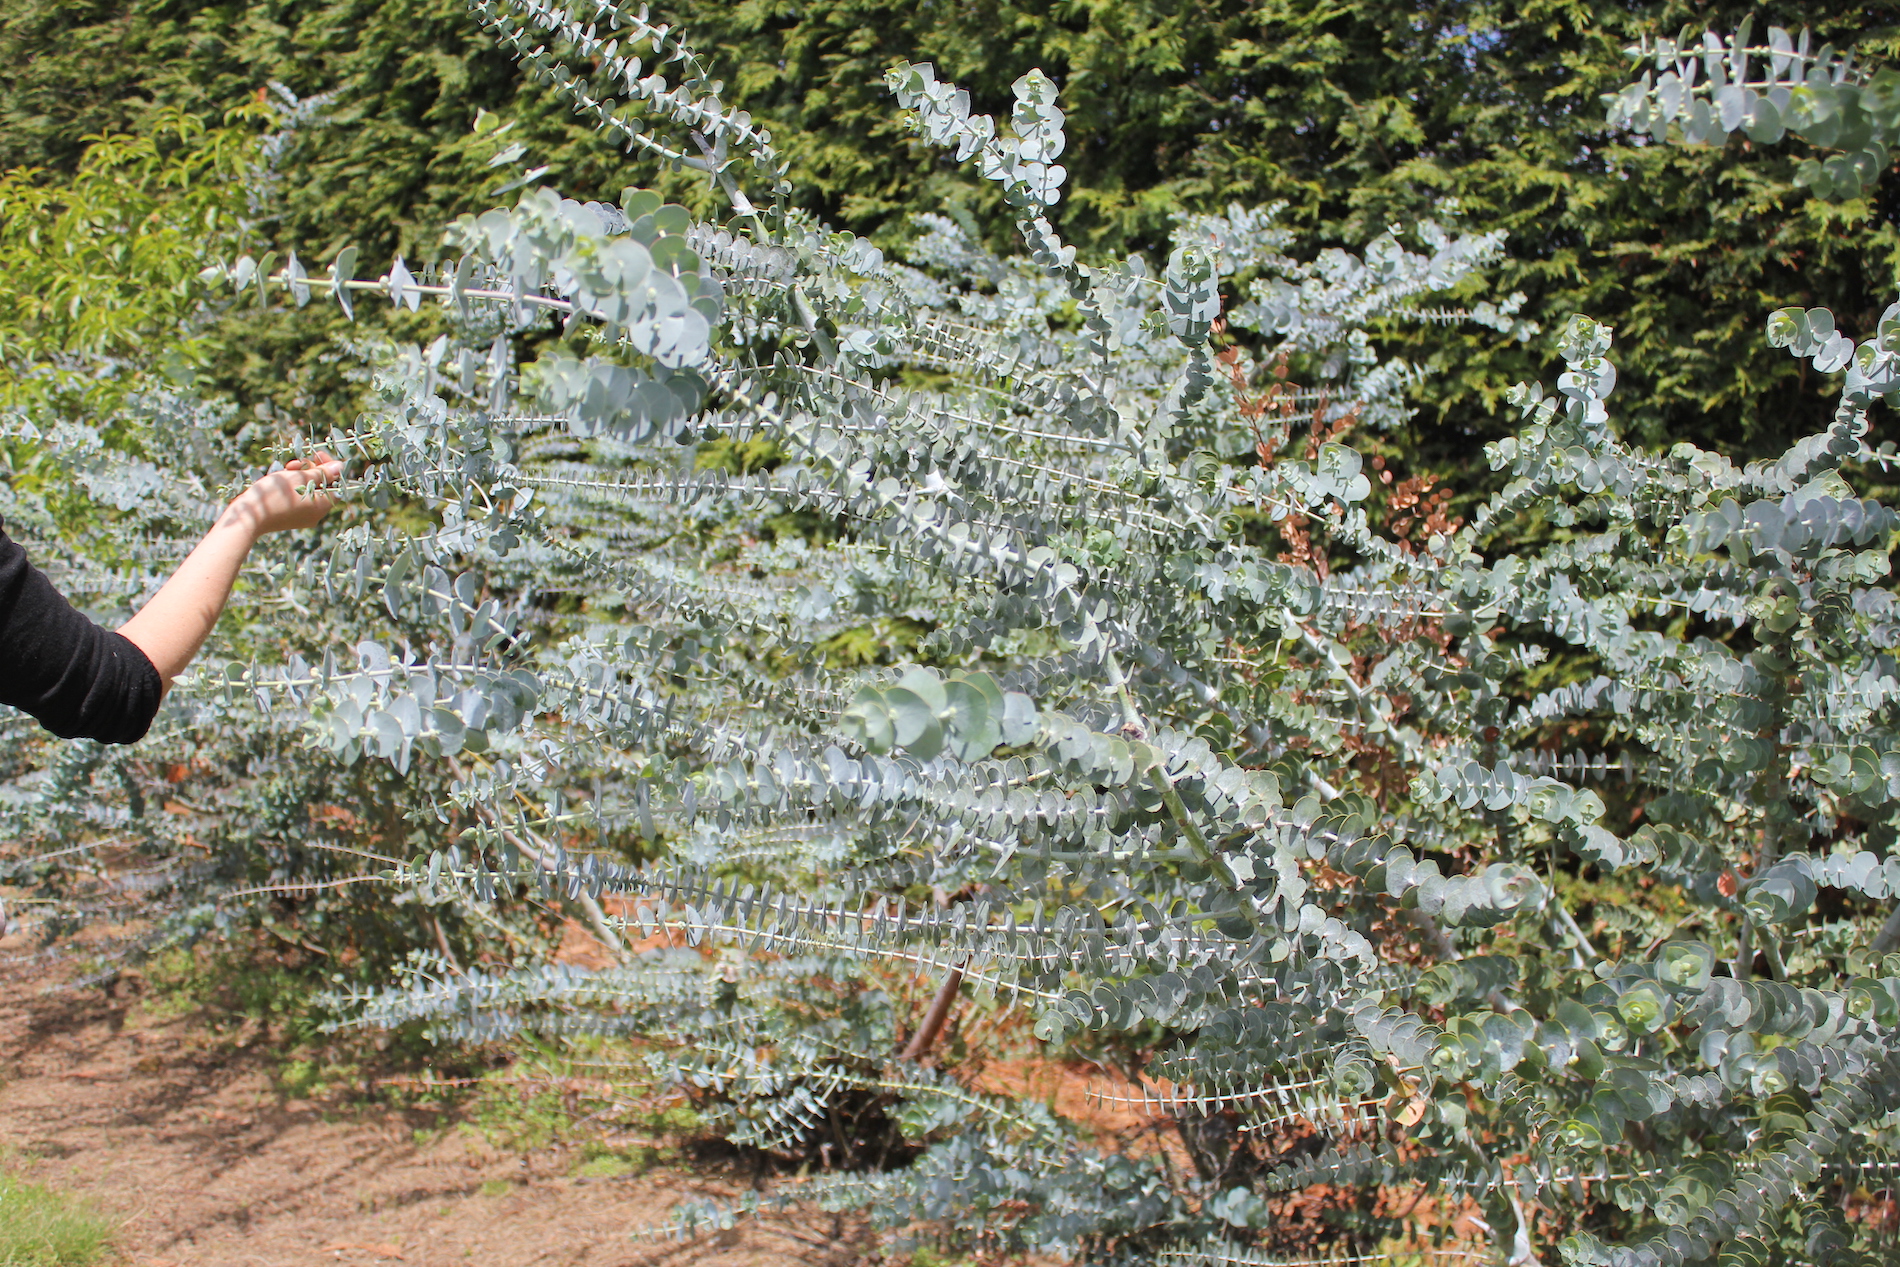
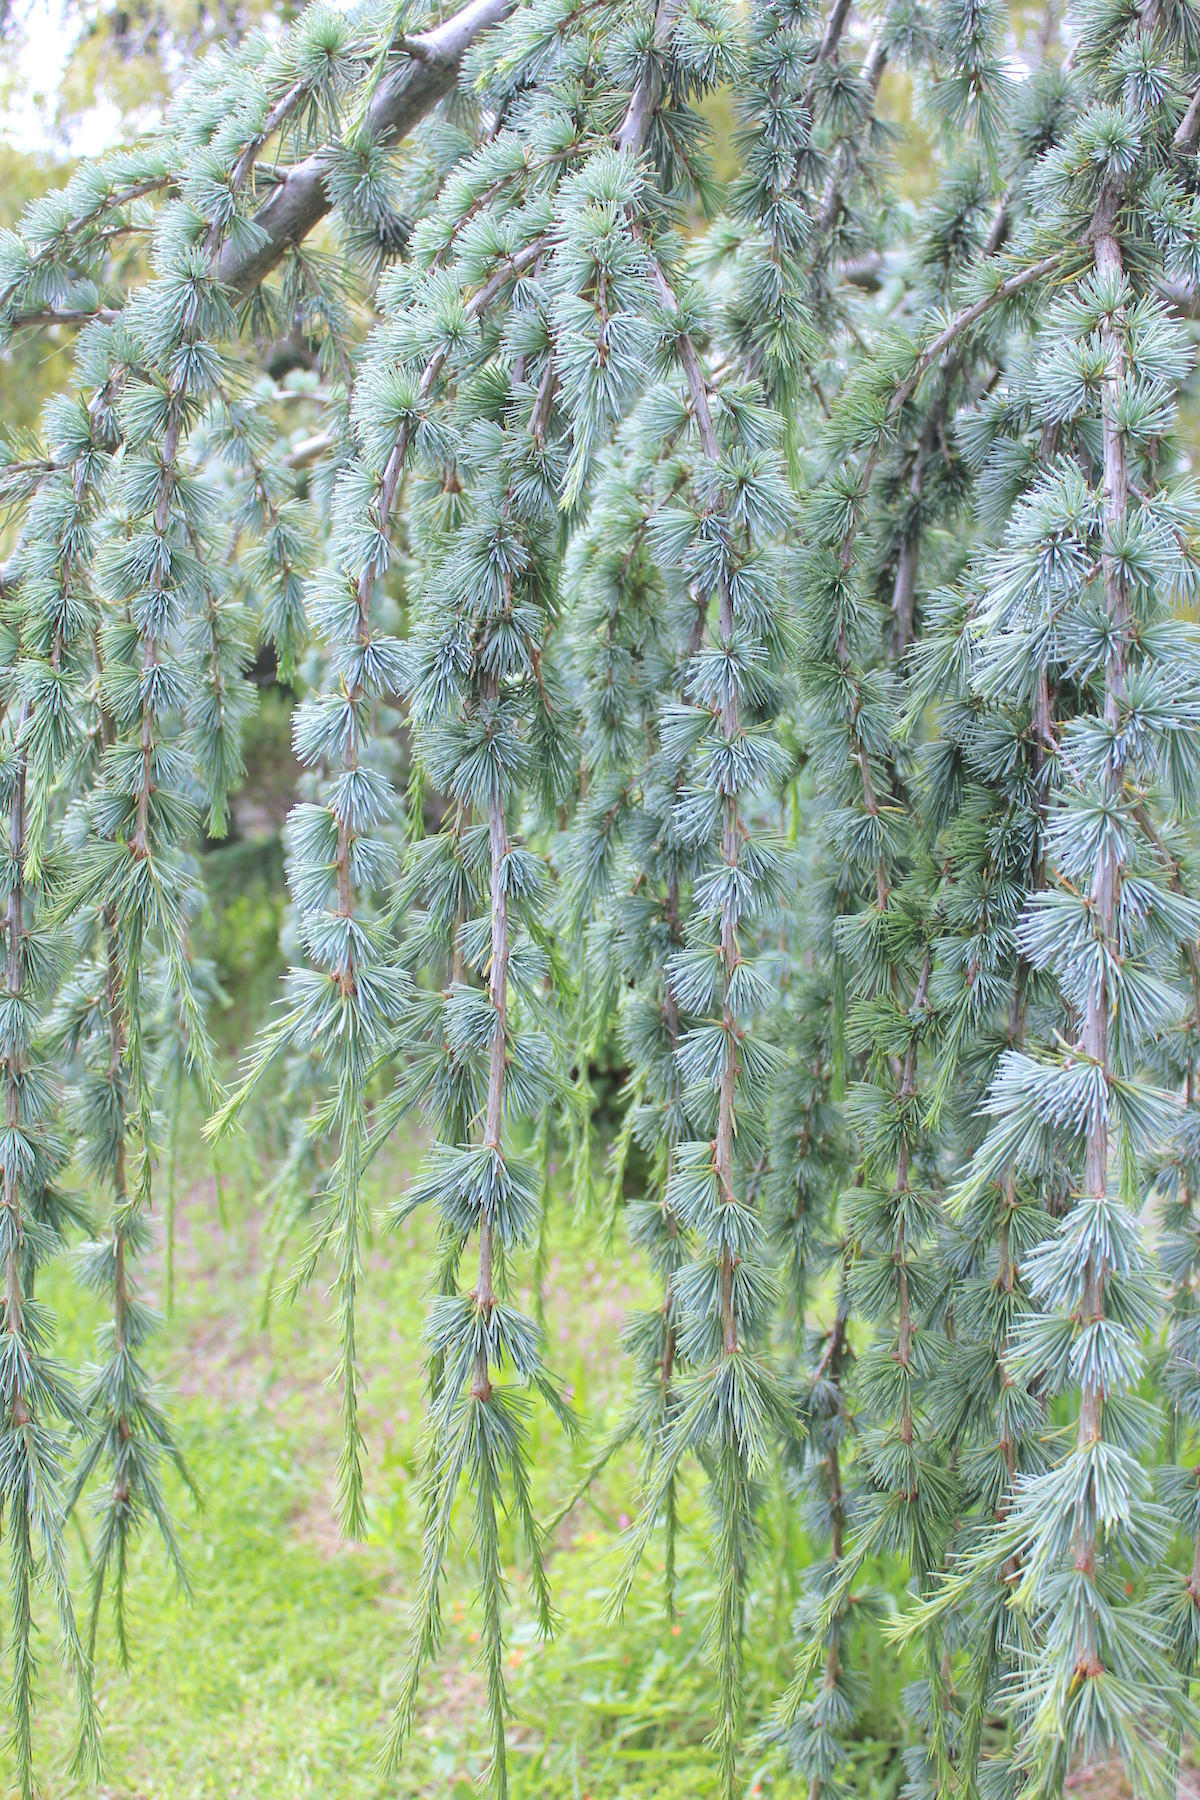
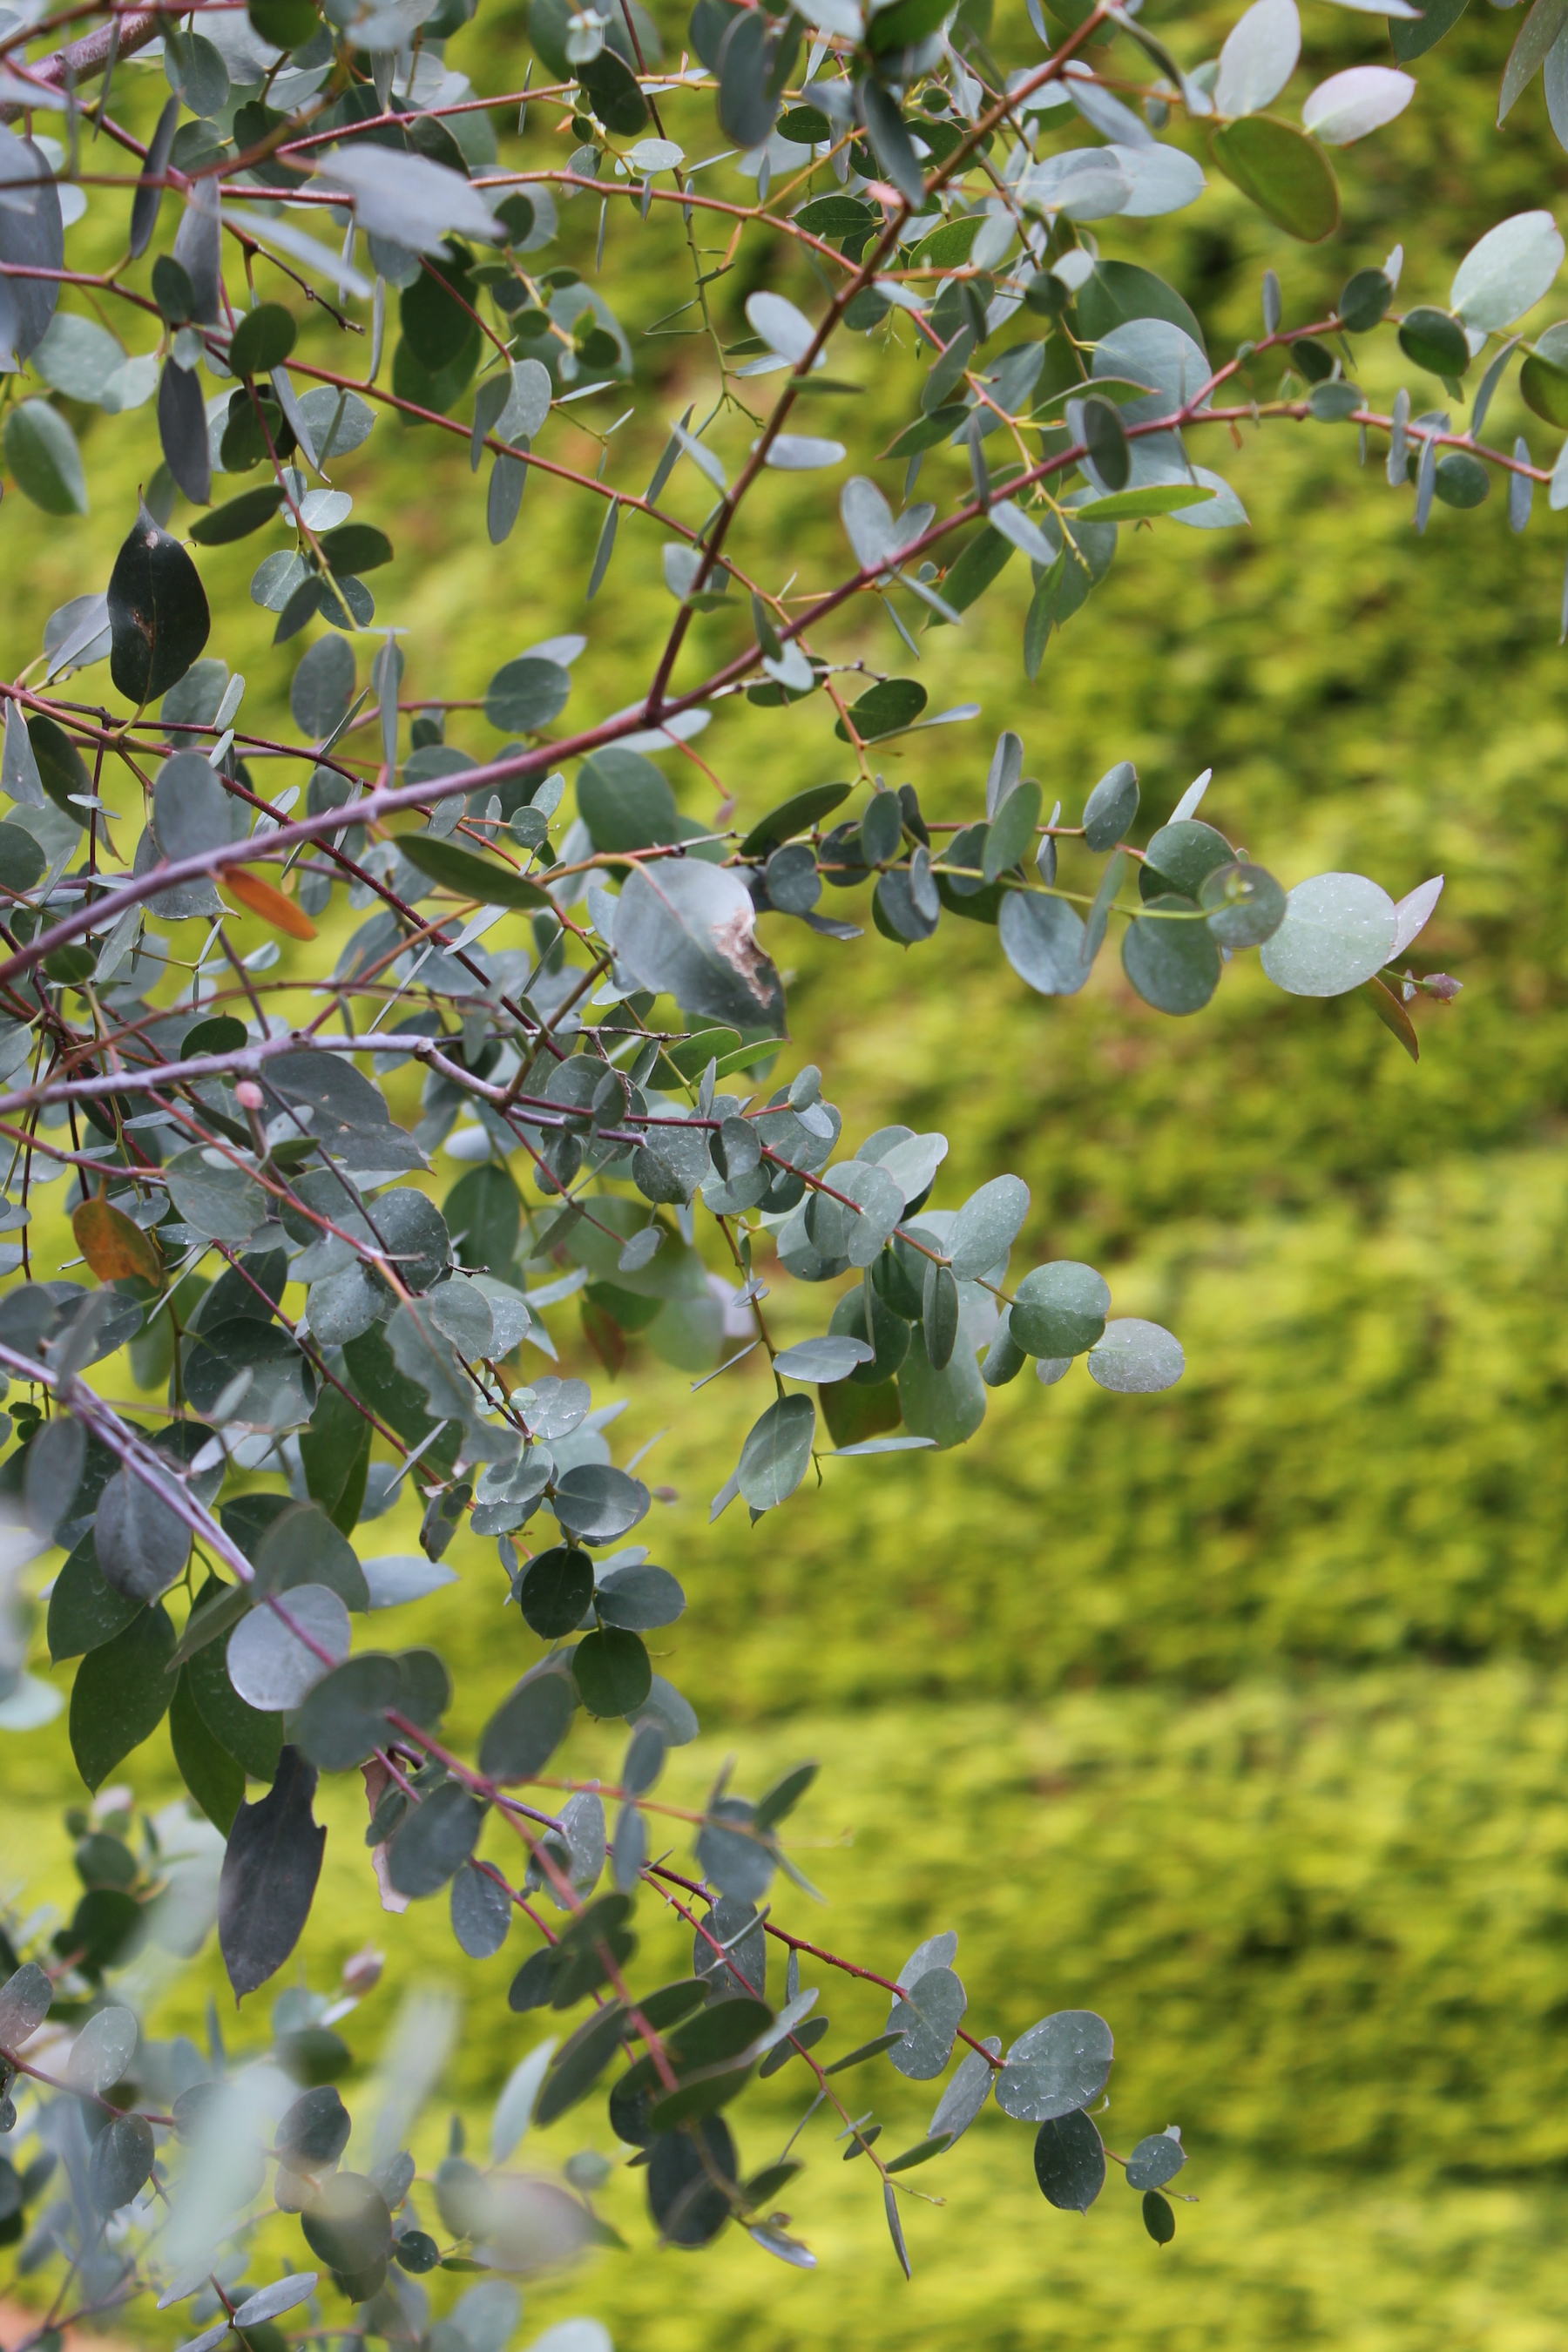
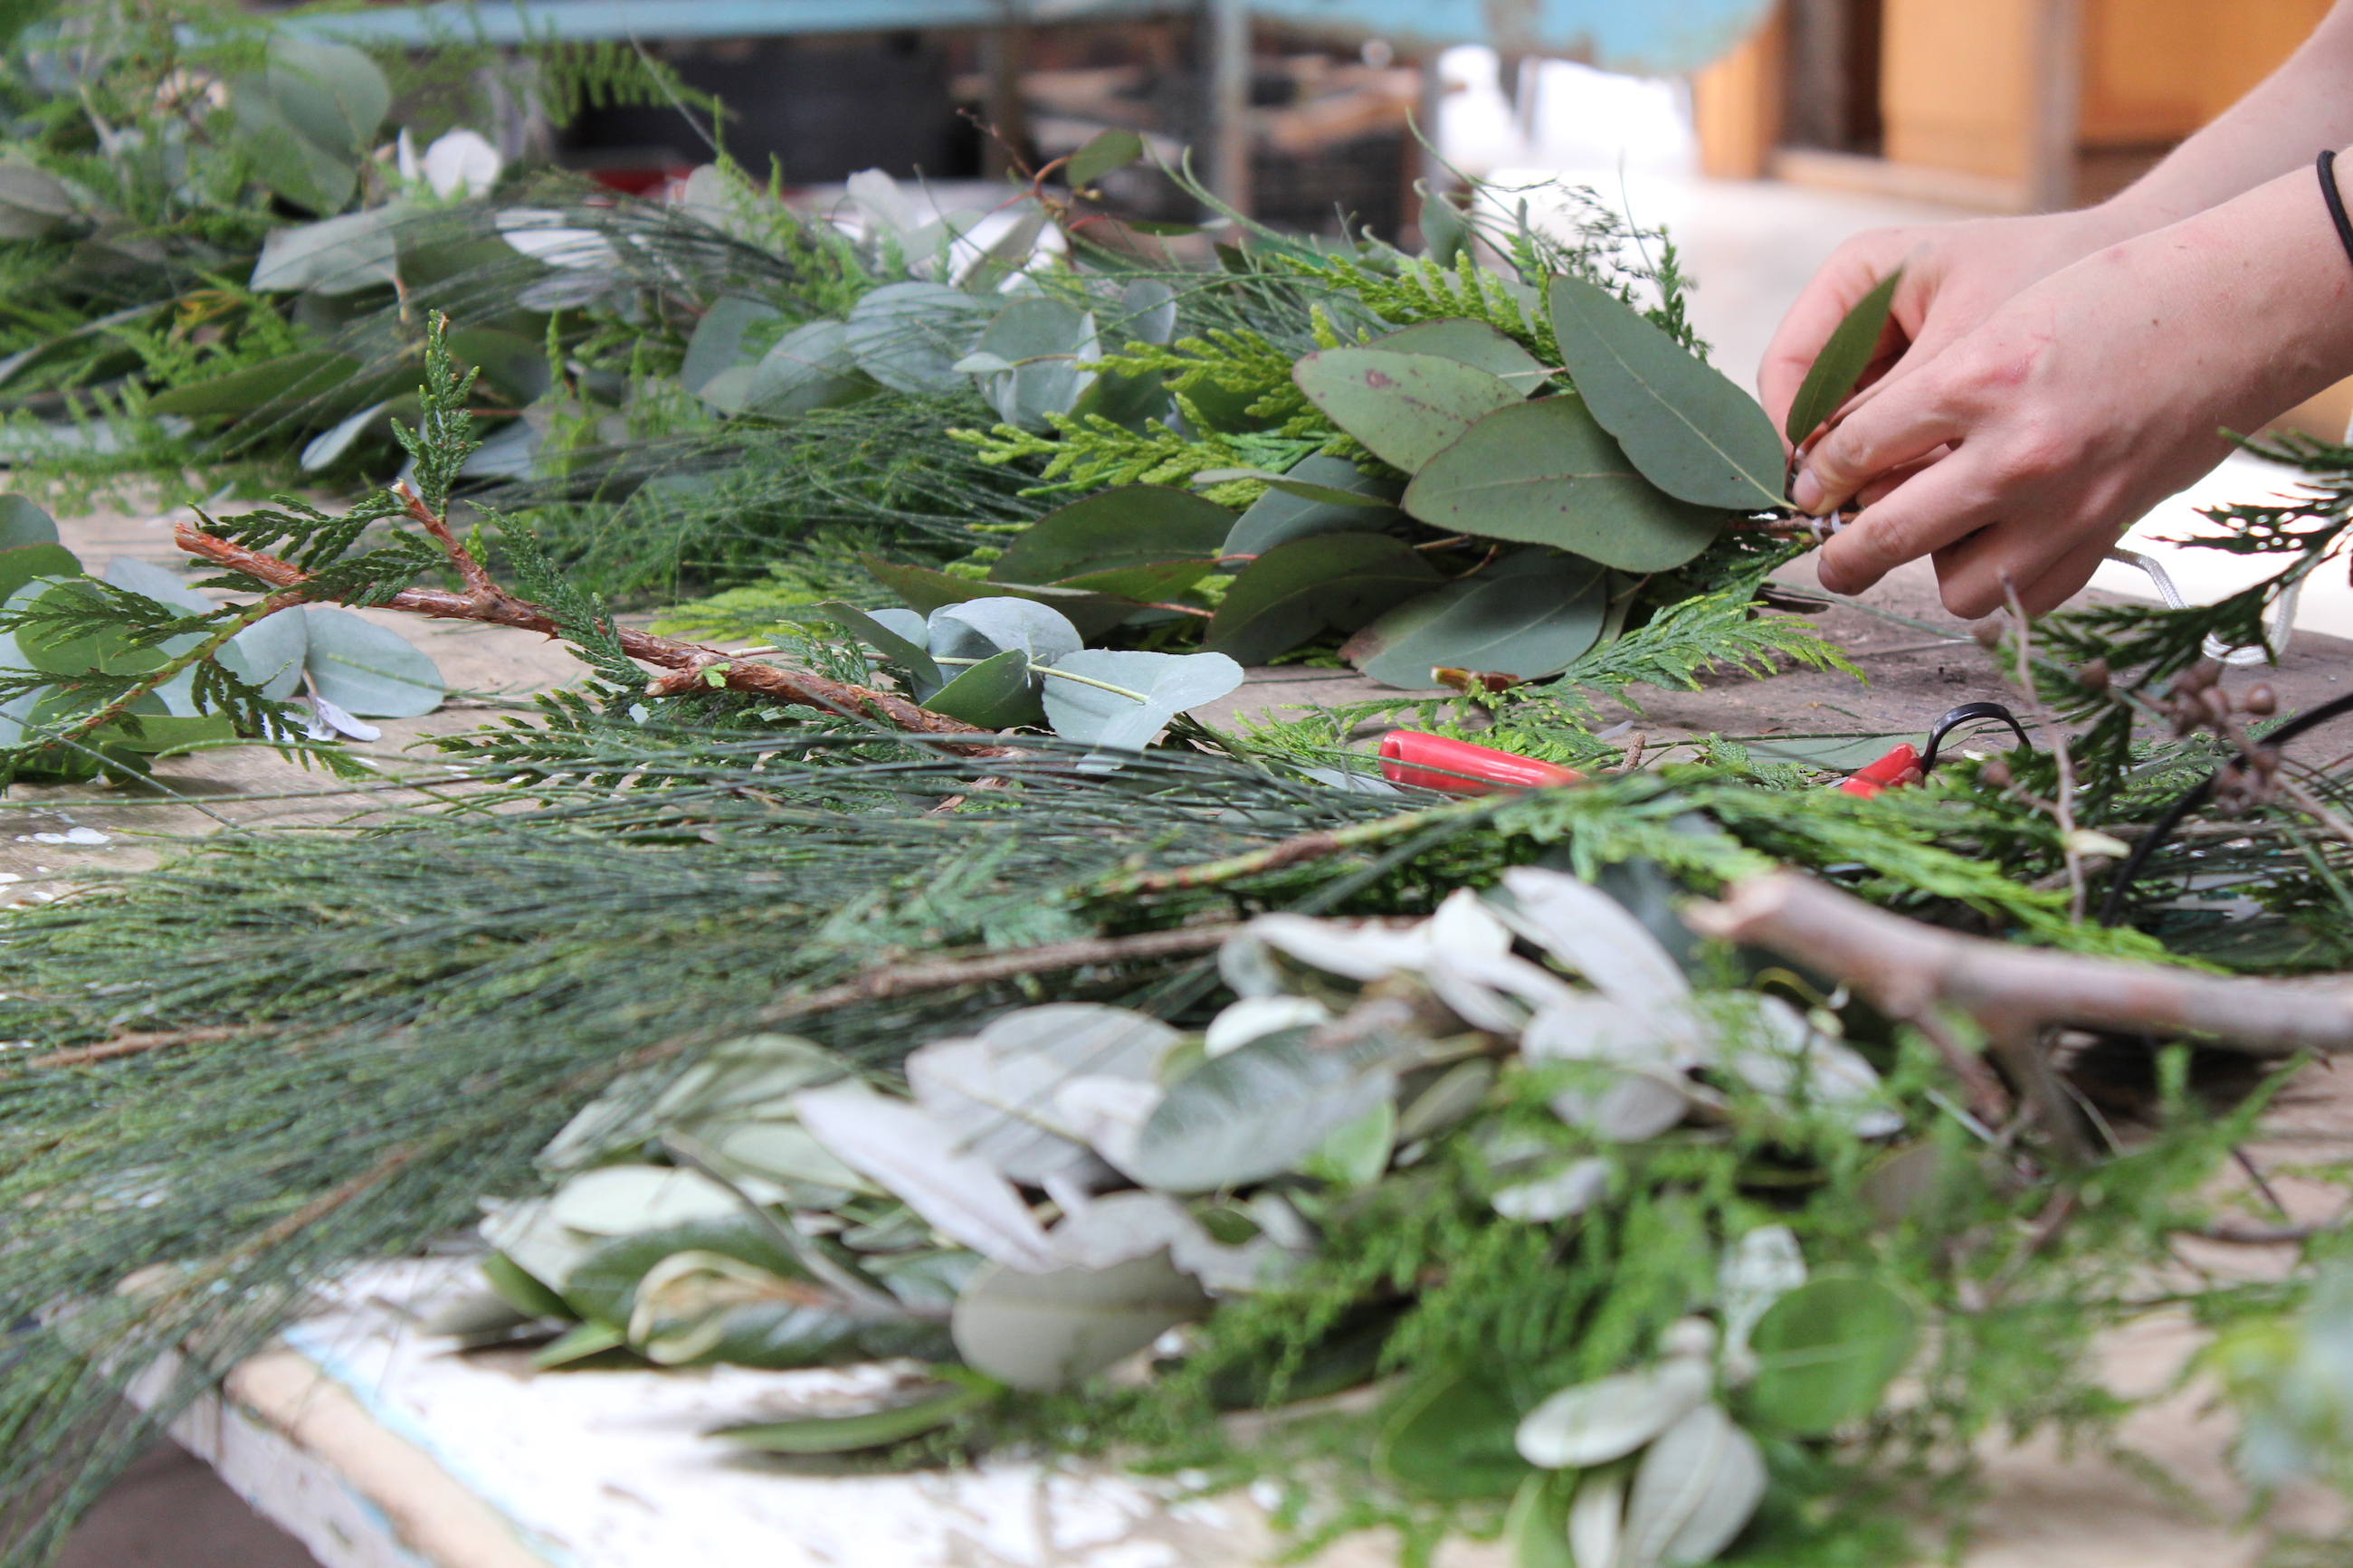
- Firm foliage (we’ve used Eucalyptus gum, Asparagus fern, Conifer and Pine)
When foraging for your foliage, make sure the leaves aren’t too soft, especially if you are making the centrepiece ahead of time and stick to evergreen varieties if you’re unsure if something is mature enough.
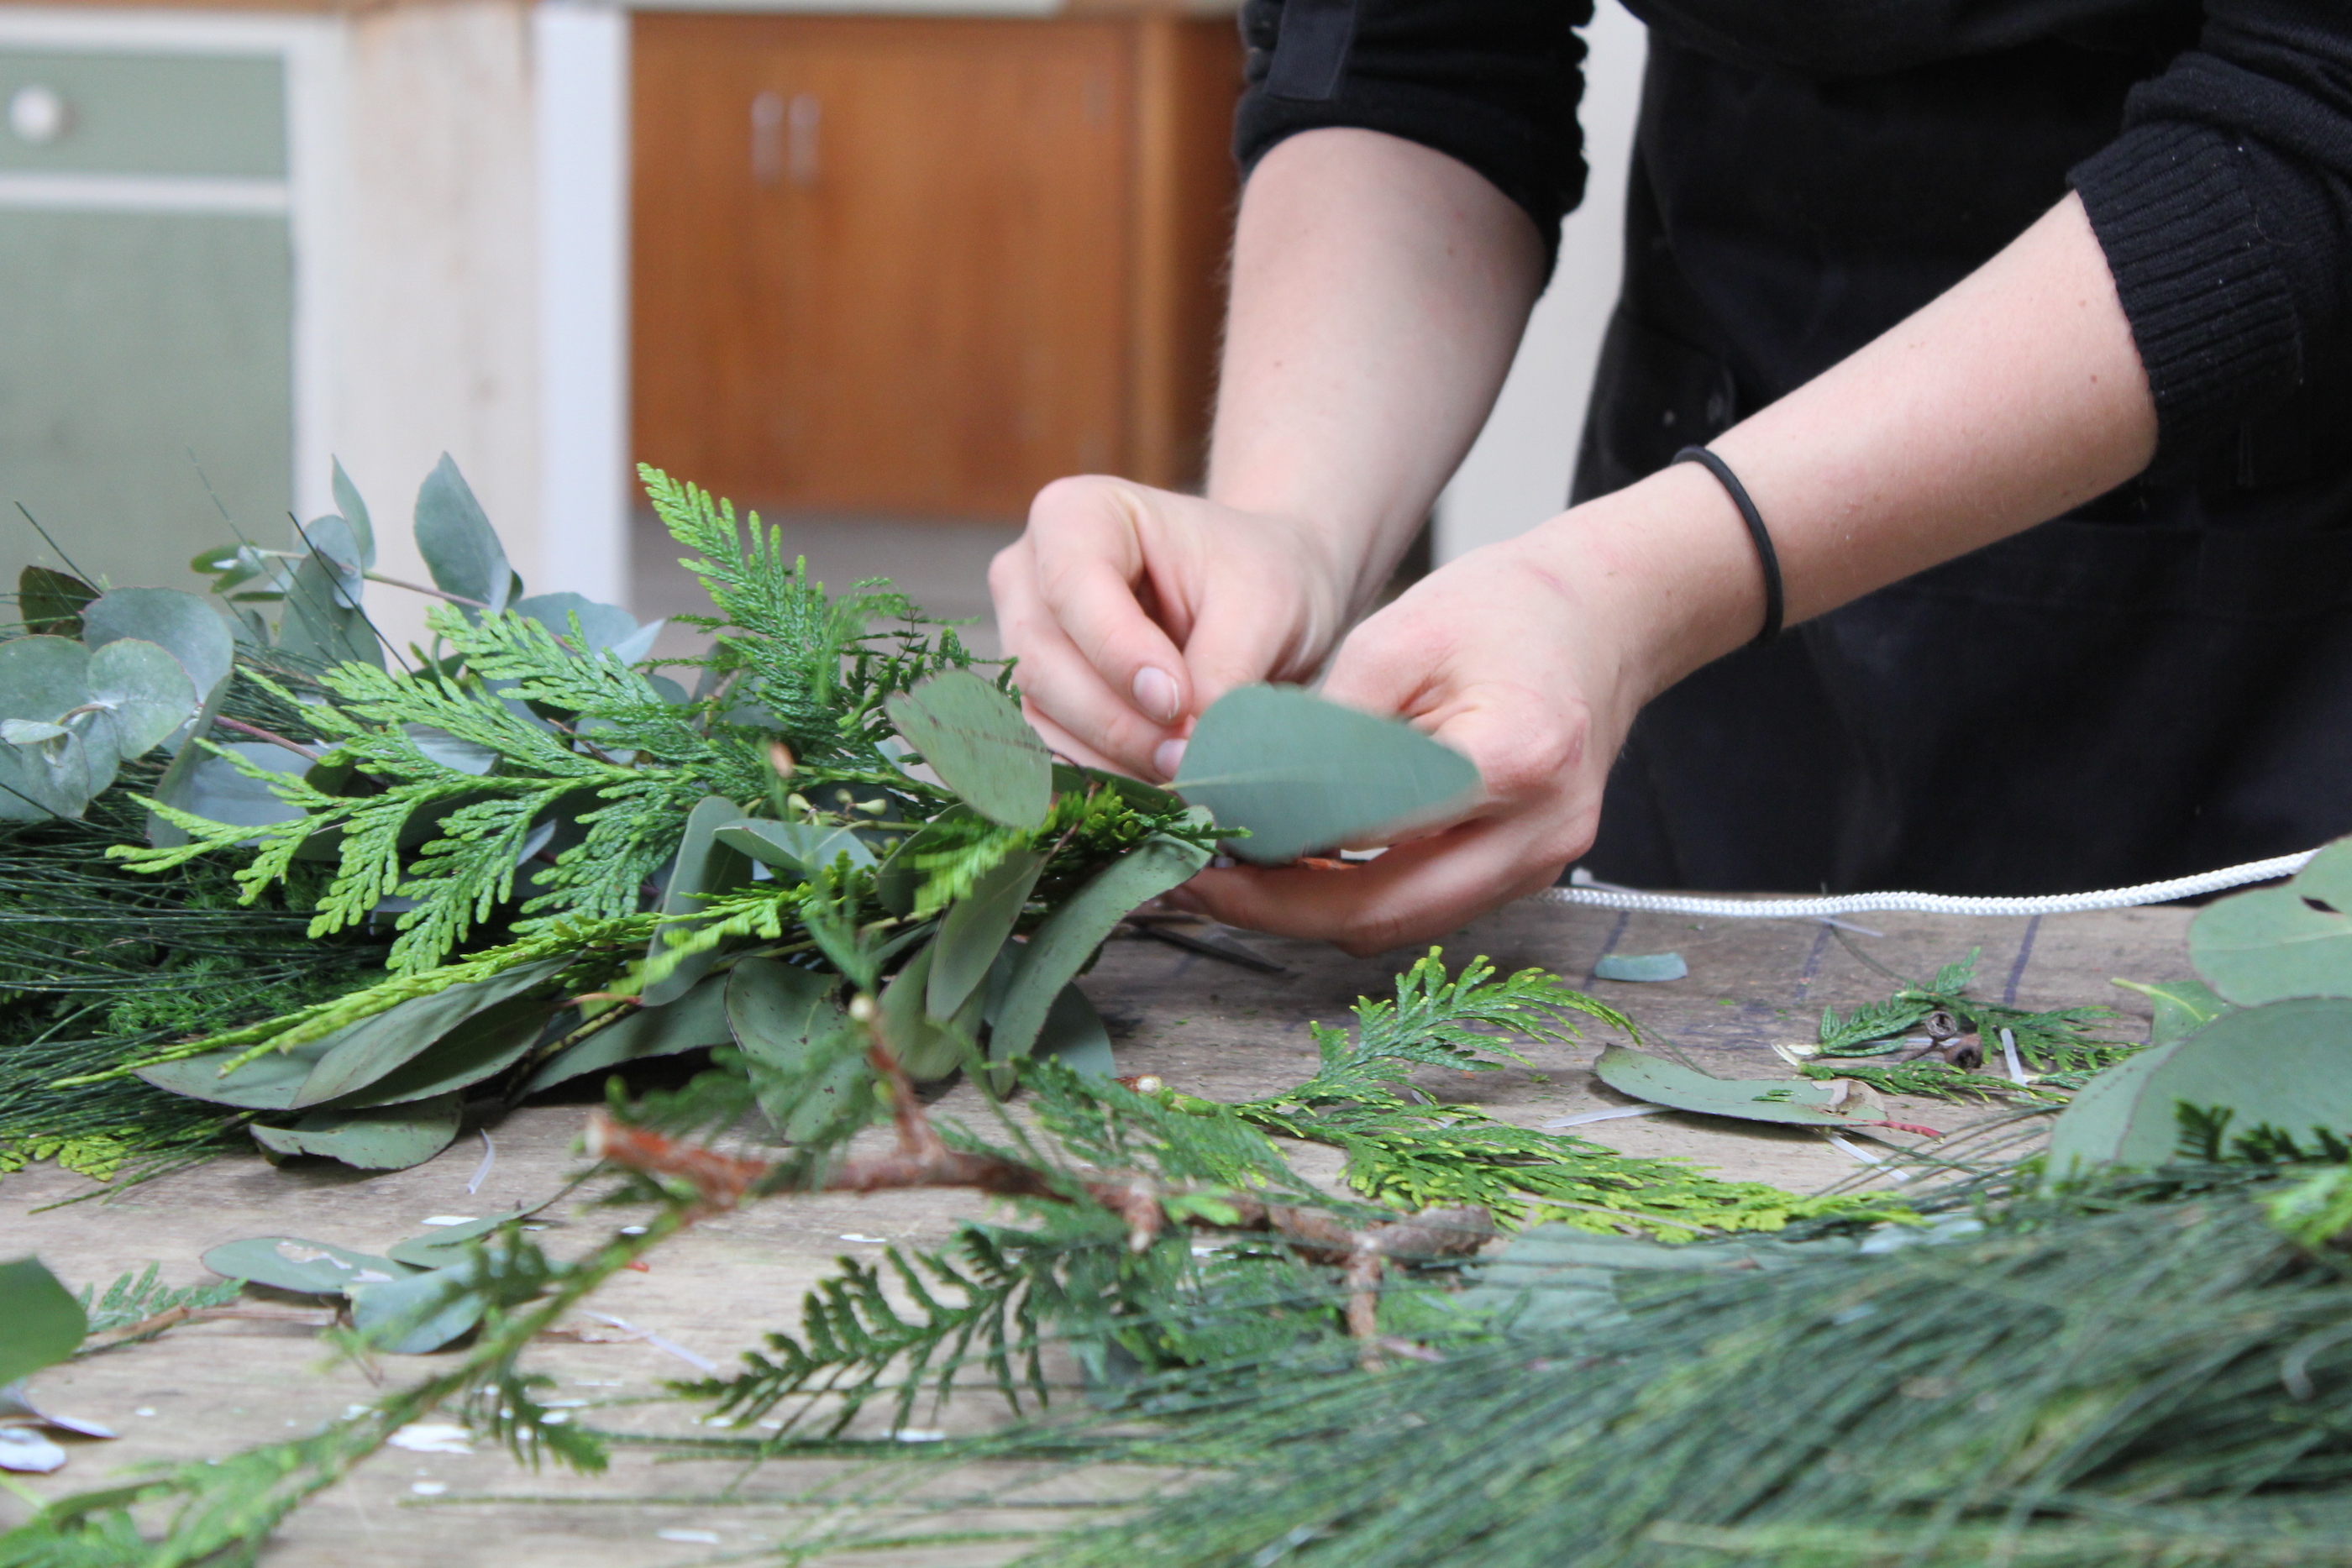
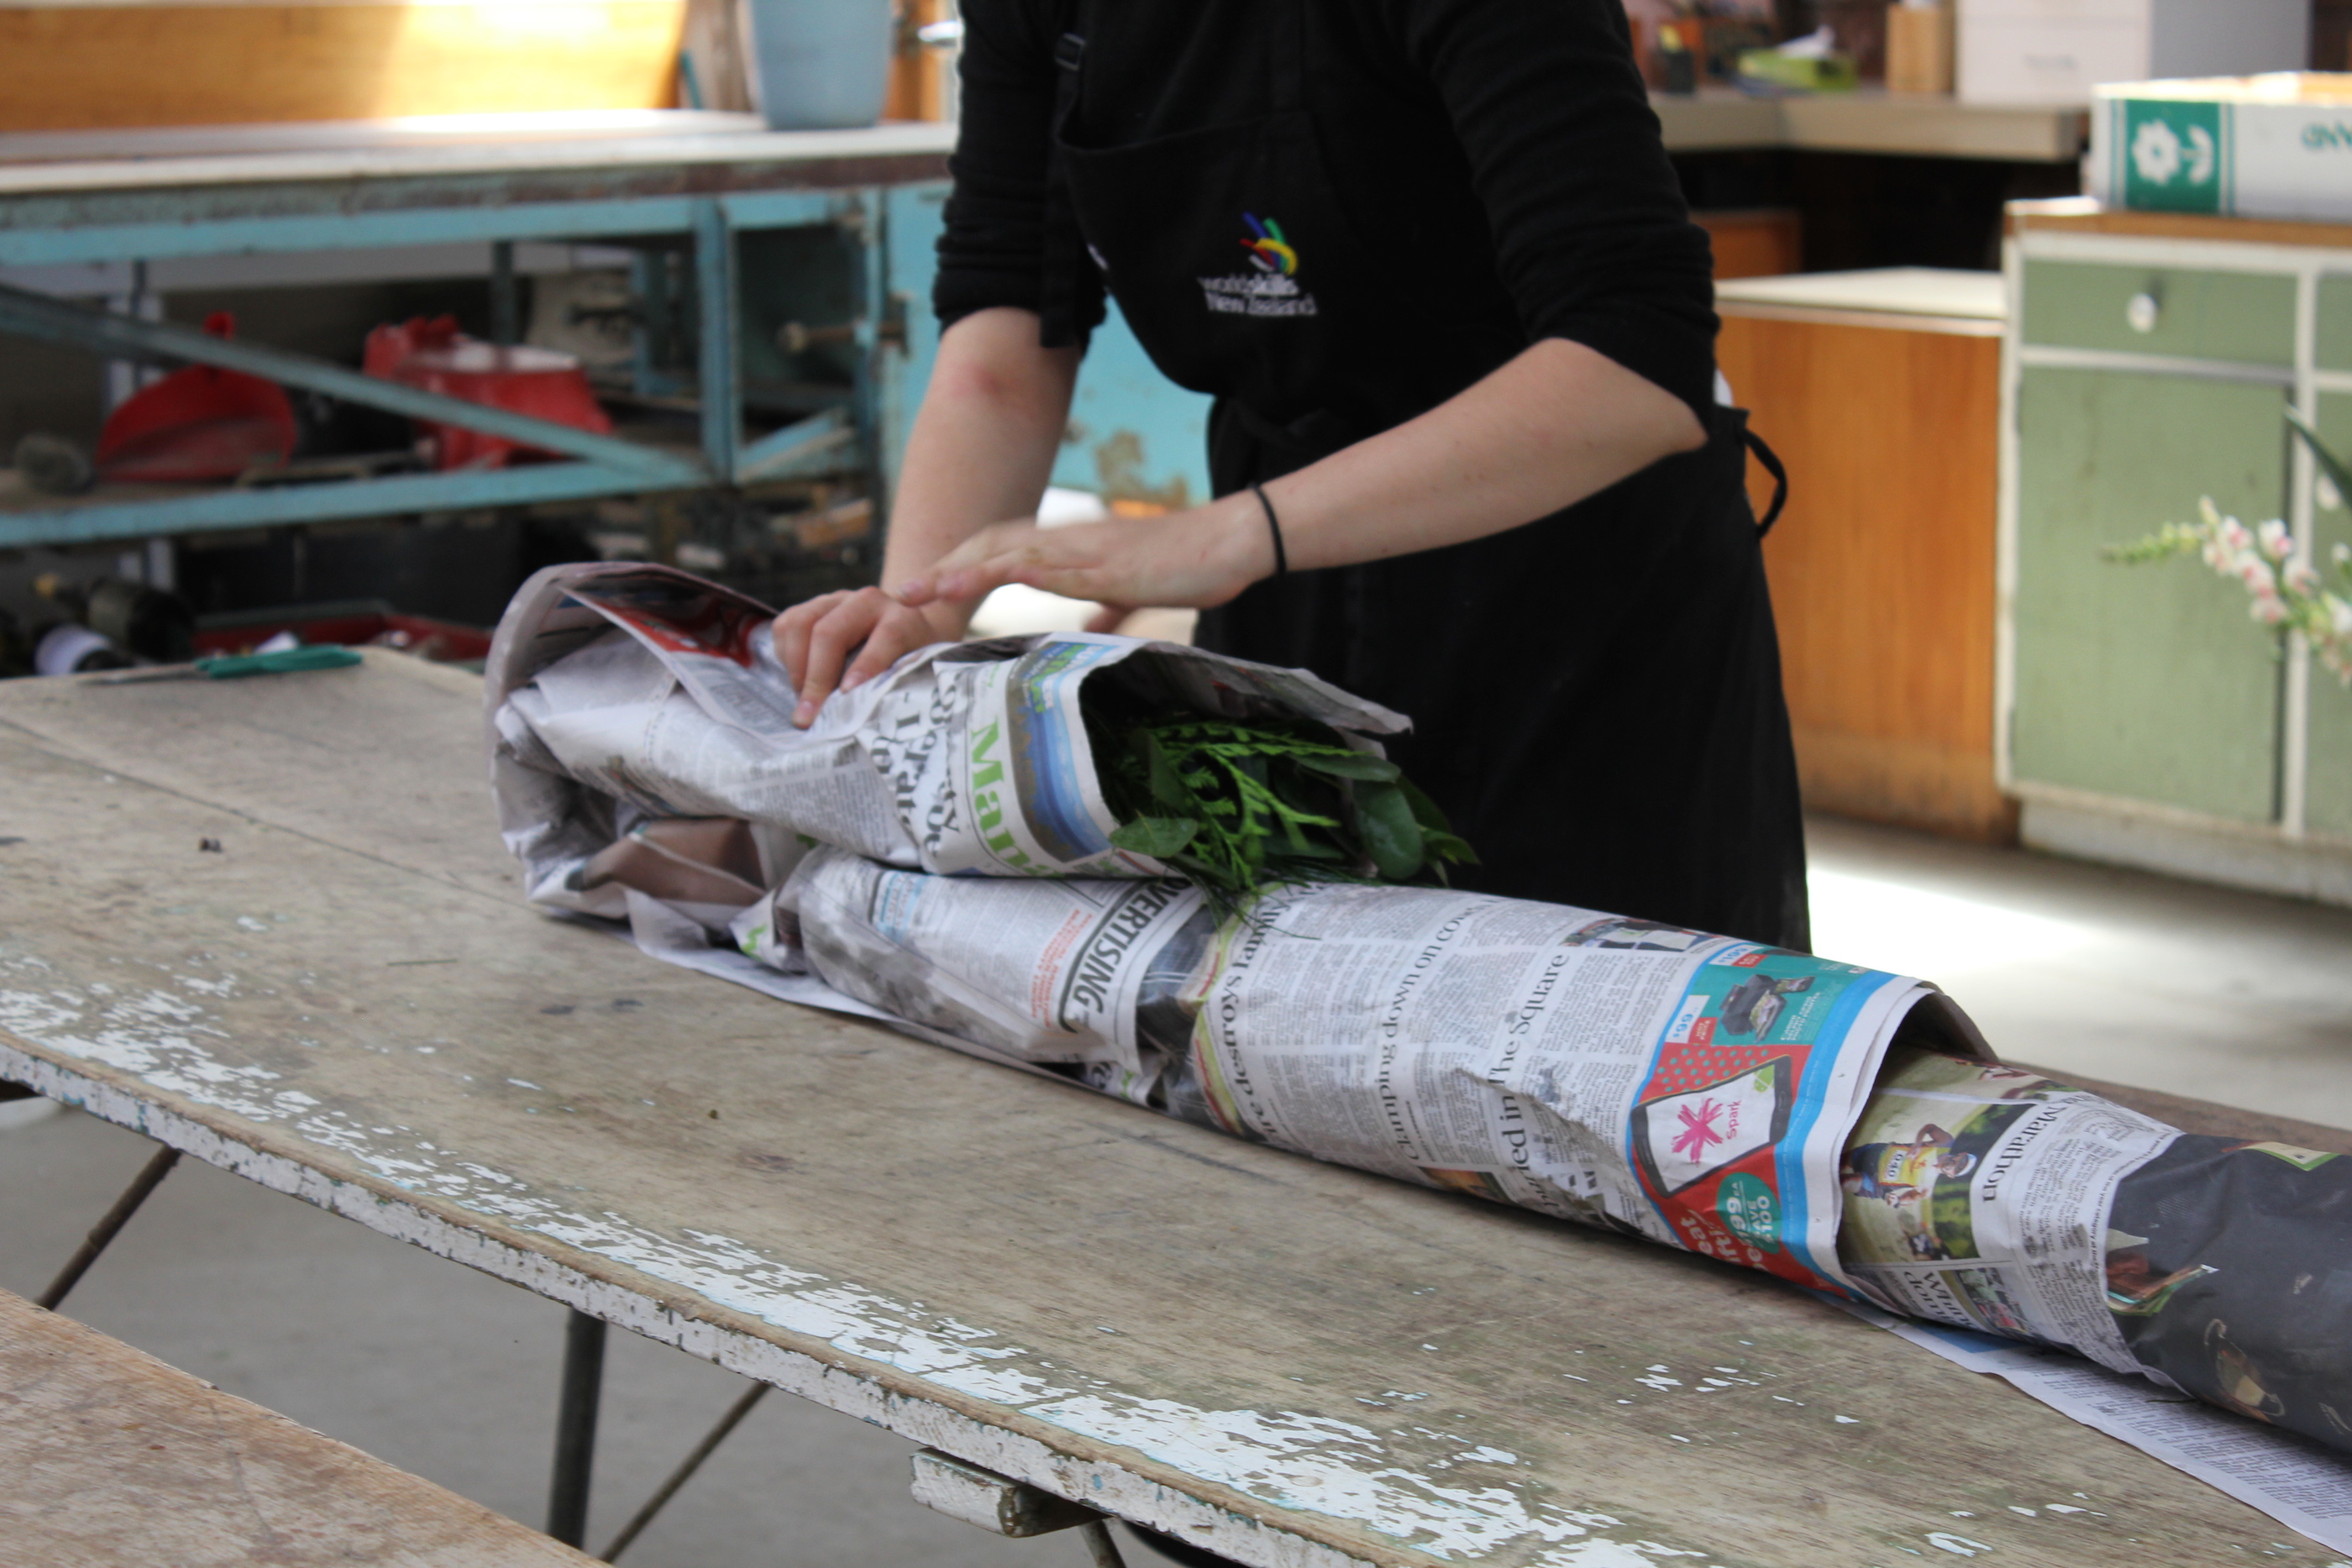
To make the centrepiece, lay out all your foliage and cut into shorter lengths. Take two or three small amounts of different types of foliage and attach them on to the rope, securing with a cable tie.
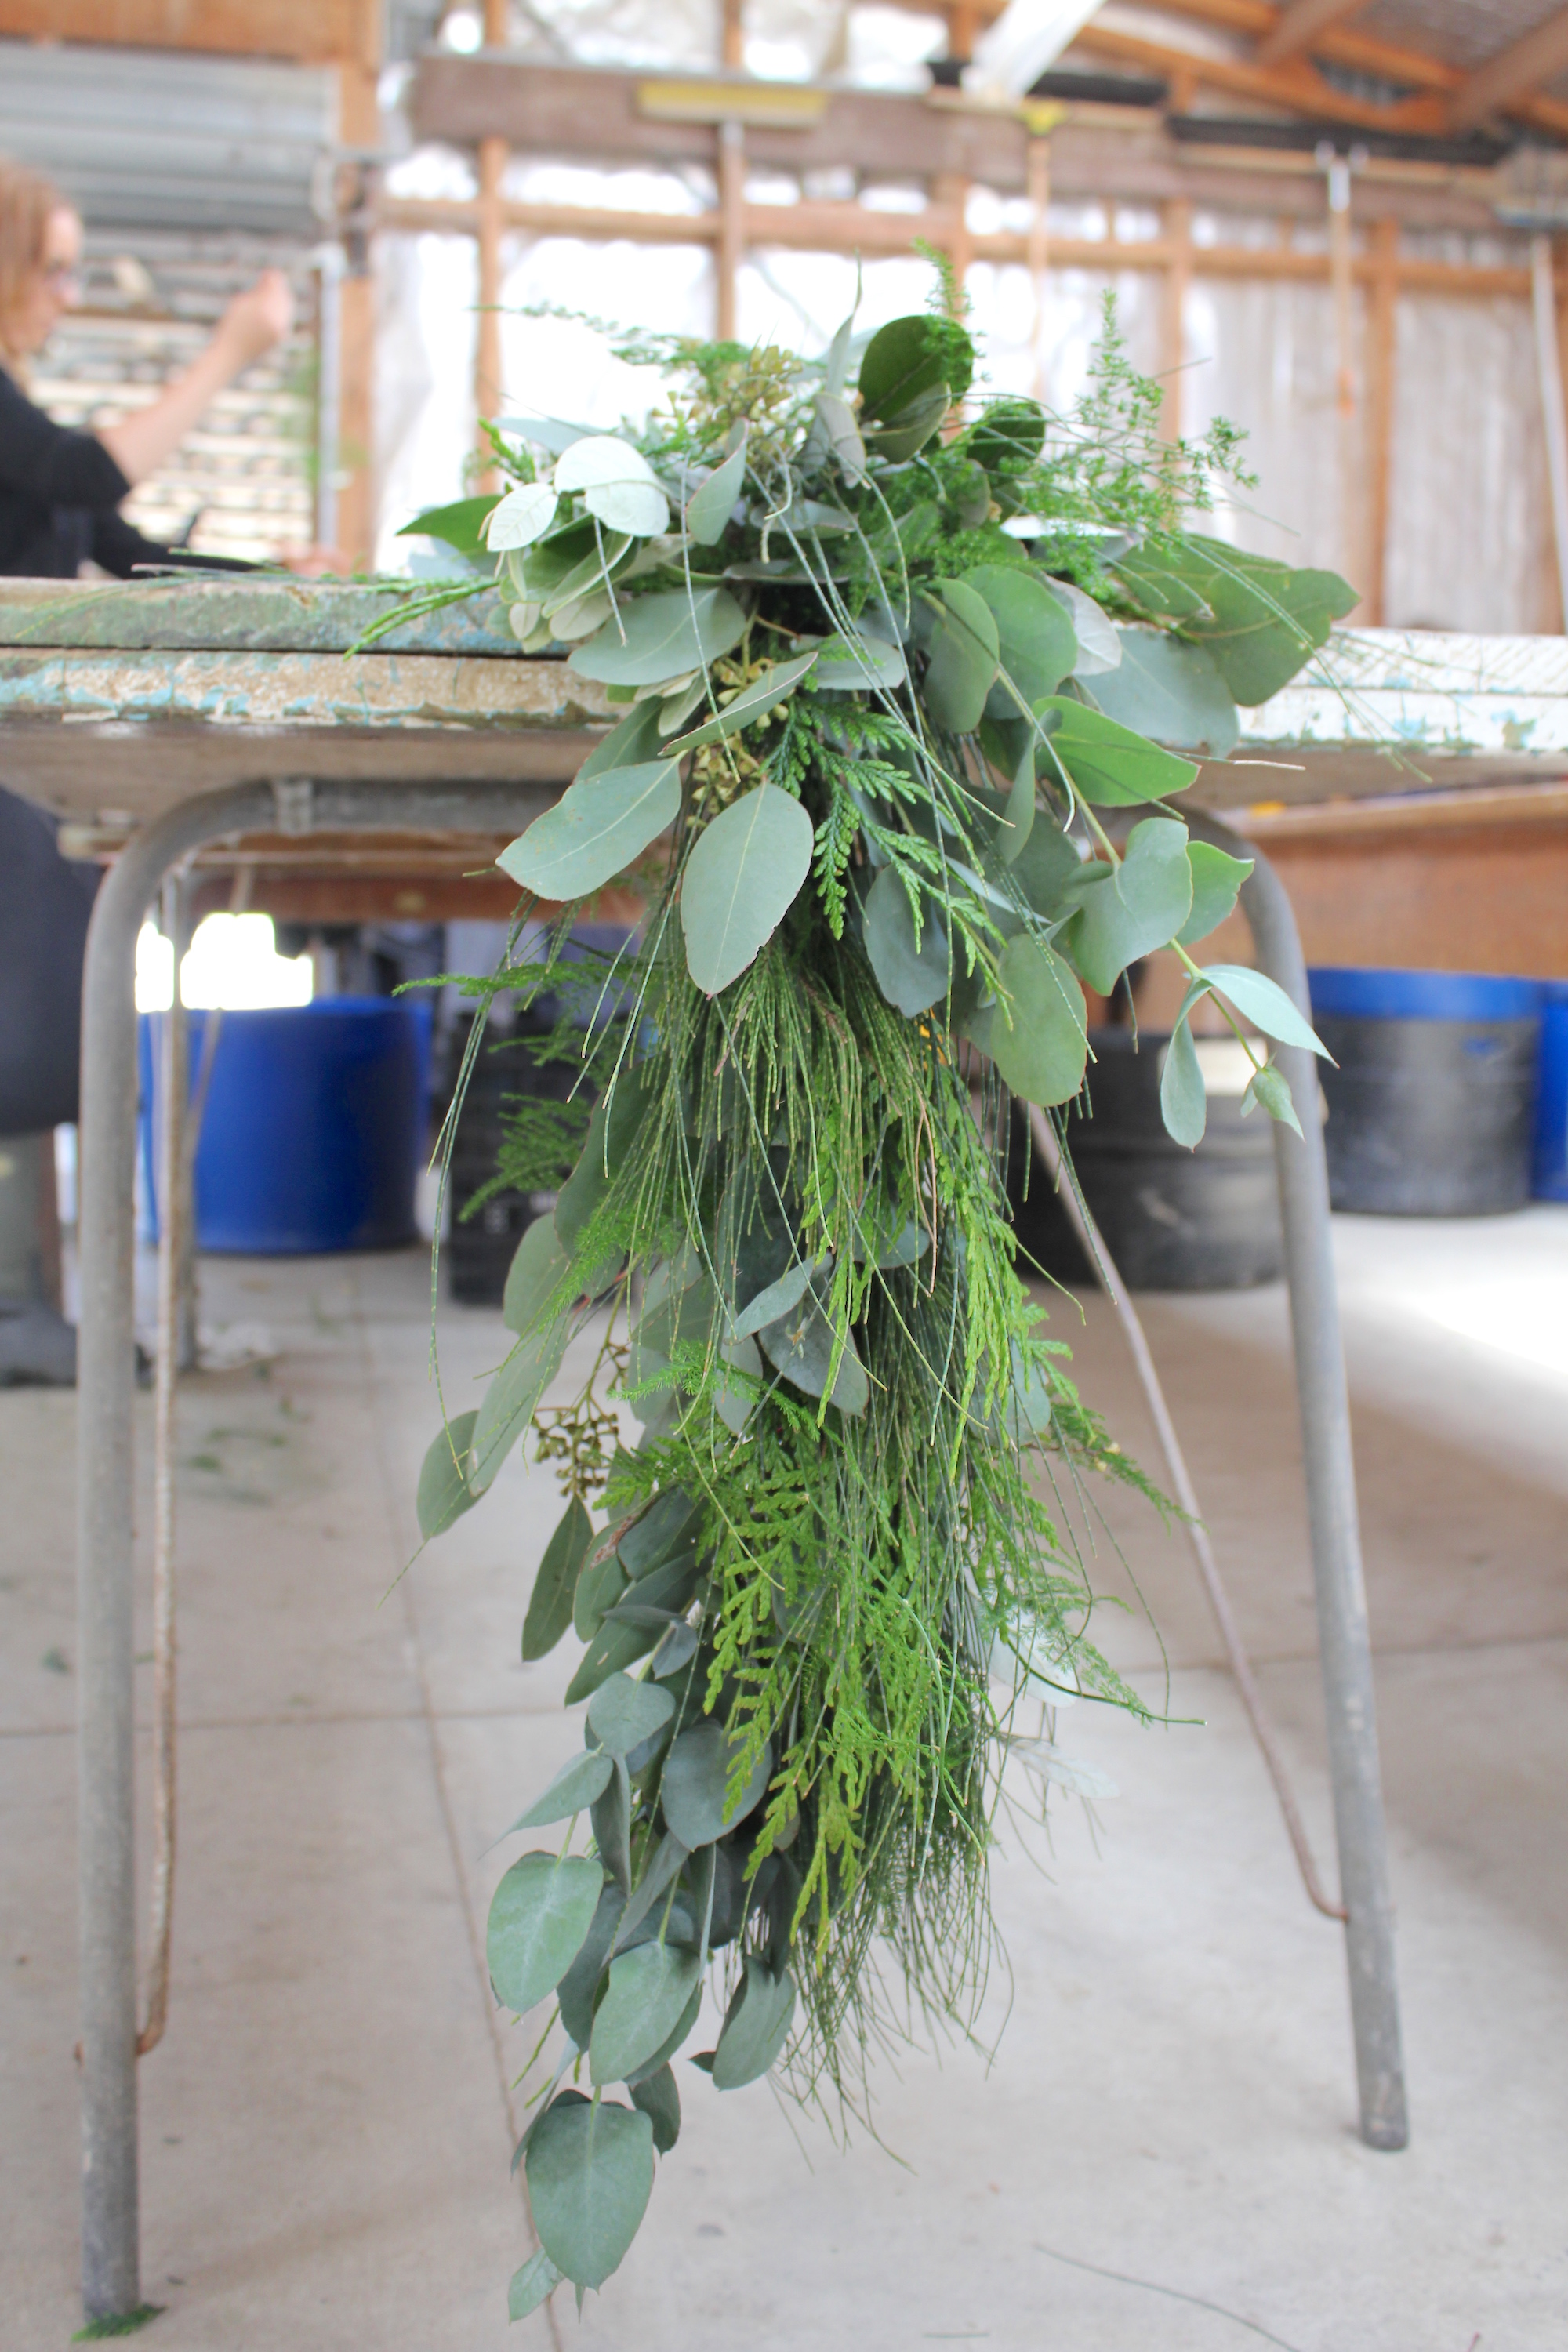
From there, select a few different pieces of foliage to create a more natural look and lay it on top of the previous section tying it off with a cable tie. Repeat this process all the way down the rope until you reach the end where you need to turn the direction of the foliage around for the last few sections.
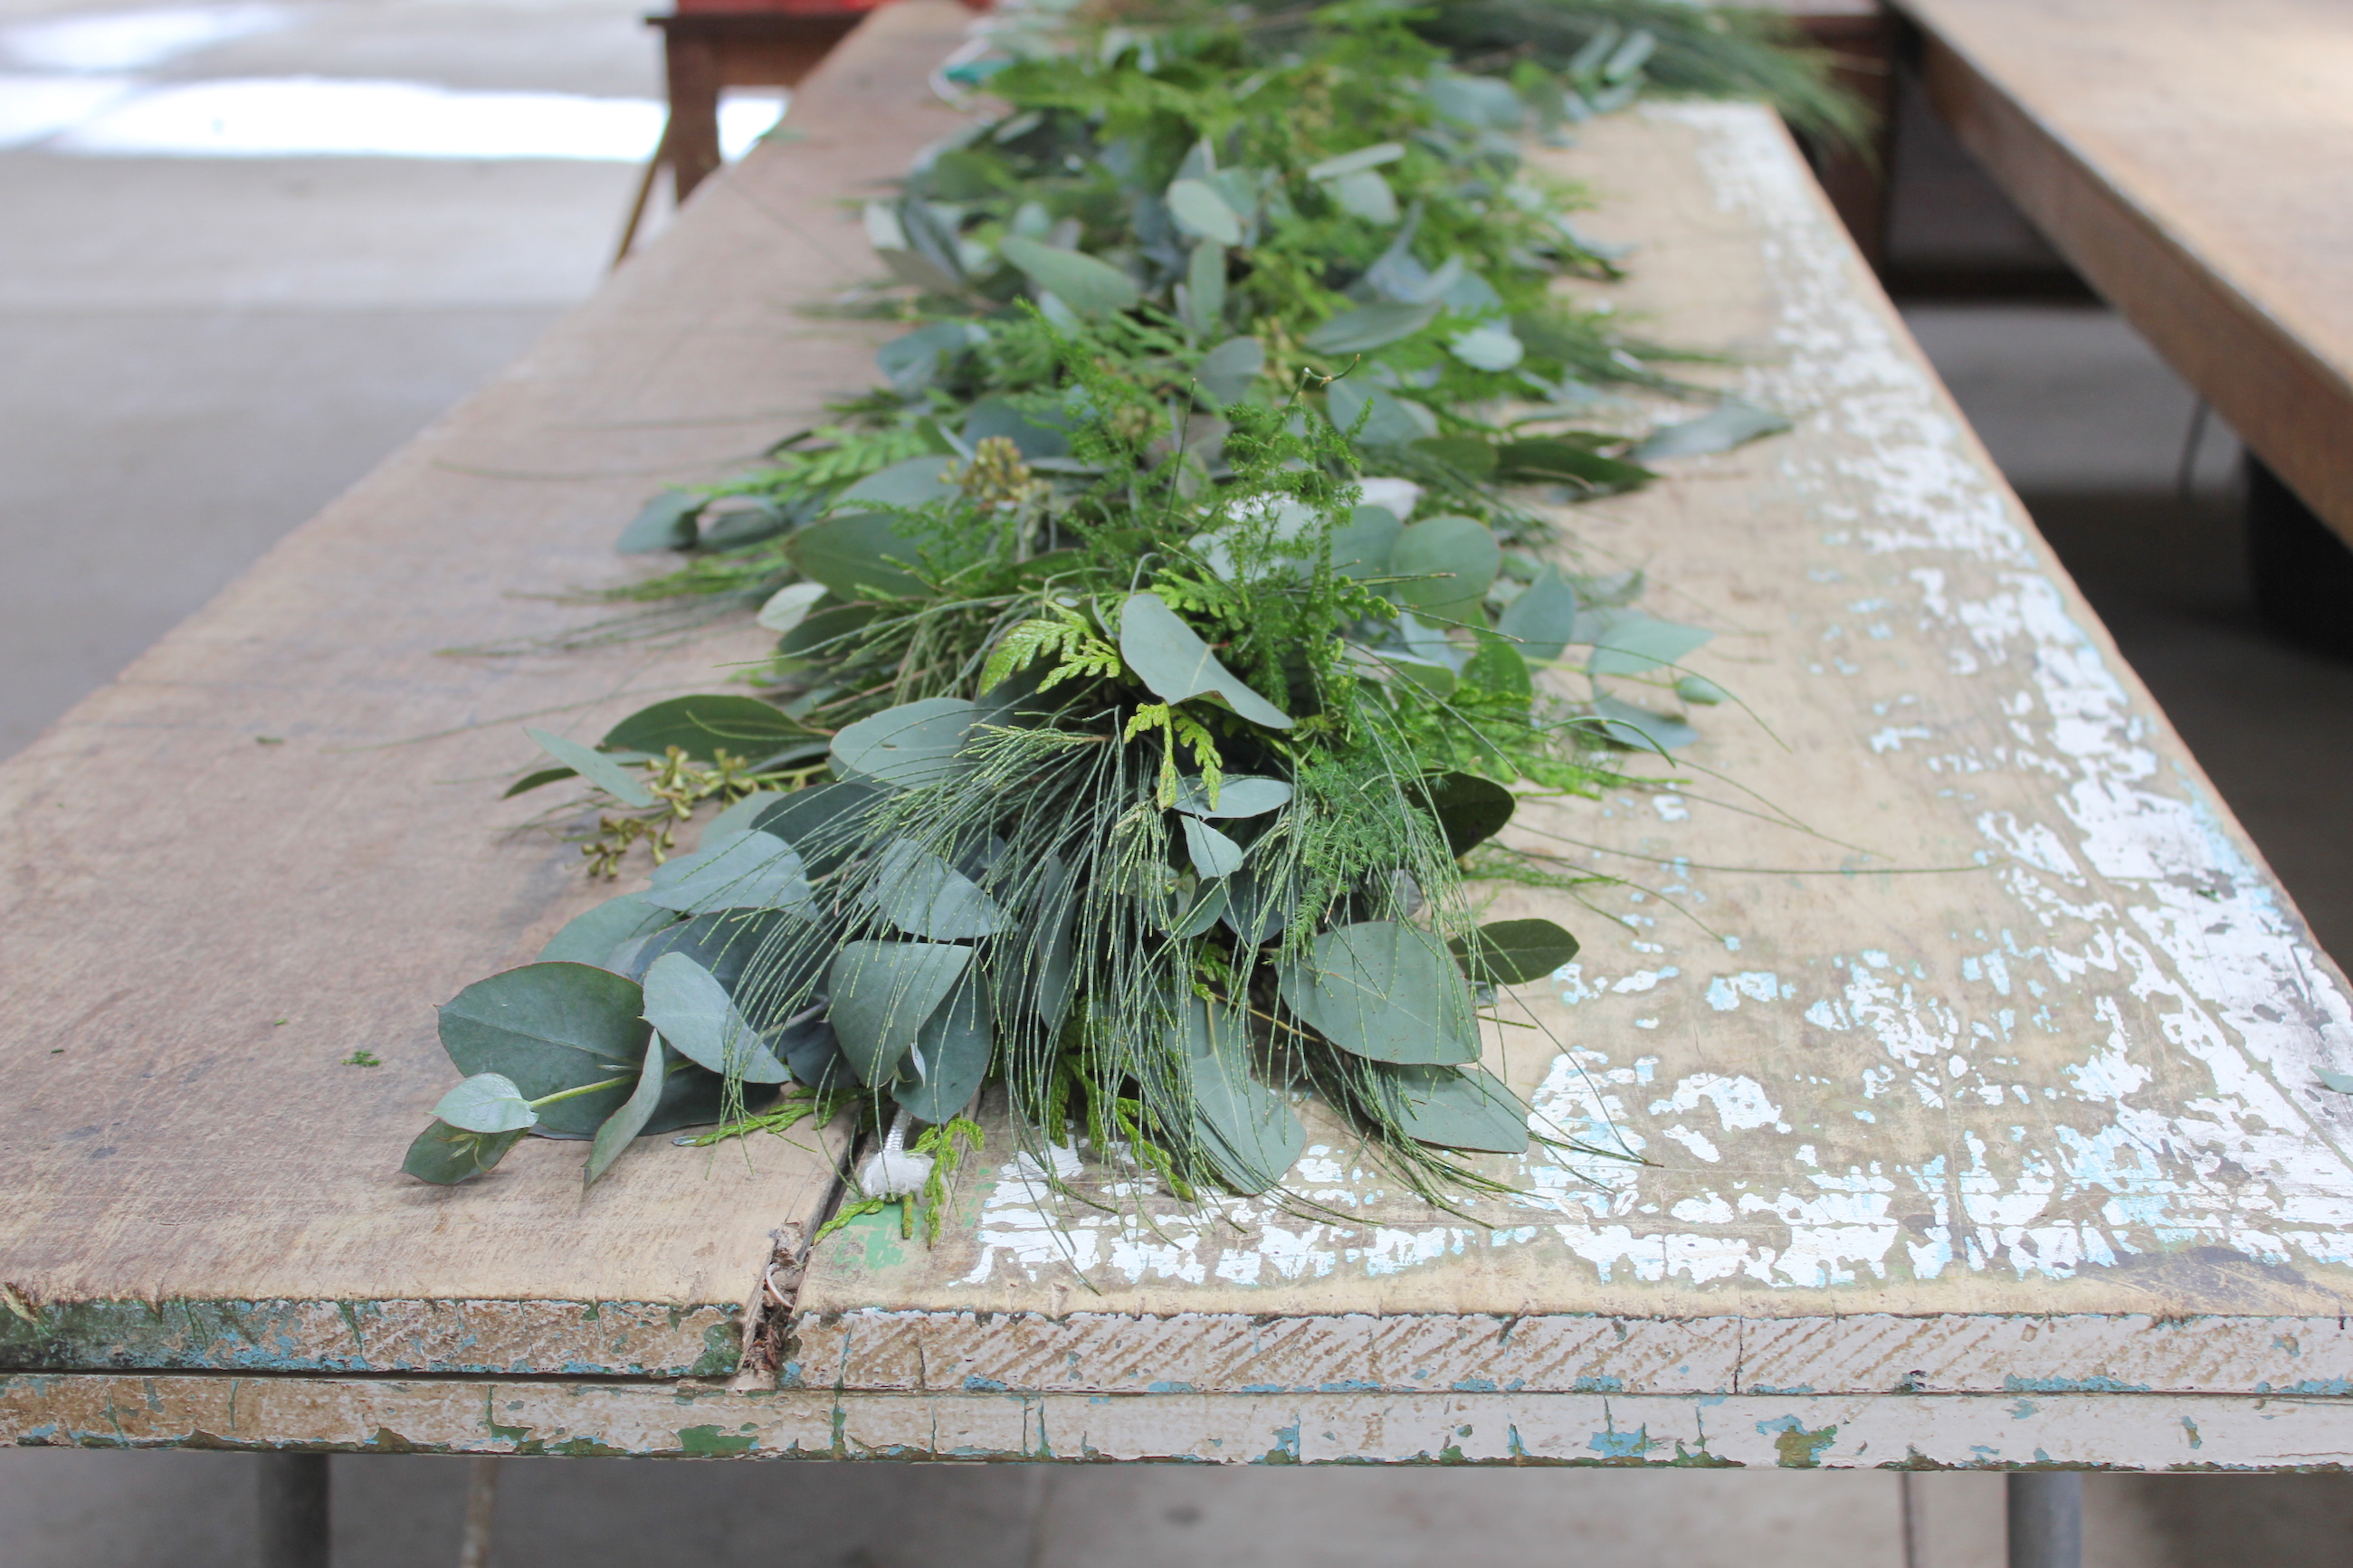
Be consistent by using all of the foliage you have all the way through the centrepiece and mix up the varieties for texture and colour.
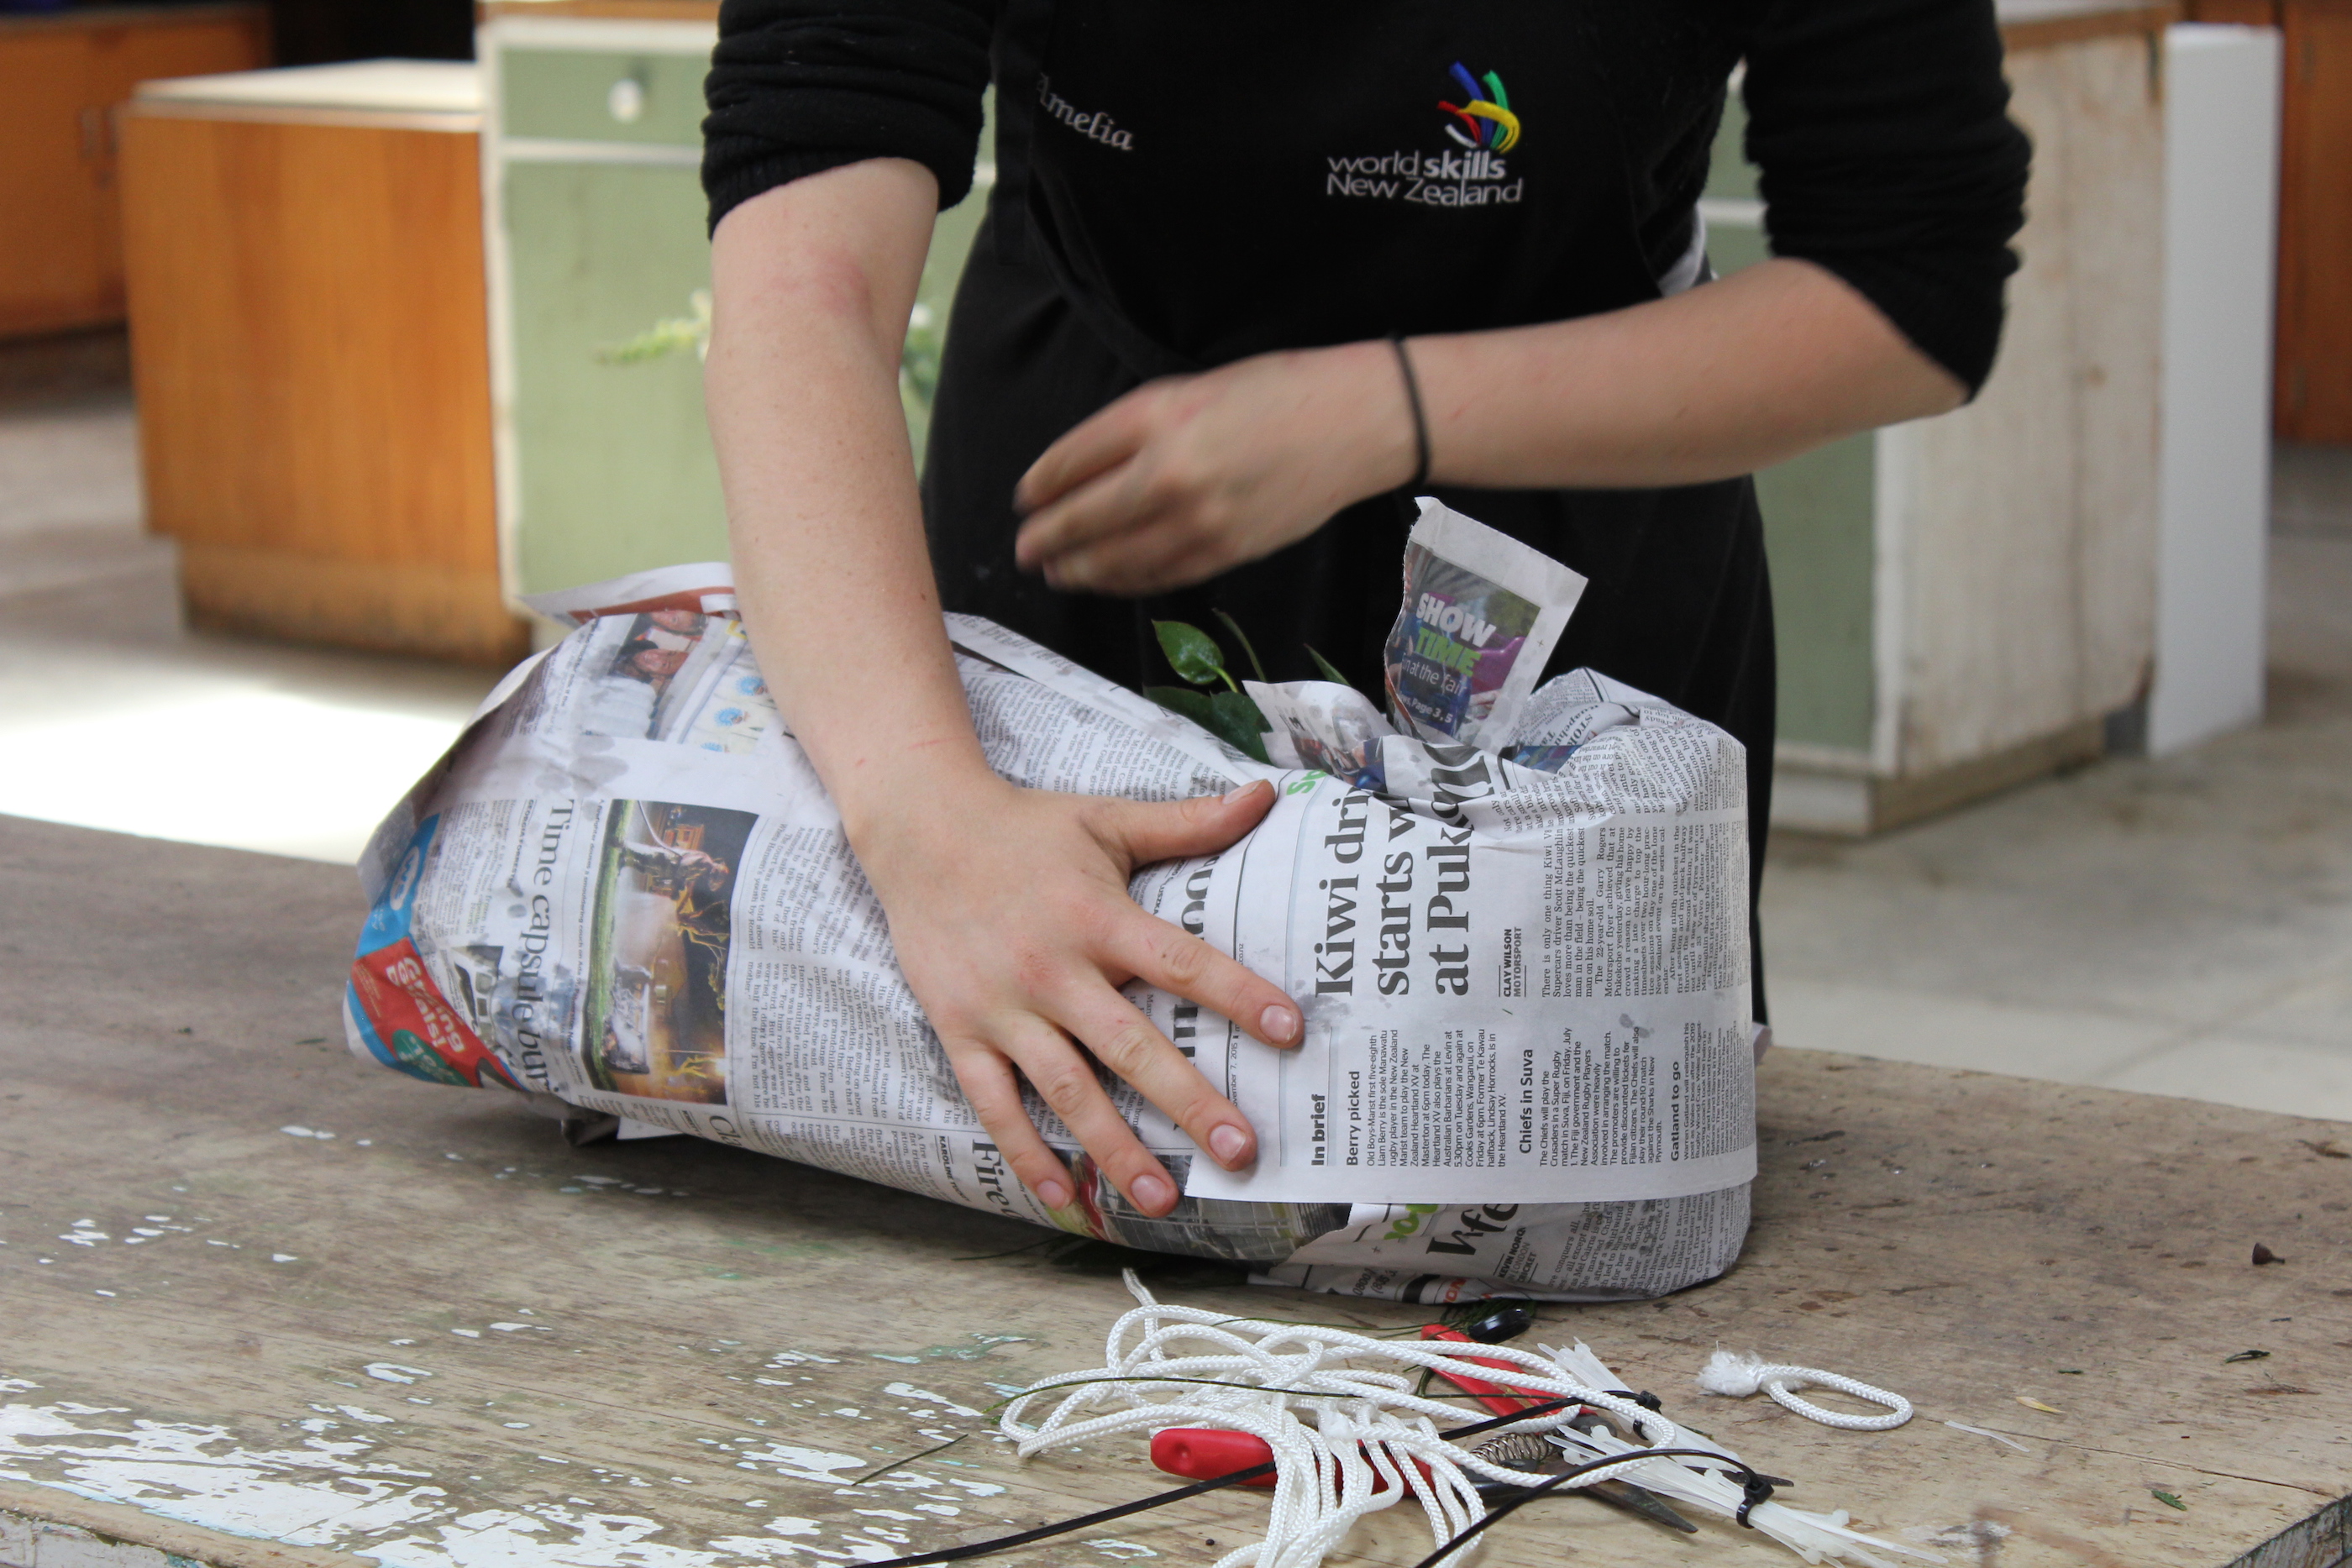
The centrepiece will keep for a few days on the table. Spritz with water every day with a spray bottle. Alternatively you can keep it for up to 5 days by wrapping the centrepiece up, (as per below) soak it in water, place it in a bag and store it in a cold, dark place.


The post Foliage Centrepiece appeared first on The Home Scene.
]]>The post DIY Recessed bedhead appeared first on The Home Scene.
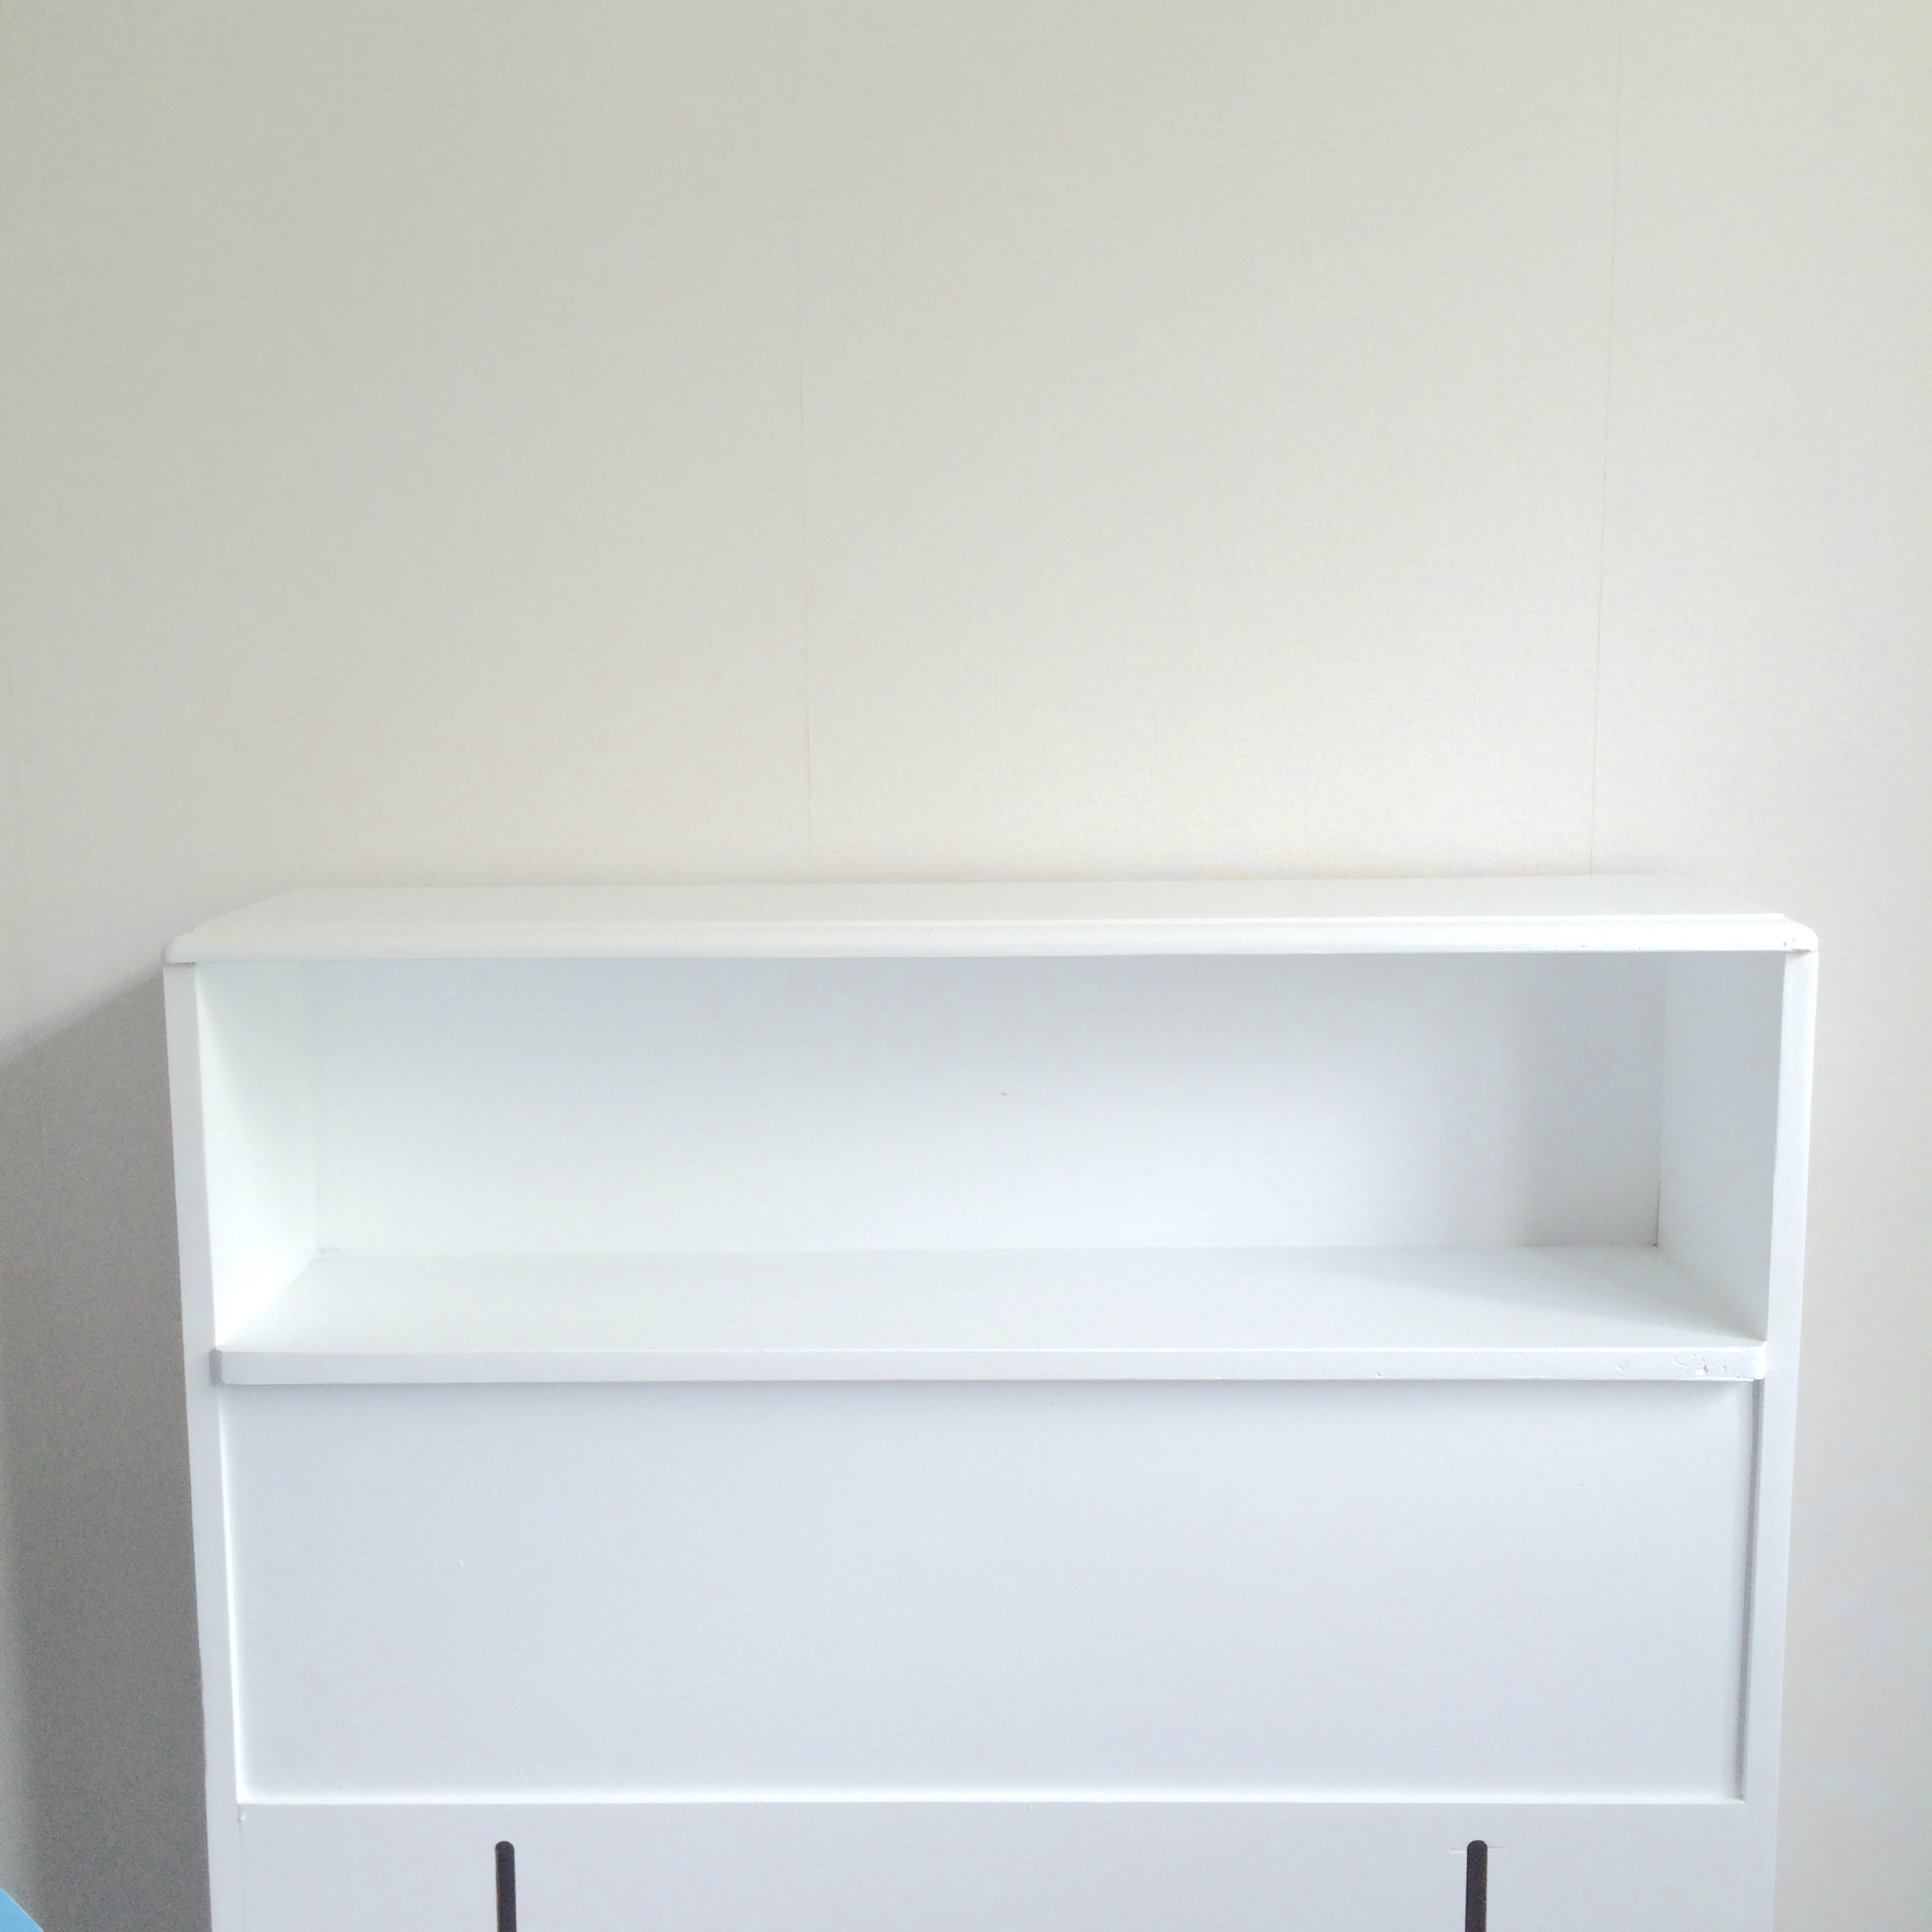
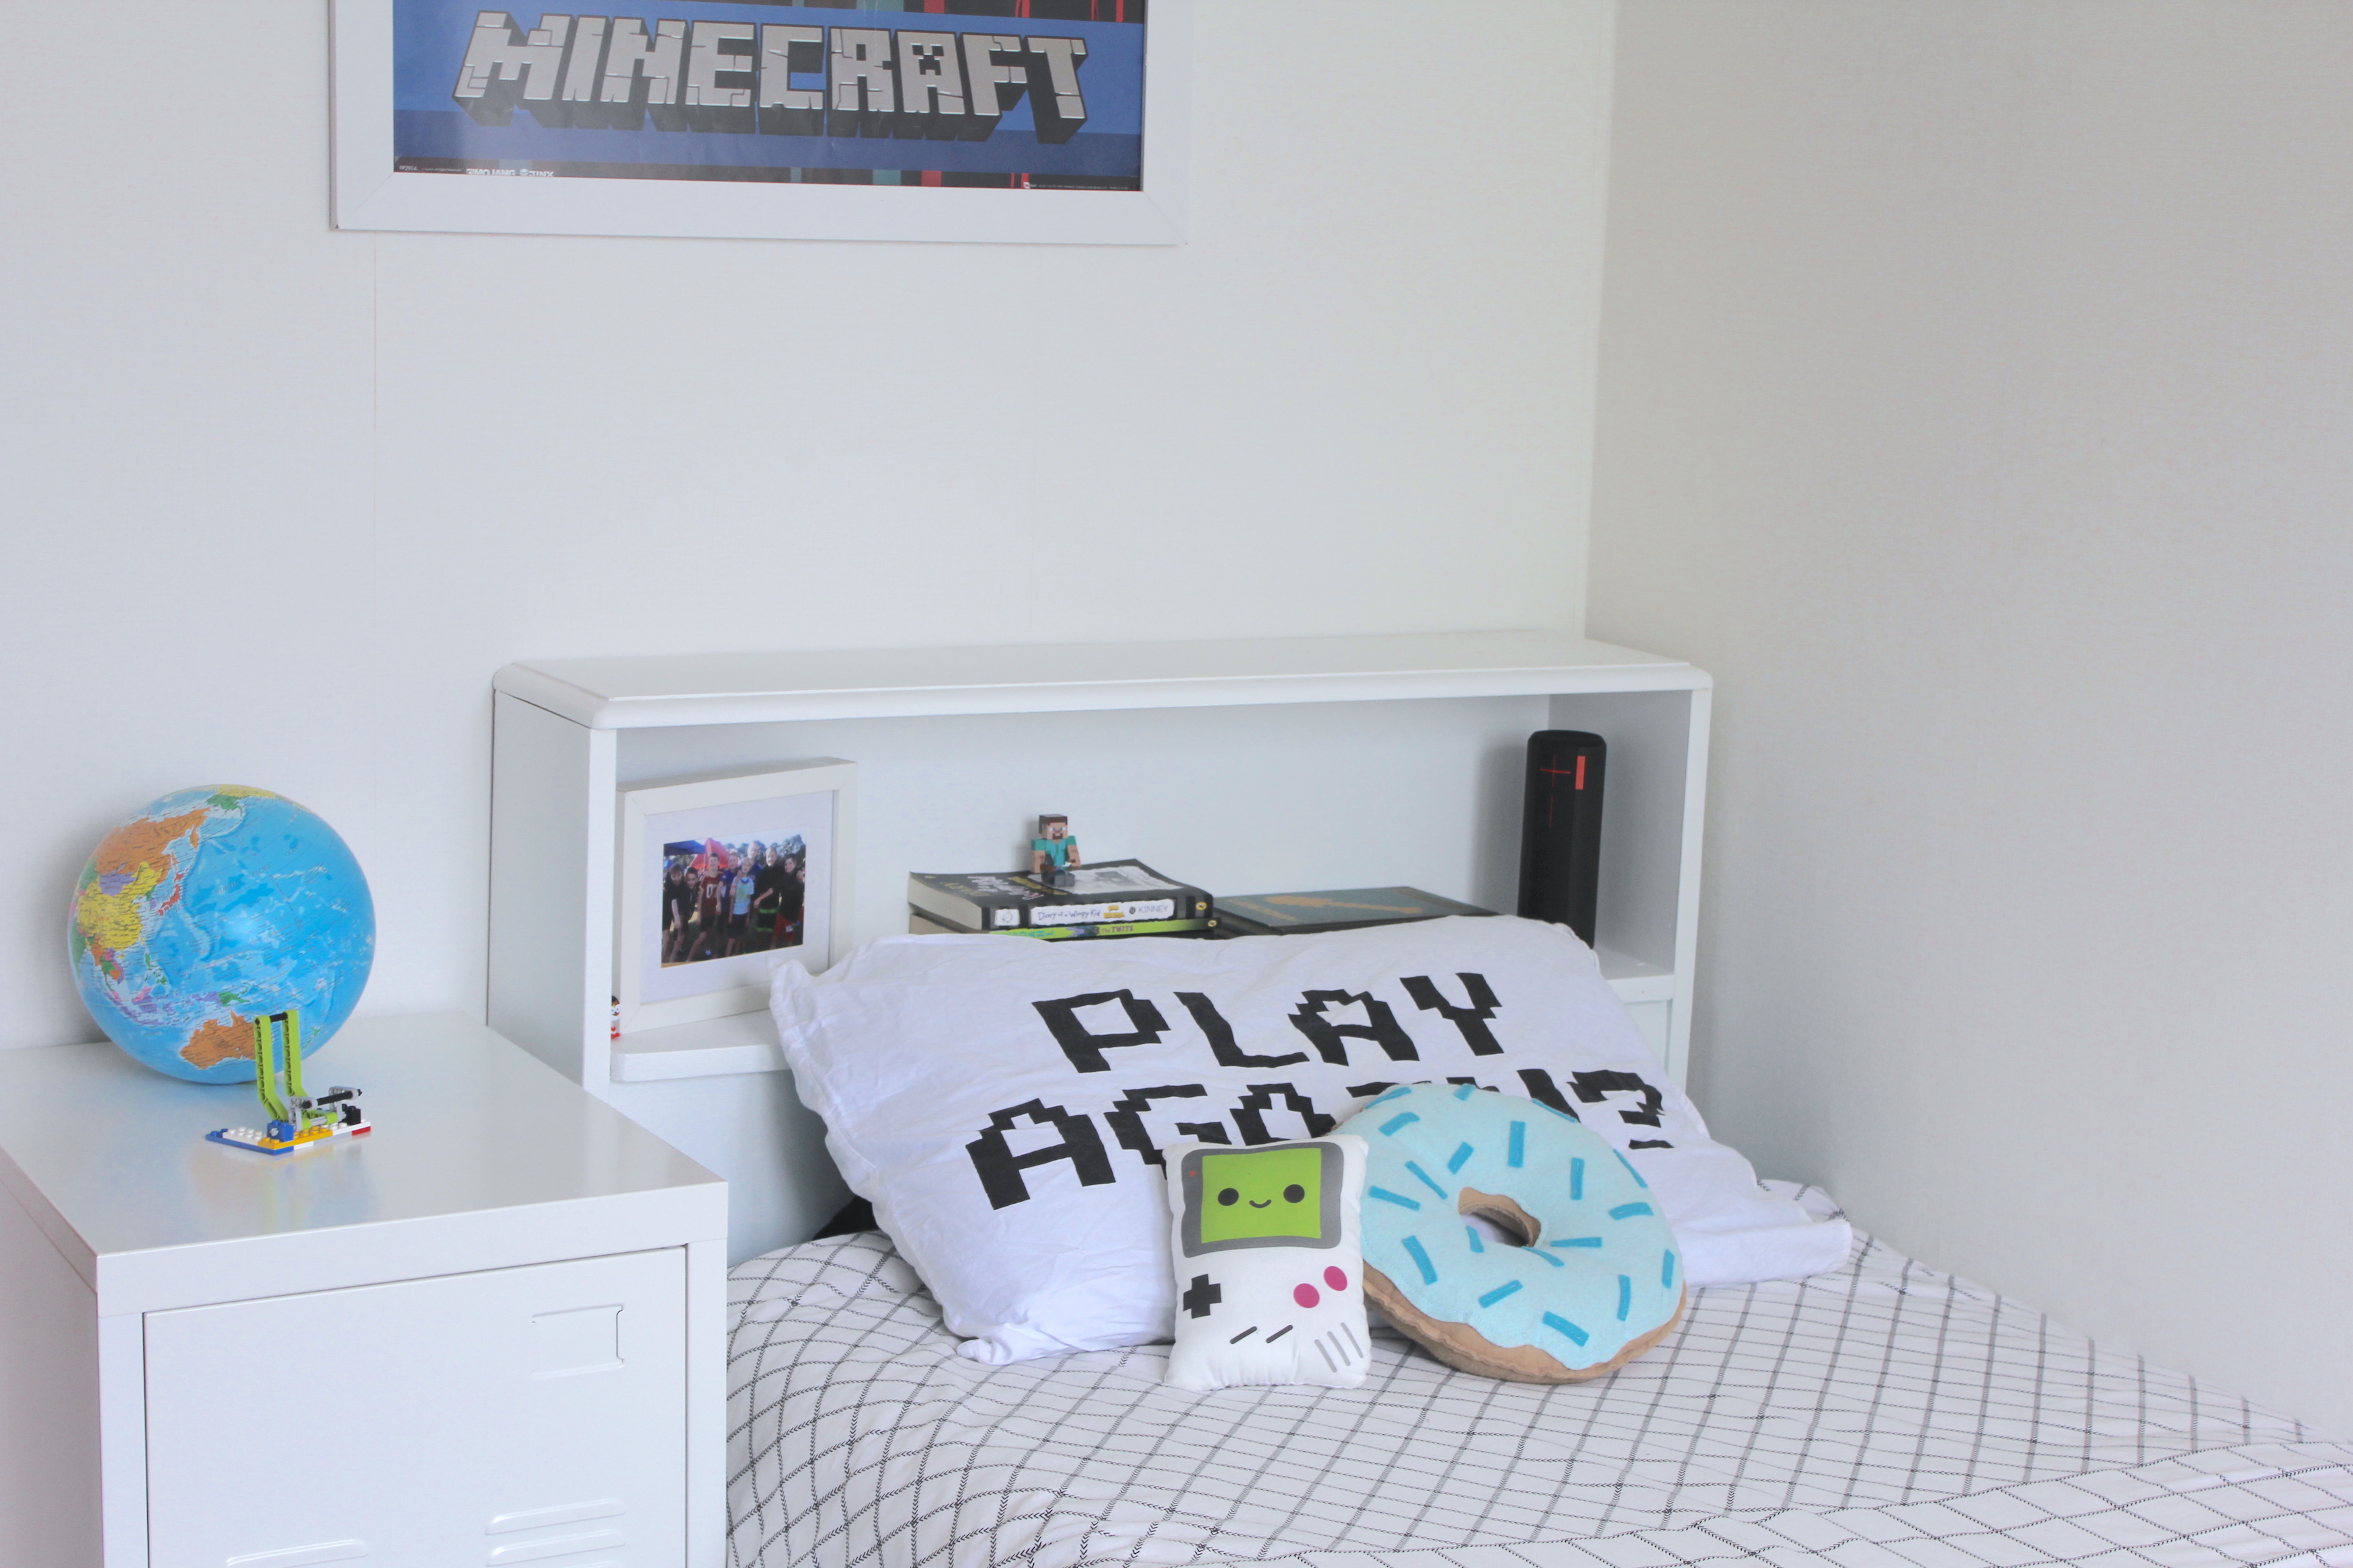
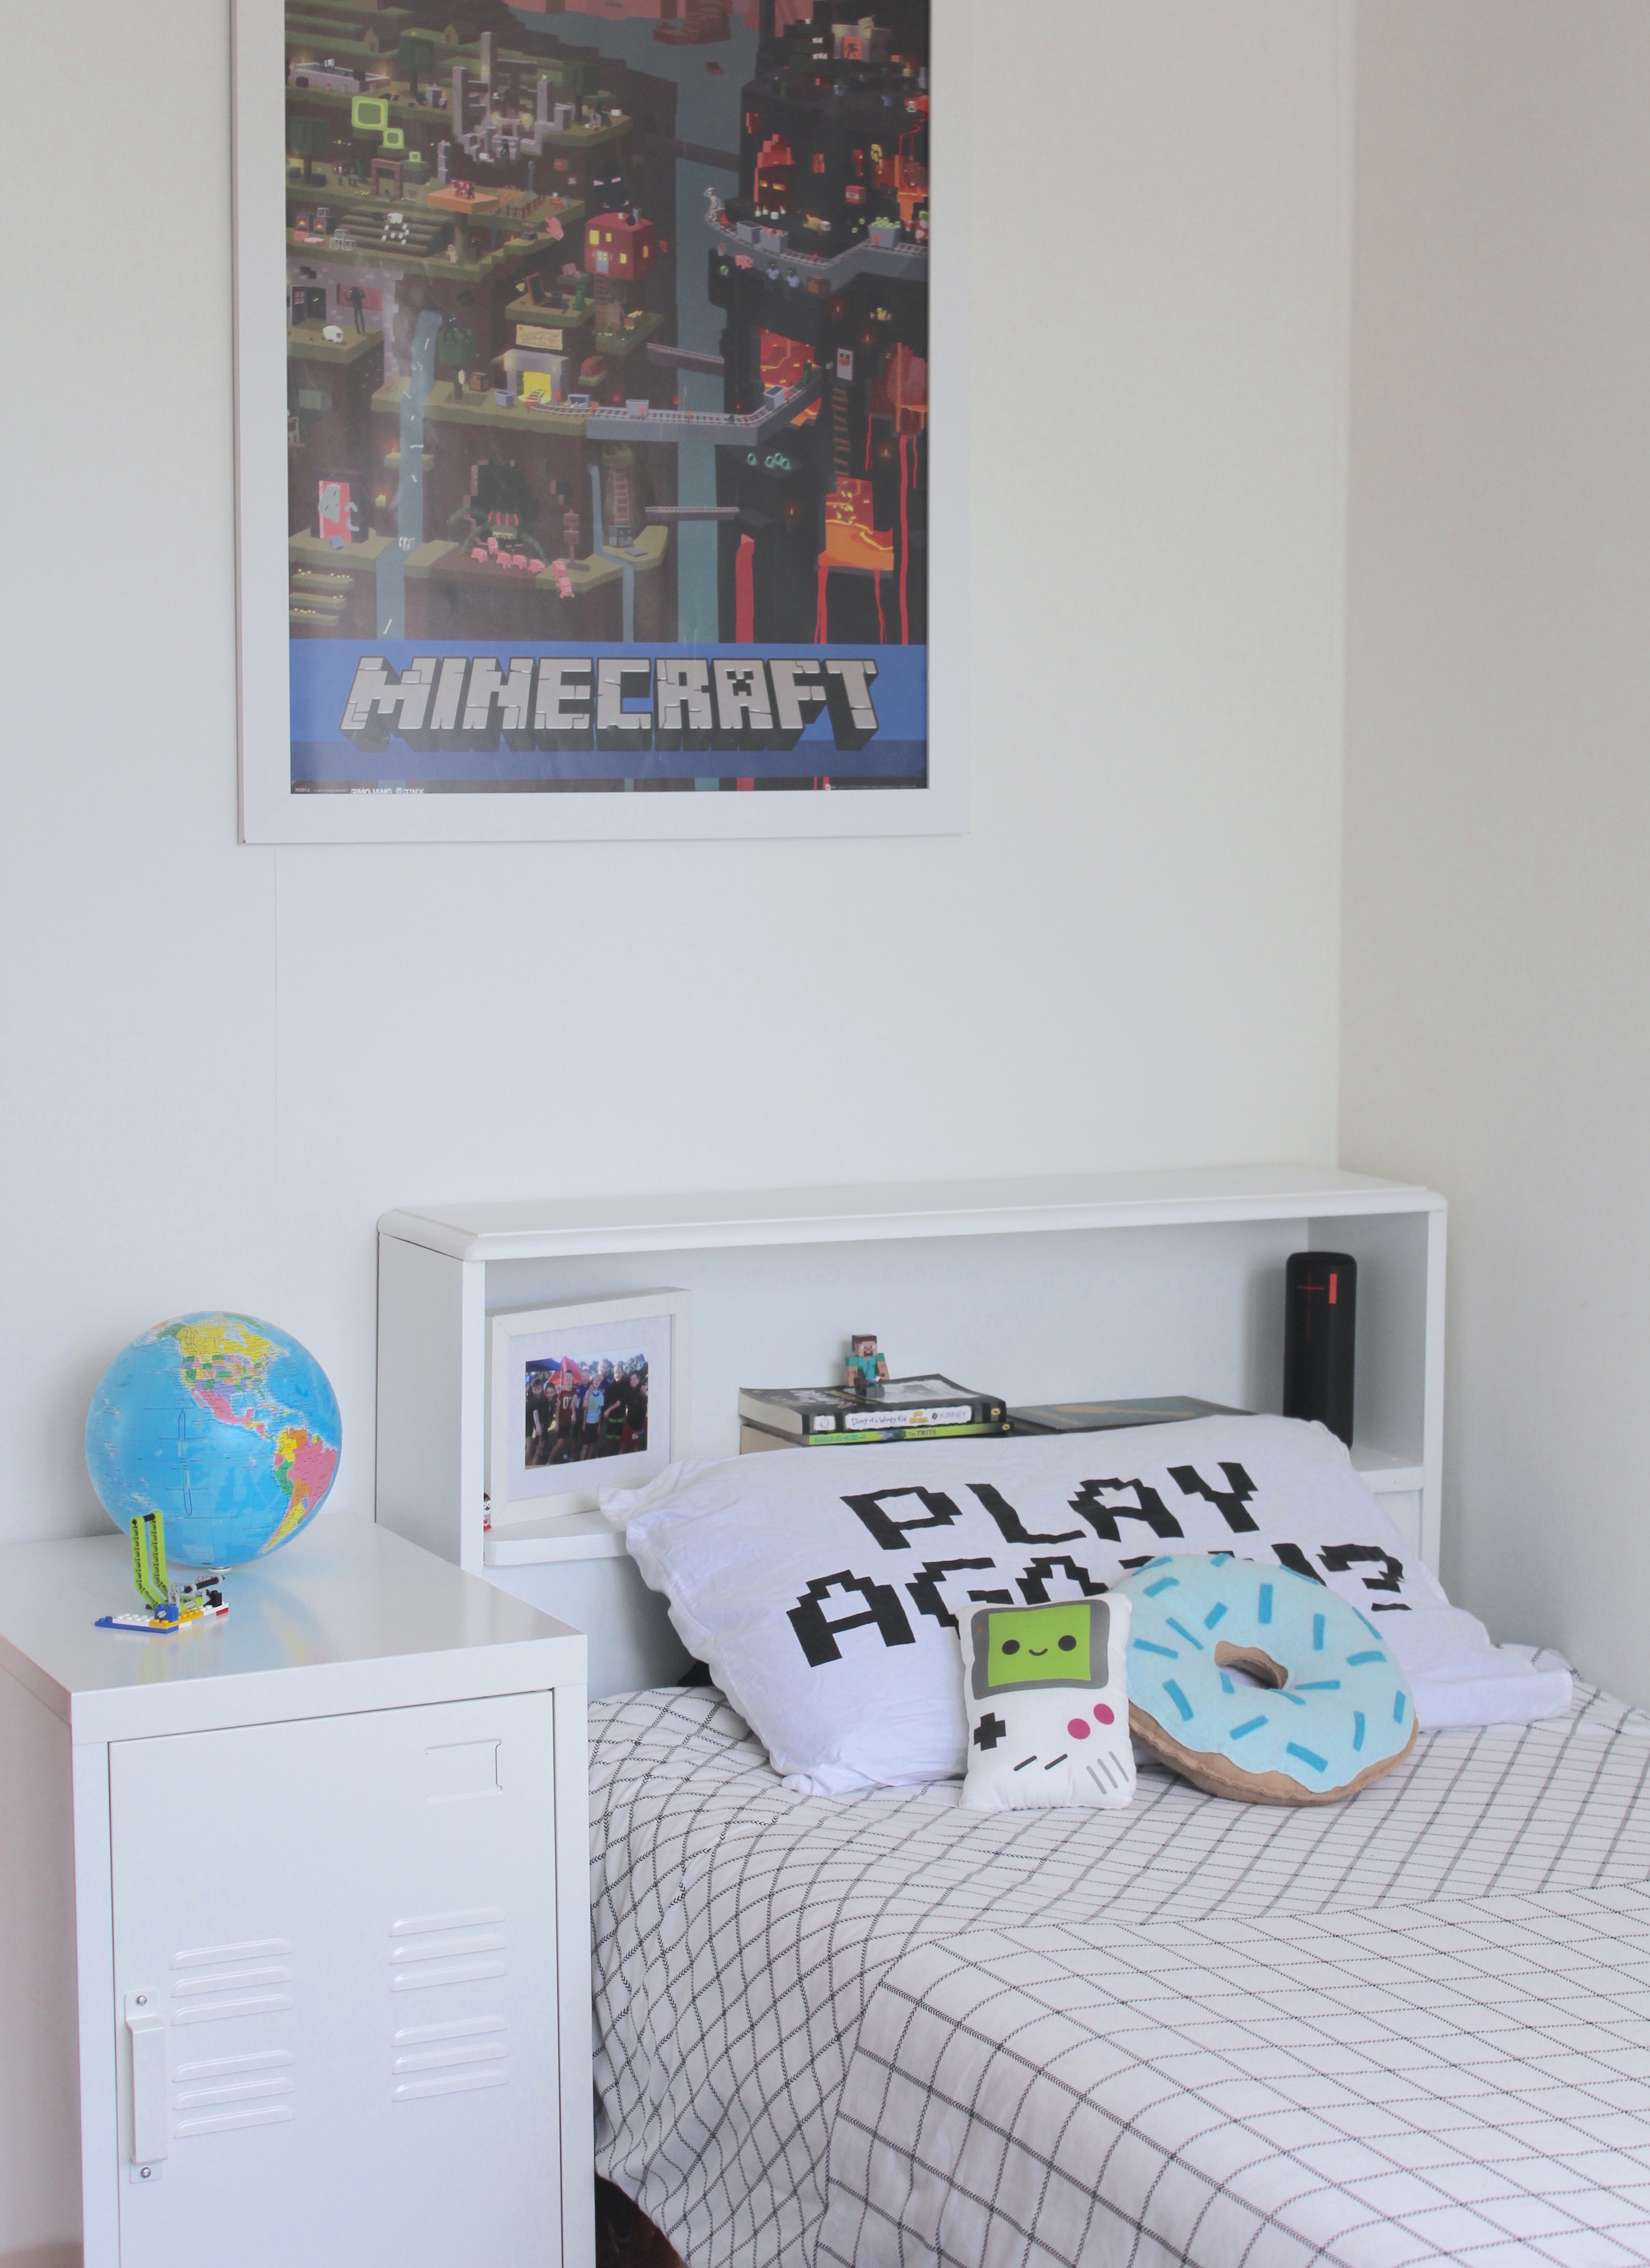
]]>Although Jimmy’s room had been made over, our older son Dylan had been a work in progress while I was still searching for a few key pieces to finish the look of the space. His bed had always looked unfinished and I wanted to find a bedhead that suited his room.
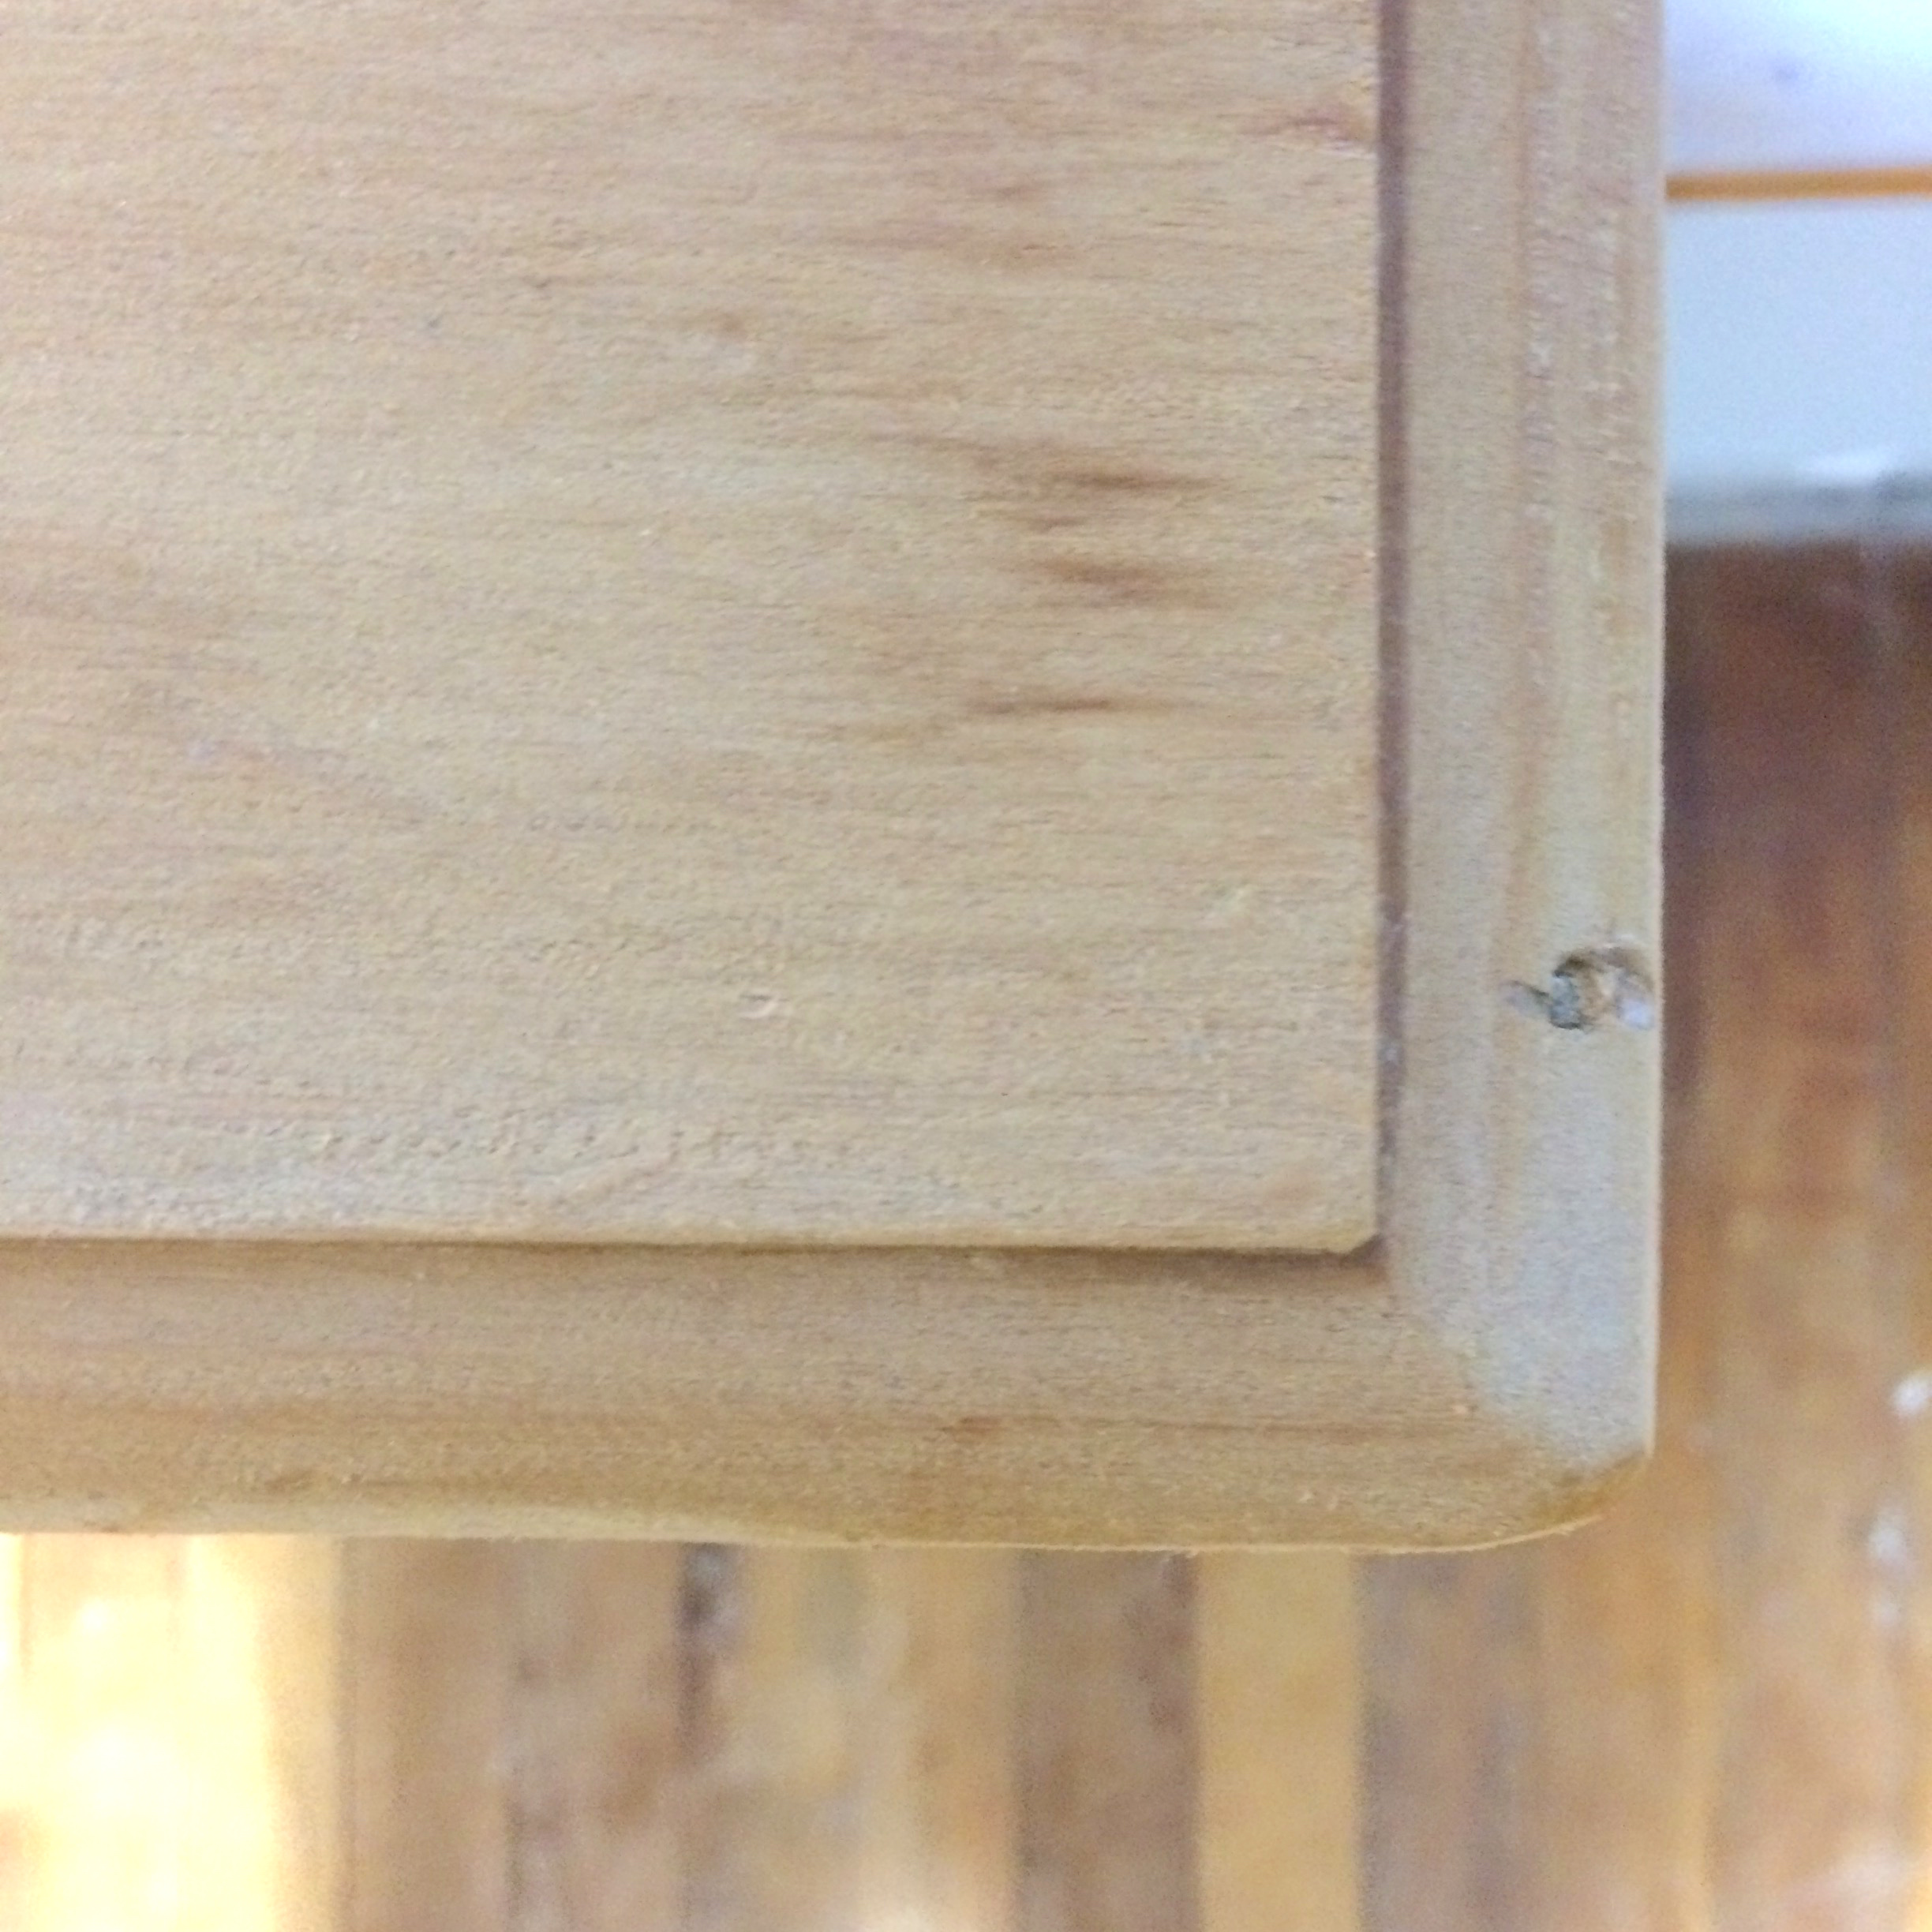
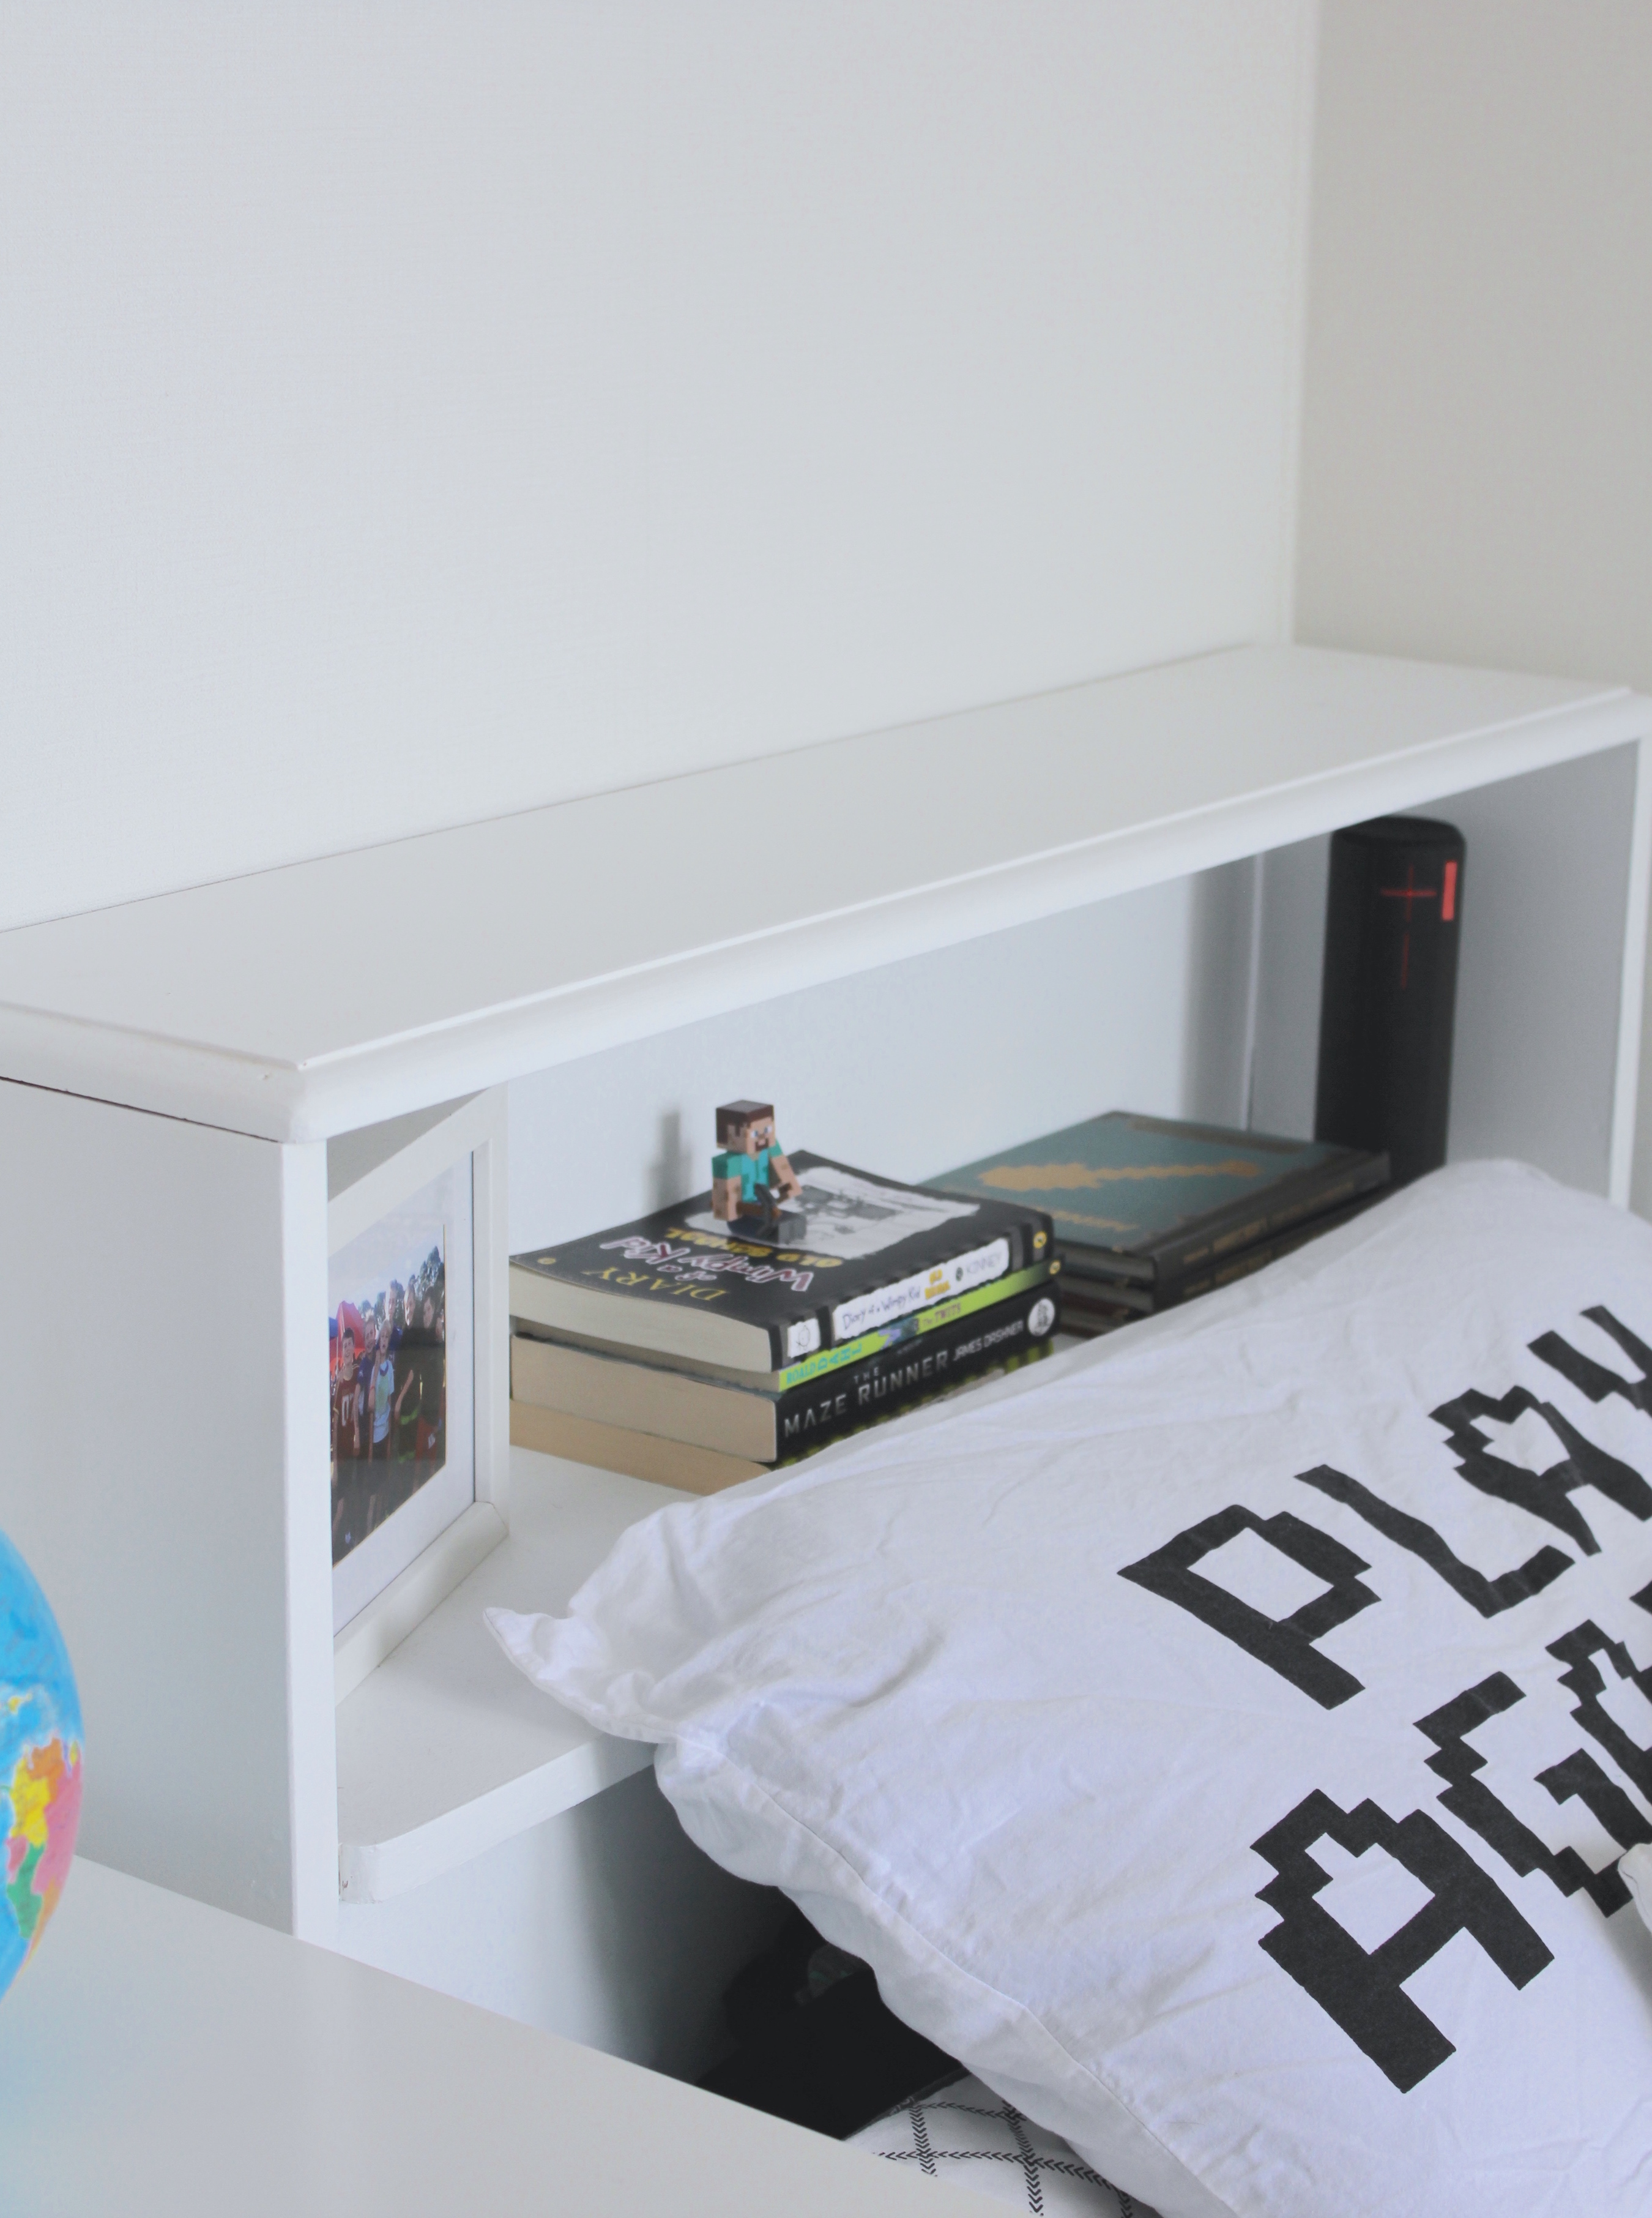
While searching through our local Red Cross, I stumbled across an old timber bedhead with a recessed shelf. The bedhead was the perfect size, and didn’t have any structural damage to it. It was simply in need of a good sanding to remove the yellow tinged varnish and smooth out some of the rough finishes to the timber.

Better yet it was only $5 and if Dylan didn’t like the finished product, we could return it to Red Cross or sell it. Plus a fun weekend project to get stuck in to with the boys and a good excuse to get out the power tools and paint.
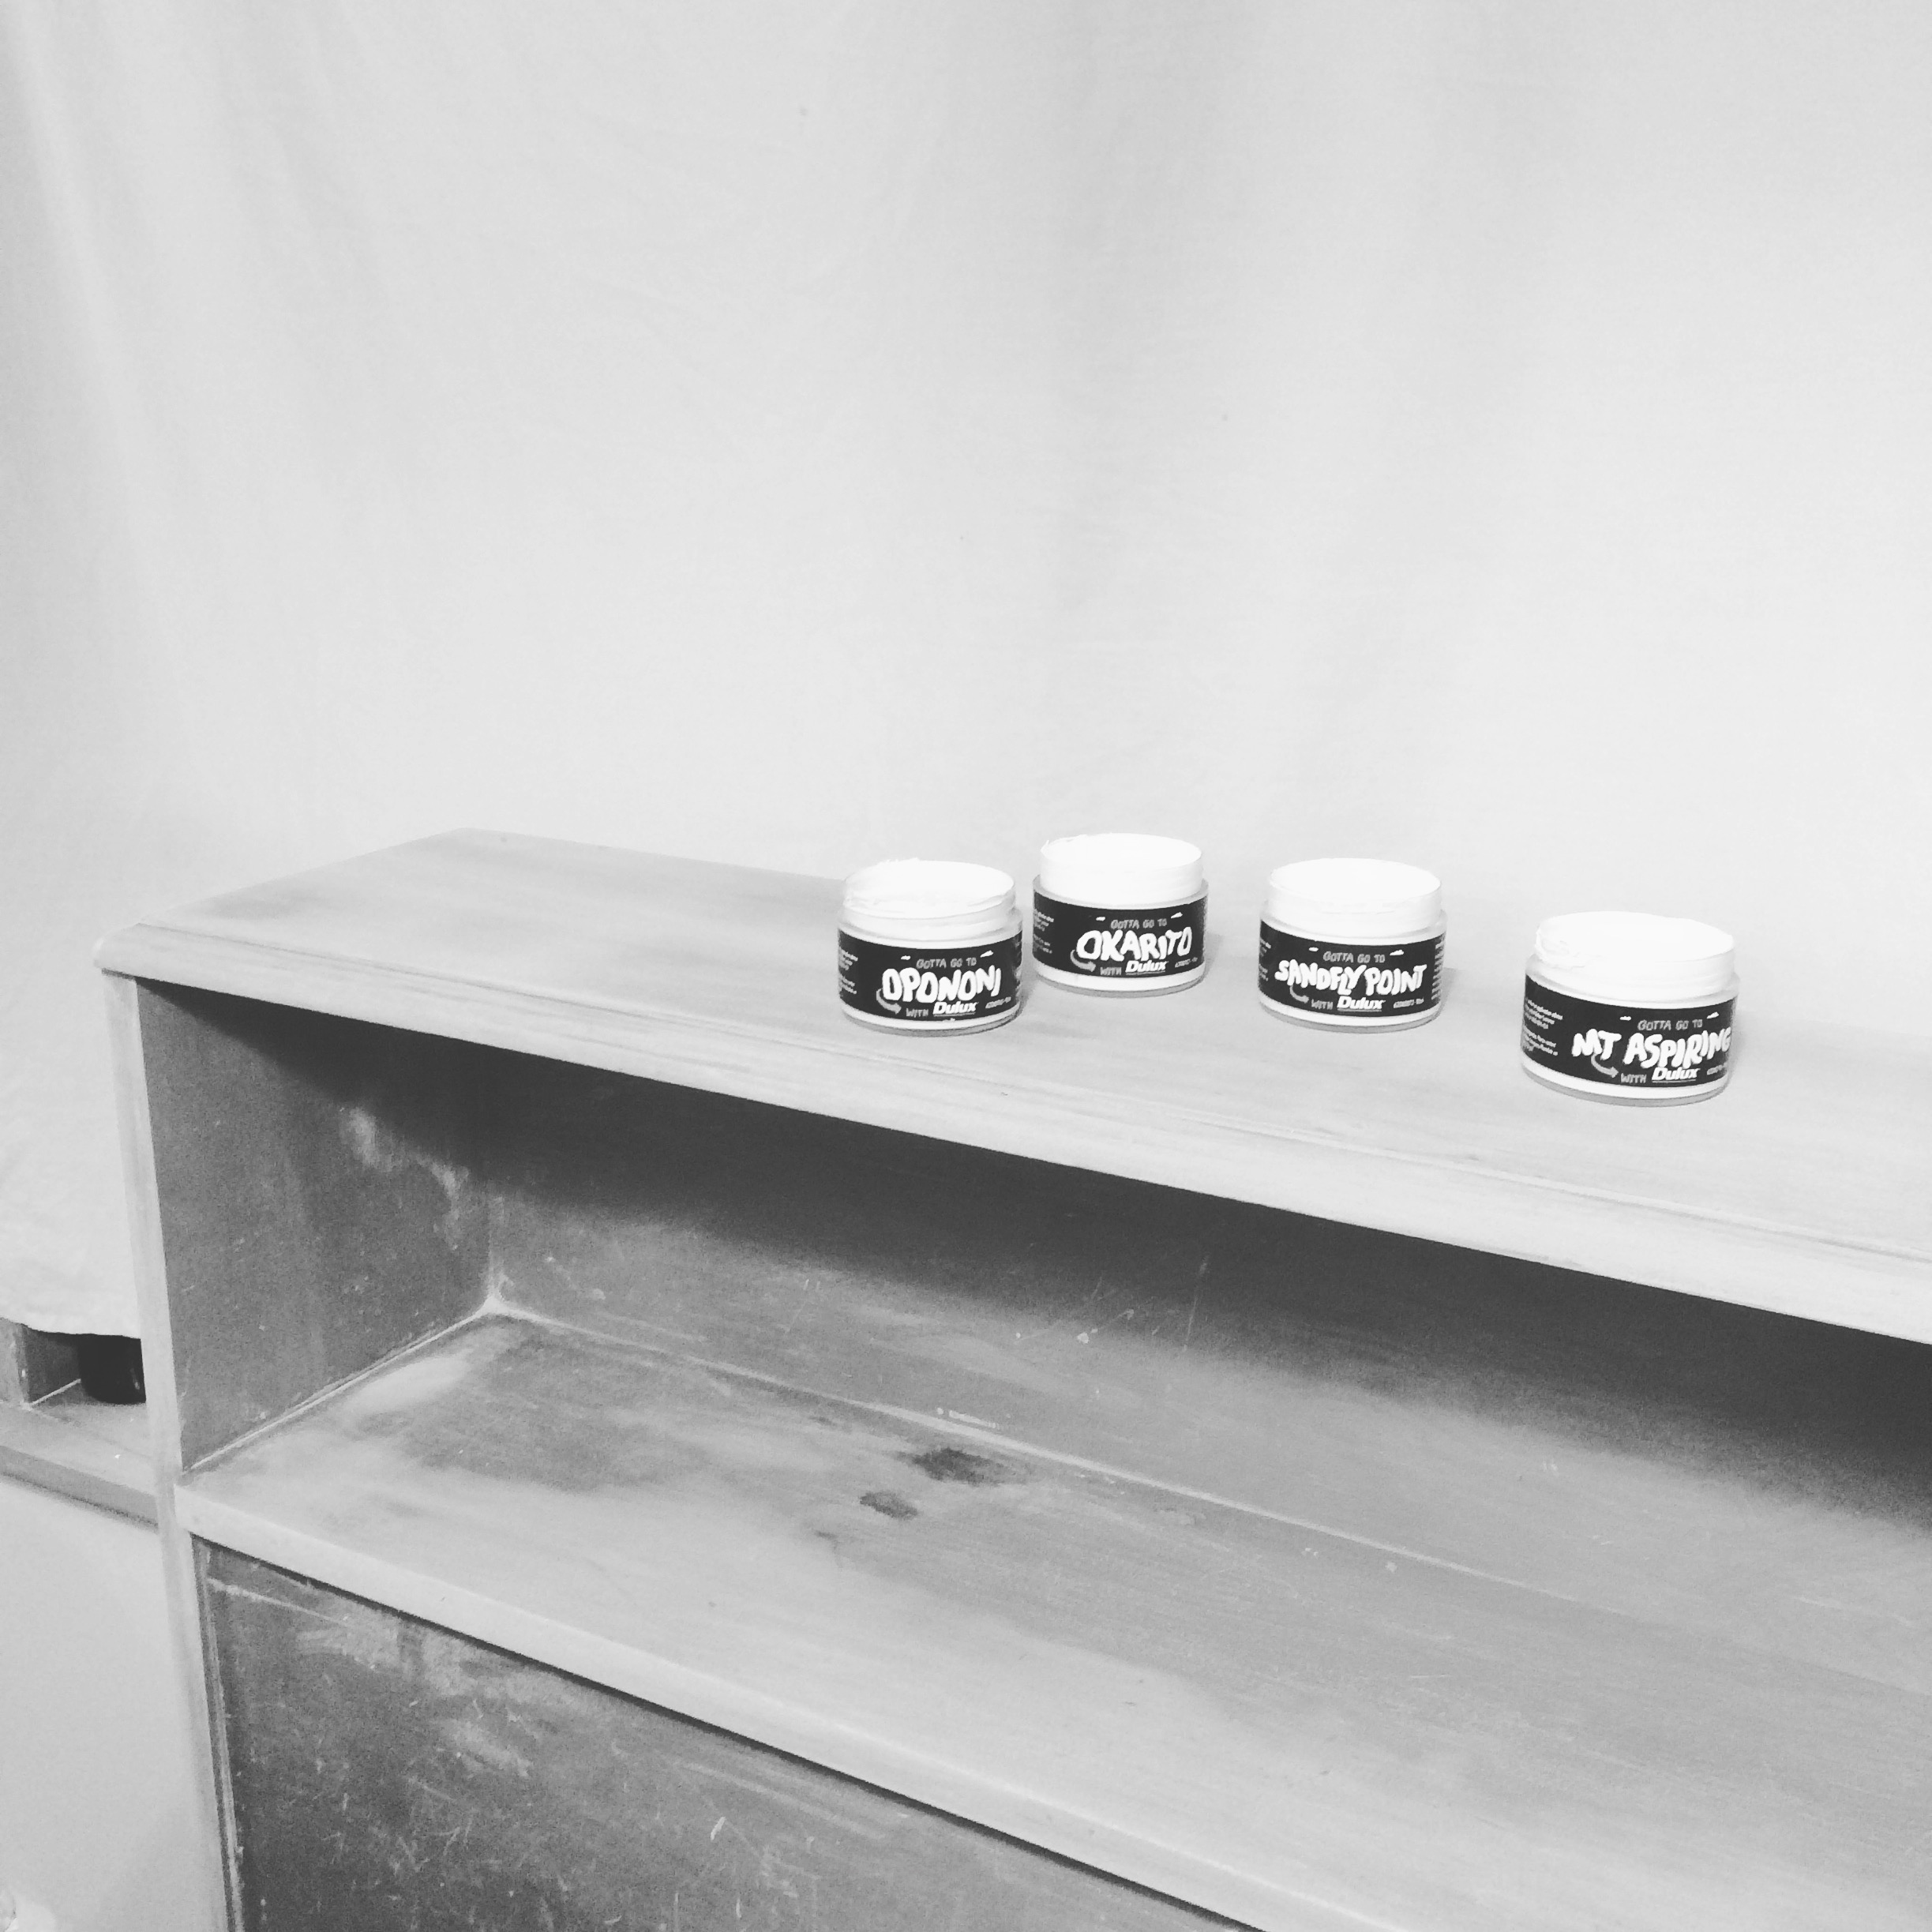
Initially the yellow stain was throwing it off for me and I wasn’t 100% sure if it was going to work. After sanding, priming and painting in Dulux Okarito White, the finished product was better than expected. A cheap project for a total spend of $15 and a great functional piece of furniture that Dylan can style himself.

The post DIY Recessed bedhead appeared first on The Home Scene.
]]>The post DIY Marble Bottles appeared first on The Home Scene.
]]>I recently stumbled across the brand Clever Poppy (through that wonderful thing called Instagram) who specialises in creative DIY projects and ready made kits.
I know there are a number of you out there loving the marble trend and would love to try this in your own home so I contacted Julie, the talented creative behind the brand, to try it myself.
Julie created Clever Poppy to allow individuals to create something beautiful for their home, without the hassle of sorting out supplies, instructions and creative planning.
The DIY Marble Bottles kit is a new product just launched. The kit arrives with all the materials you need to complete the project and was incredibly simple to do. Without giving away her secret to the getting this soft marbled look, here’s a wee glimpse at my bottles I created and the finished product, styled in our home.


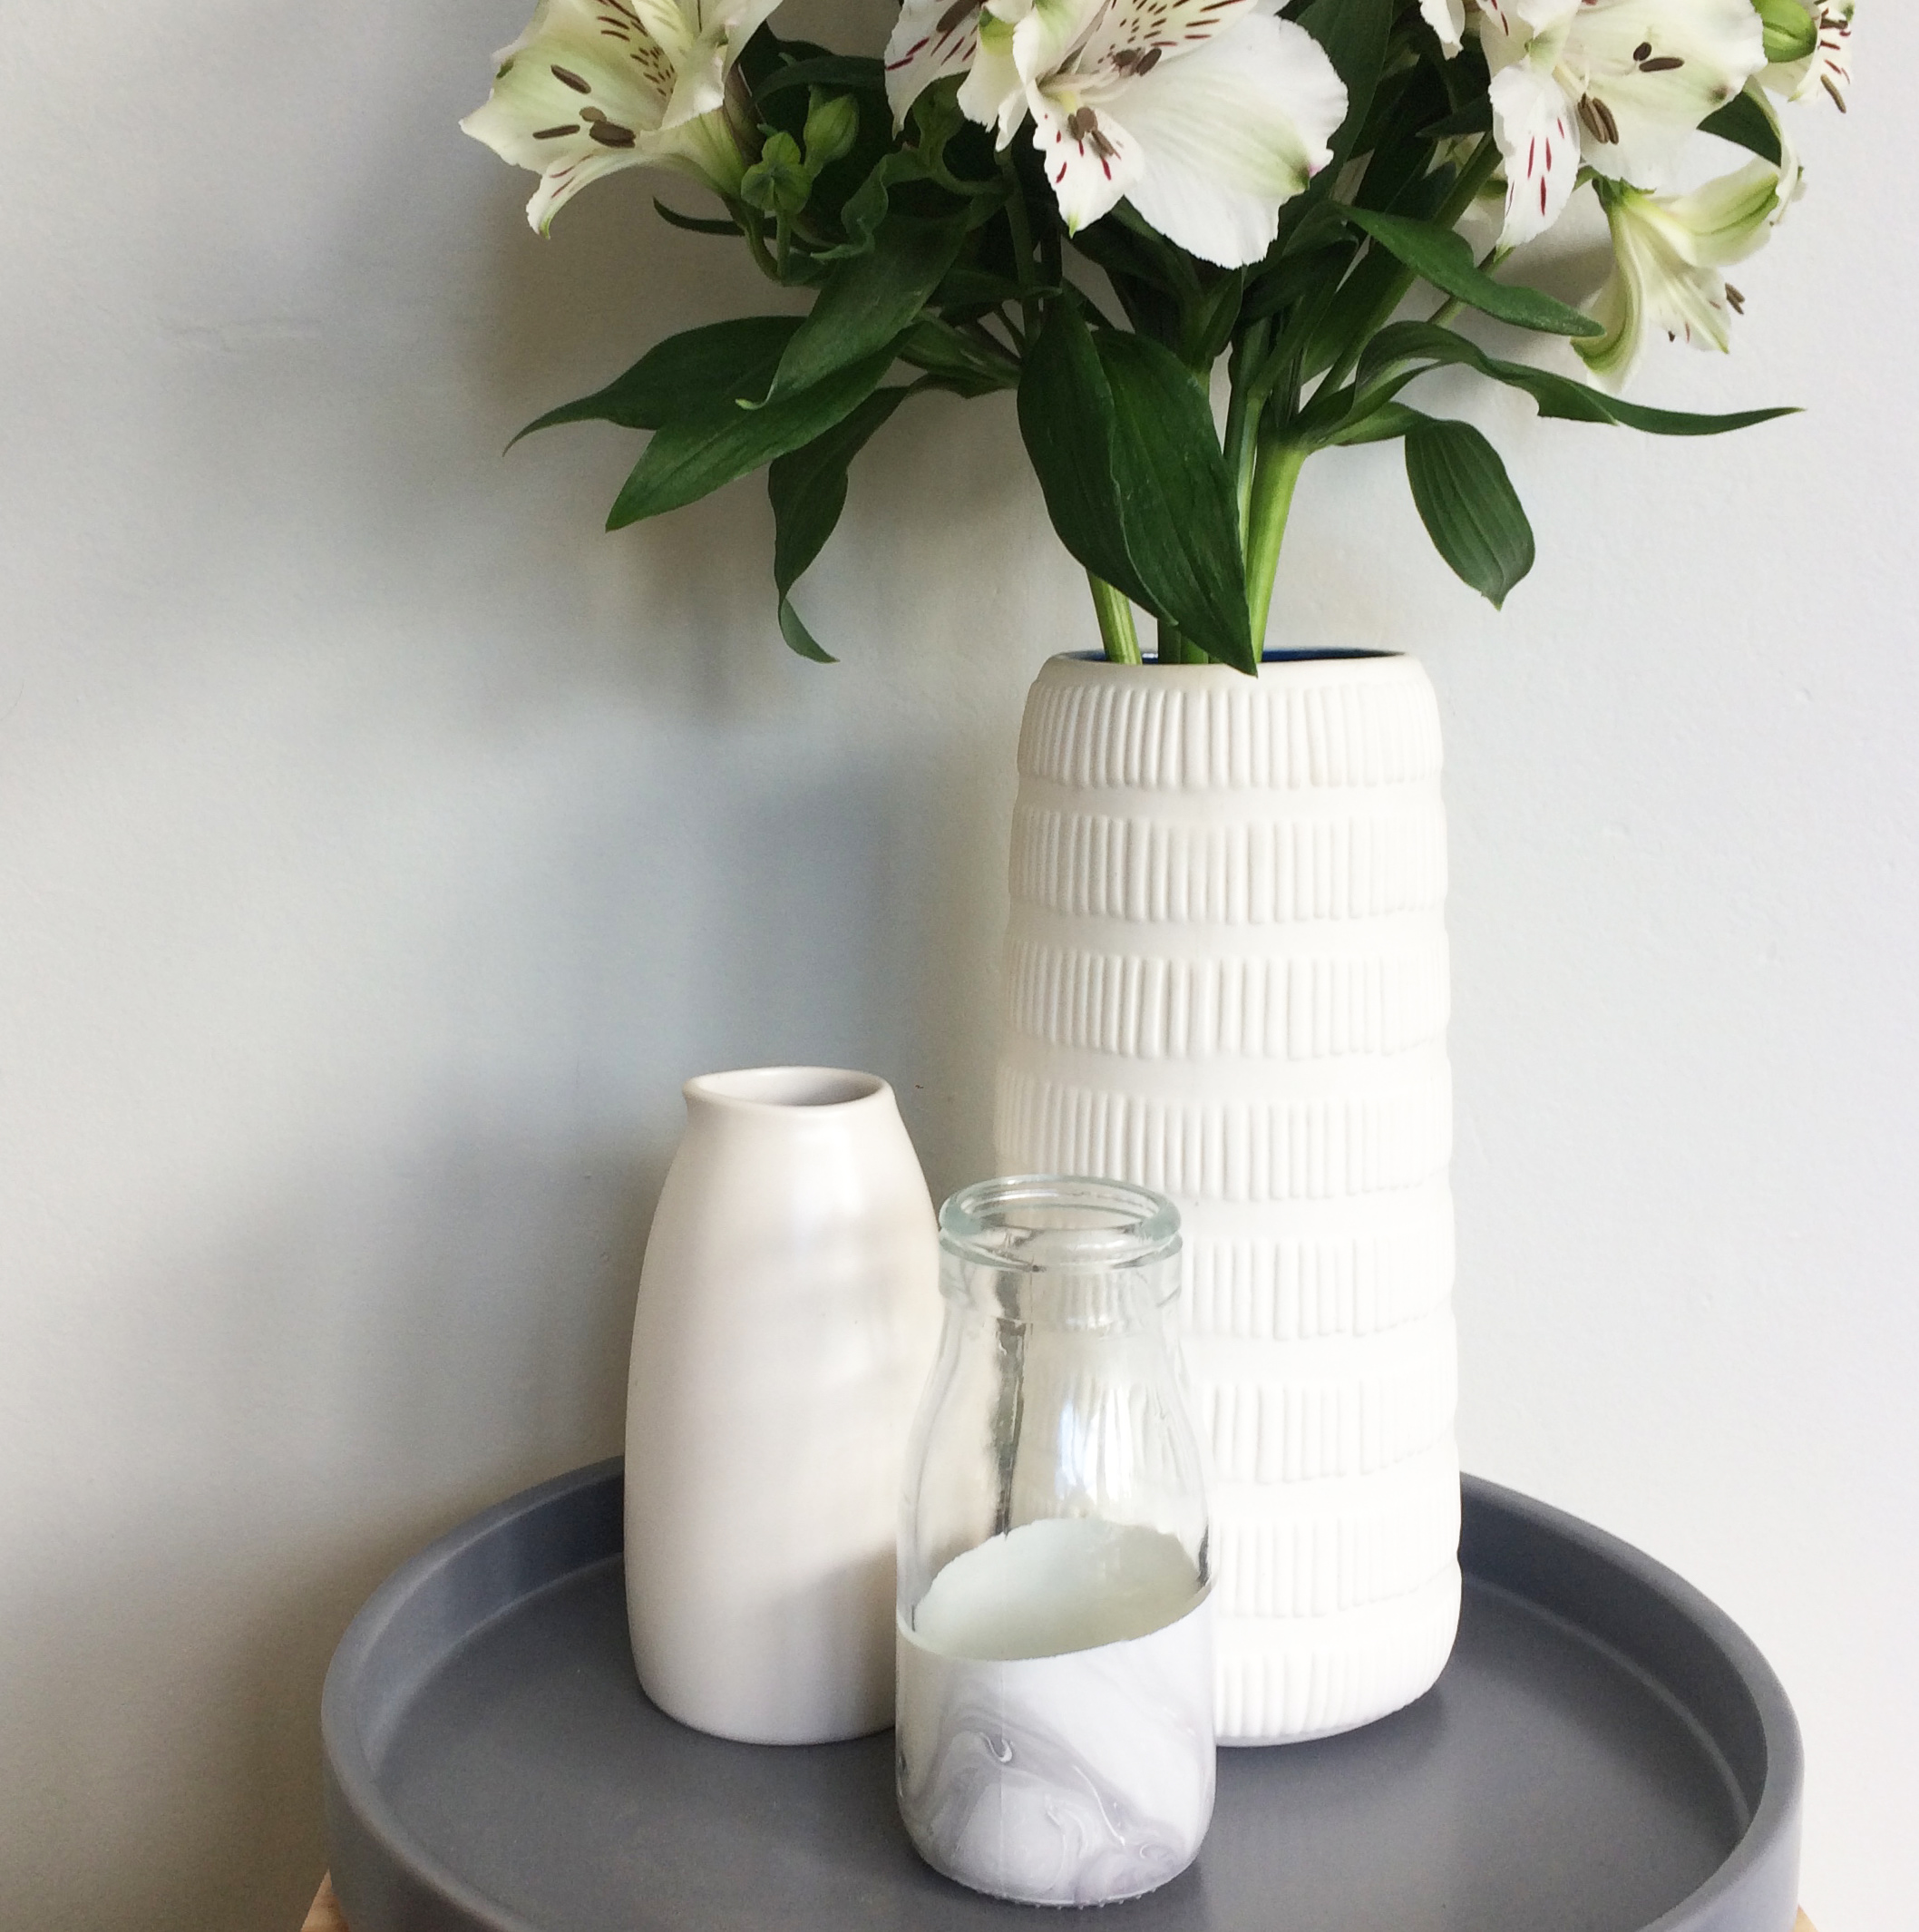
I love the marble effect on the finished product and that you can play around with the dipping process to create your variations on the effect – however simple or strong you like it to appear.
-Kelly.

The post DIY Marble Bottles appeared first on The Home Scene.
]]>The post Our first home appeared first on The Home Scene.
]]>We’ve been lucky enough to have owned our first house from the tender ages of 22 & 23 after forgoing the popular OE for homeownership. The place we’ve called home for nearly 12 years now.
In 12 months time, hopefully that dream of a large spacious home will be realised for our family as we look to move on and purchase a new home; our second home.
With so many people currently trying to get in to the housing market or looking to purchase their next stage home, I thought I’d share our journey with you.
My husband and I purchased this home before we had our first son as a way to invest in our first home and a renovation project we could get stuck in to, naturally with our joint love of building and design. At the time, aged 22yrs, we spent a number of months researching the market and looking through open homes with a great deal of disappointment.
We weren’t impressed with the homes we were seeing from overpriced hot messes to sloping floors you could roll a ball across; until one day a 1950’s ex-state home with polished wooden floors and open plan living caught our eye and we snapped it up within a week. Just a little overwhelming at the time.
We saw the potential in this tired old house and could see us raising a family there.
The spacious backyard allowed for plenty of green space, although it did take two summers to clear back the overgrown gardens and all the interesting things we discovered in the back yard (think purple toilet for plants hidden under bush and old tyres). But now as our children get older we want our house to be the space their friends choose to come and hang out during their teenage years and host our own numerous dinner or garden parties.
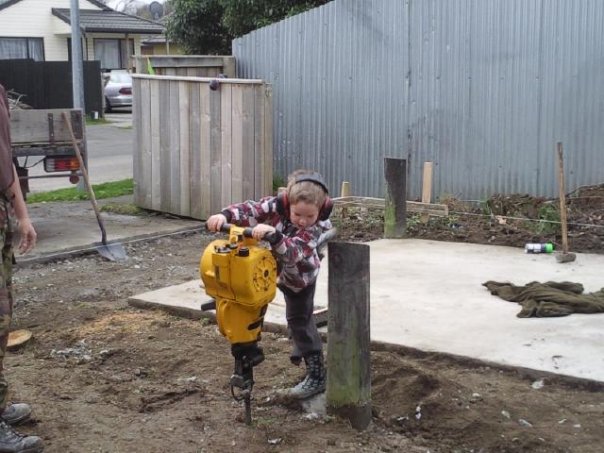
My husband has poured his heart and soul into our home and what was a dark, outdated house is now a light, airy and warm home. Buying a doer-upper has brought other joys; our boys have discovered the fun of getting on the power tools, ripping down walls, painting and being able to say “I helped make that”. I love looking back at photos of themselves aged two on the drill with mini tool belts and that joy in their faces.
The kitchen, the bane of my existence in its typical ex-state house design, was long, small and dark. Now with its original 50’s cupboards and layout updated to a clean, refreshed white modern design (thank you Jeremy).
Our sons have their own rooms now after forgoing the spare room a year ago where I’ve loved designing a space that is individual for each of them to retreat to. The master bedroom is large enough to hold two master bedrooms after the original home owners swapped the layout of the house around – great move!
What was originally the lounge at the front of the house is now our bedroom with the lounge relocated to the back of the house to create that open plan living from kitchen-dining-lounge and out on to the deck.
Over the years our love of DIY has played a huge part in our home. Always looking to upcycle furniture items, or transform something purchased into a more individualised item, our style has evolved over the years.
We’ve learnt helpful tips and tricks along the way as well as developing our own which I look forward to sharing with you in this new series. From tricks on how to make a small home feel spacious, DIY features and inspiration to what to look for when purchasing your next home.
What would you love to hear more about – what would be helpful or just plain interesting?
Stay tuned and I can’t wait to share more blog posts to help you transform your house into a home.
– Kelly

The post Our first home appeared first on The Home Scene.
]]>The post Geometric Garlands appeared first on The Home Scene.
]]>They were simple and easy to do and I love how they have turned out. I’ve put together a template print out and a quick ‘how-to’ so you can recreate your own geometric garlands.
What you will need:
- A4 Paper/Craft Paper
- Glue Stick
- Scissors
- String
Download the large or small template and get creating.
Choose your own colours or go for a classic monochrome look in good old black and white. I couldn’t choose between the two so I made both. I used craft paper as a bit of thickness over your standard A4 paper makes it easier for them to hold their shape once glued together.
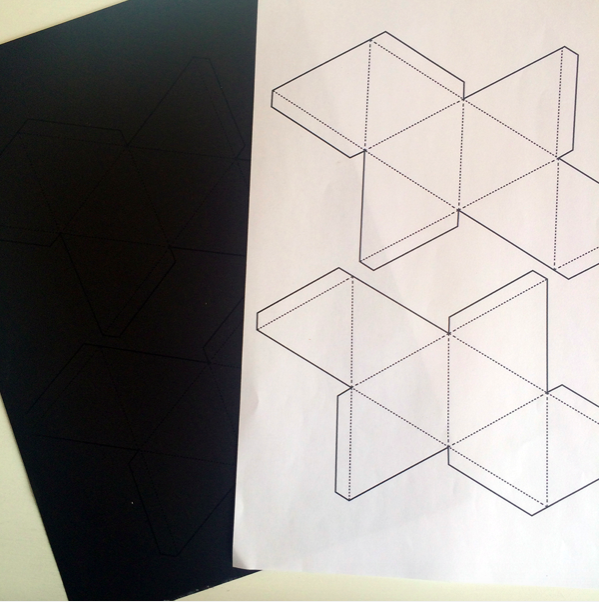
The black card does show up the print out lines (just not clearly in this photo)
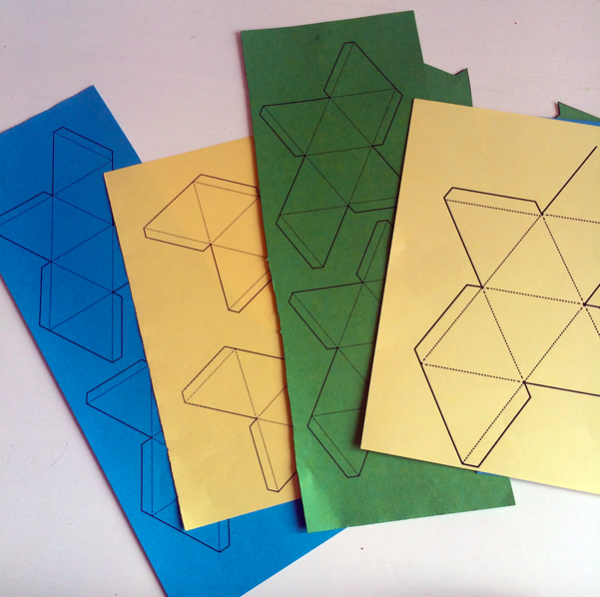
Choose any colours that suit your space you’ll be placing them in. Works in a monochrome style room as well for a pop of colour (as I’ve done for Jimmy – 5yrs room)
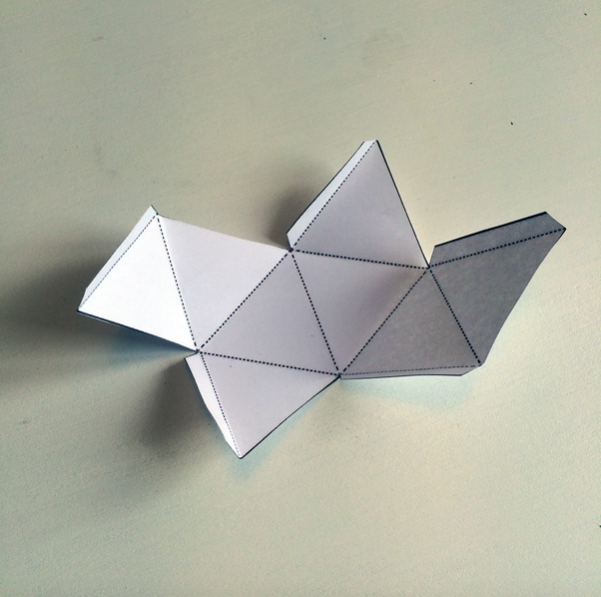
Cut the shapes out and fold along each of the dotted lines
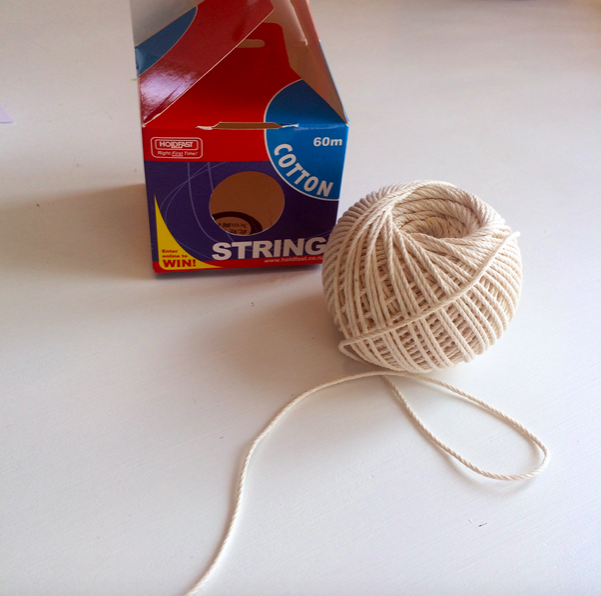
I like to use string as opposed to yarn to avoid the small bits of yarn that always fall off and get stuck to your hands while glueing (e.g.: hot mess) and it look untidy on the garland when hung
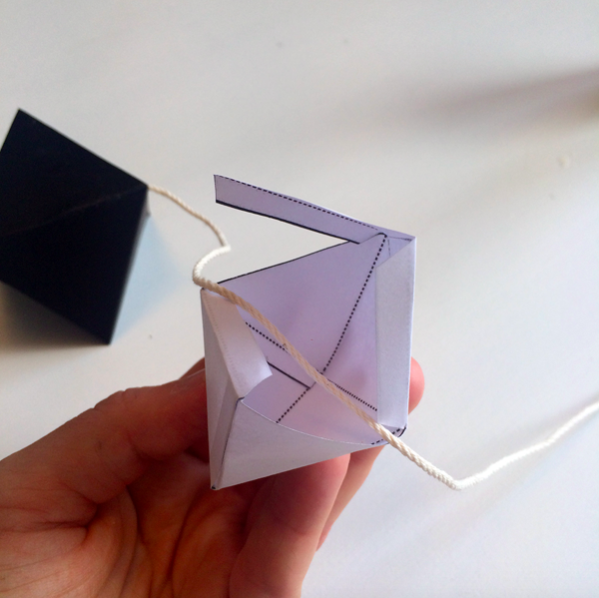
Depending how you like the shape to sit along the string when hung, I placed the string through from point to point so the diamond was more obvious when hung on display
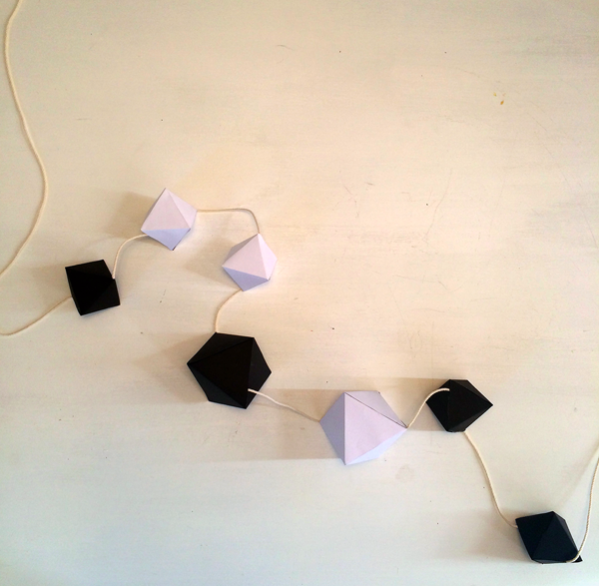
Place a combination of large and small in any order that you would like. With my black and white I kept it random but with my coloured garland I kept the colours in sequence, throwing in a large one amongst it
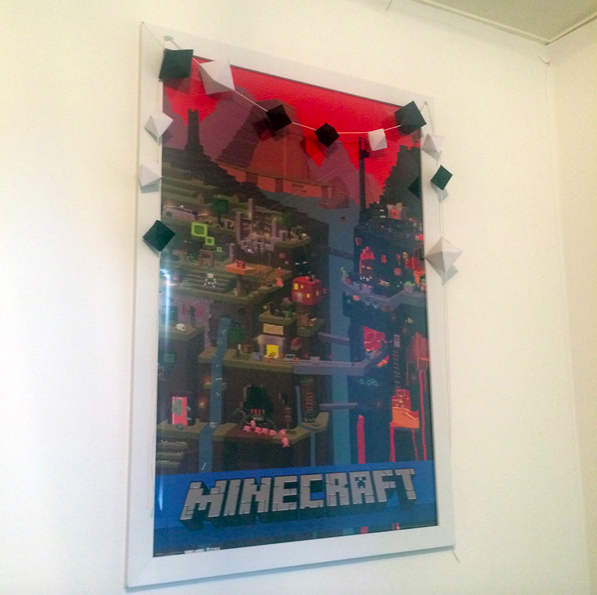
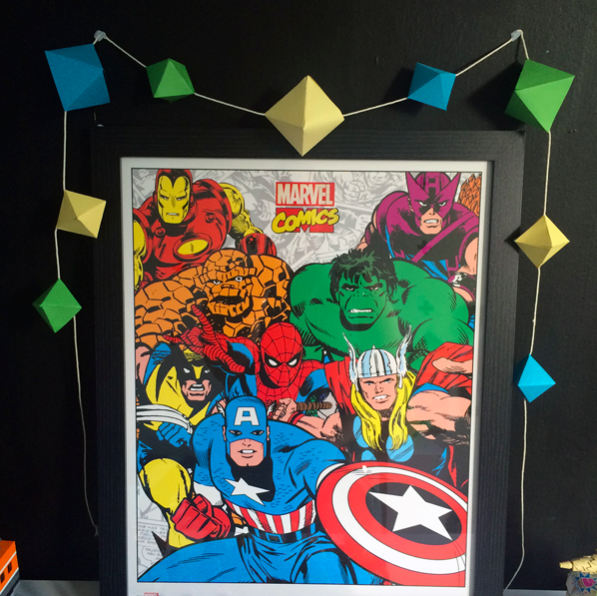
Here’s the finished looks in Jimmy (5) and Dylan’s (11) rooms. I’ll add more to Jimmy’s coloured garland so it reaches down further but you can add as many or little as you like to suit your space.
If you give this easy DIY a go, I’d love to see how you put the finished look together – feel free to share them on social or let me know how you go.
Kelly

The post Geometric Garlands appeared first on The Home Scene.
]]>